
A burst of joy fills the air as spring approaches, and what better way to celebrate than with your very own crochet bunny? This delightful lavender Floppy-Eared Bunny is not just a pattern; it’s an opportunity to create a beloved keepsake perfect for Easter decorations or cuddly gifts. Crafted with tender stitches and vibrant colors, this crochet bunny pattern invites you to elevate your skills while enjoying a whimsical project that’s both fun and engaging. Plus, this pattern is a great way to use up your stash, making it a budget-friendly delight! Whether you’re an intermediate crafter or simply looking to challenge yourself, you’ll love the journey of shaping this adorable critter. Ready to hop into your next cozy adventure? Let’s get started!
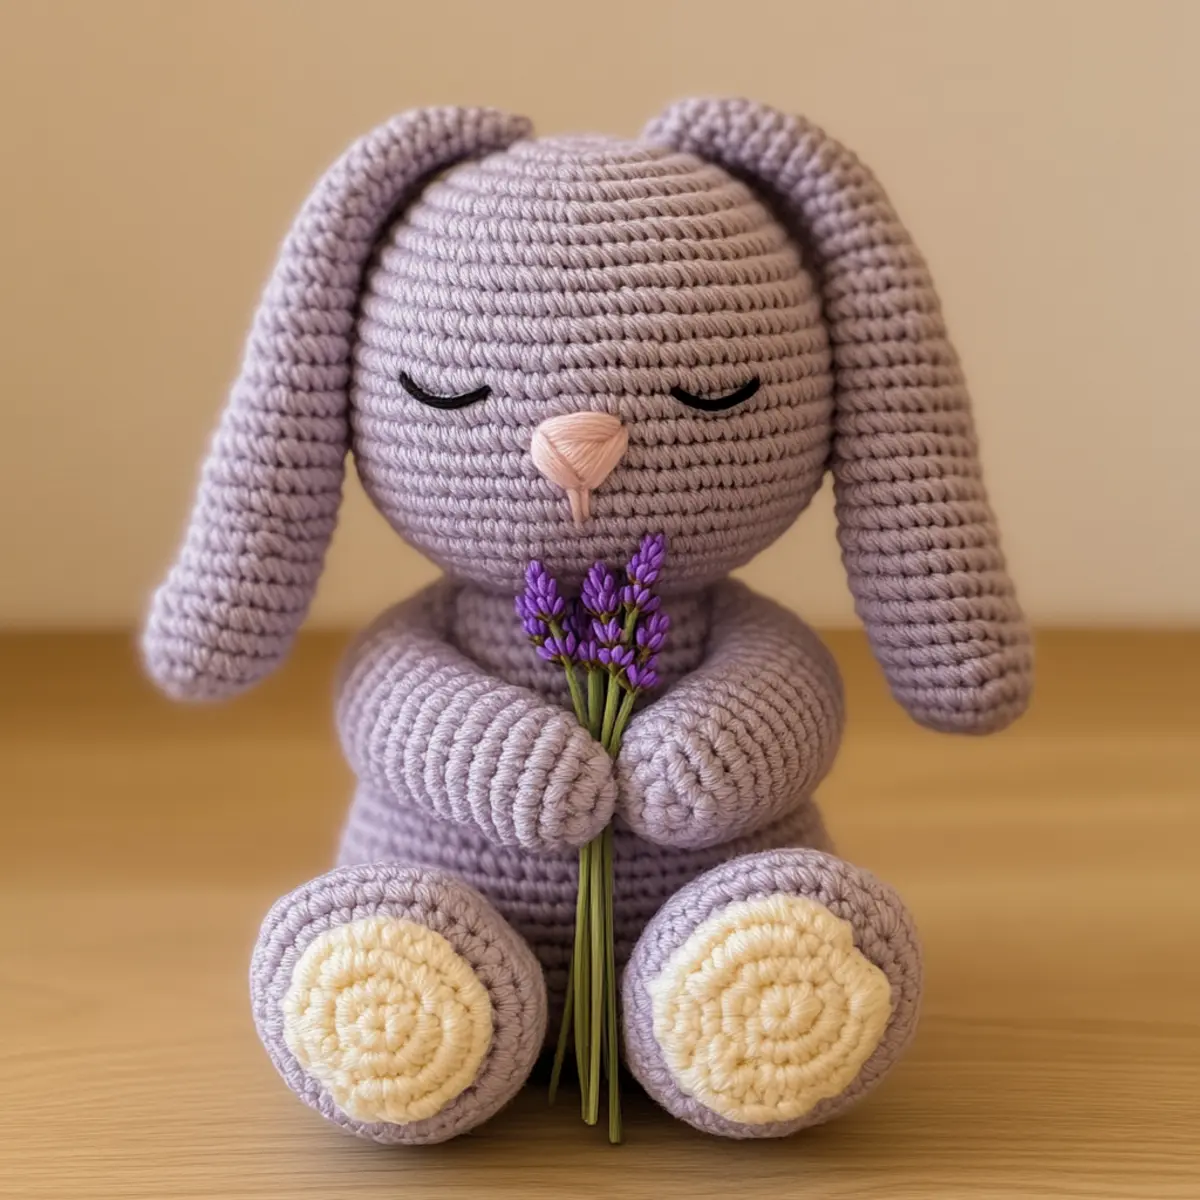
Crochet Bunny Pattern Materials & Tools
Yarn
• Medium Weight Yarn (Weight 4) – Approximately 300-400 yards in lavender, cream, and pink for a soft and cuddly bunny.
• Acrylic or Cotton Blend – Choose a soft yarn with durability for lasting enjoyment.
Tools & Notions
• 4.0mm (G-6) Hook – This size is perfect for maintaining the desired stitch density for your crochet bunny pattern.
• Safety Eyes – Essential for adding sweet details to your bunny’s charming face.
• Yarn Needle – A must-have for seamless assembly and weaving in ends.
• Stitch Markers – Helpful for tracking rounds as you crochet the bunny’s body pieces.
Stuffing
• Fiberfill – Use this to achieve a soft, rounded shape without overstuffing, allowing for the perfect cuddle buddy!
Why Is This Crochet Bunny Pattern Special?
Crafting Magic: This crochet bunny pattern excels in transforming yarn into a whimsical companion that brightens any space.
Textured Charm: The combination of smooth and textured stitches adds unique depth to your finished creation.
Skills Development: With its intermediate-level complexity, this pattern is a wonderful way to enhance your amigurumi skills, from color changes to shaping.
Personalization Possibilities: Experiment with colors and accessories to customize your bunny, making it uniquely yours or a special gift for loved ones.
Spring Decor Perfection: Ideal for your Easter celebrations, this delightful bunny brings joy and charm to seasonal decor. Don’t forget to check out more crafty ideas in our Easter crochet projects!
Gauge & Sizing Notes
Don’t skip the gauge swatch! For your crochet bunny pattern, checking your tension is vital to ensure a beautifully shaped and proportional bunny. Aim for a gauge of 4×4 inches (10×10 cm) to equal 16 single crochets by 18 rows. If your swatch is too small, try going up a hook size; conversely, if it’s too large, switch to a smaller hook. To adjust the size of your bunny, increase your starting chain (or rounds) in multiples of 6; this will allow your bunny to grow into an even fluffier companion. Taking the time to check your crochet gauge can transform your project into a cherished keepsake.
Step‑by‑Step Pattern for crochet bunny pattern
Row 1: Start the Head
Begin with a magic ring using lavender yarn. Work 6 sc into the ring to form the center of the bunny’s head. Pull the tail tight to close the ring, ensuring there are no gaps. Make sure your work sits flat and begins to form a small circle (6 sts).
Row 2: Increase for Shape
Now, in this round, increase by stitching 2 sc in each stitch around. This will help create a rounded shape for the head. Remember to count your stitches as you work to ensure evenness, and your piece should puff out nicely at this point (12 sts).
Row 3: Further Increases
For this round, work 1 sc in the first stitch, then 2 sc in the next stitch. Repeat this pattern around. This helps define the bunny head shape a little more. Keep an eye on your tension, ensuring your work remains uniformly tight (18 sts).
Row 4: Continue Increasing
Next, create more dimension by working 1 sc in the first 2 stitches, then 2 sc in the next stitch. Repeat this sequence all the way around. By this stage, your bunny head should start to take its charming round shape (24 sts).
Row 5: Transition to Body
In this round, you’ll switch to the body by working 1 sc in the first 3 stitches, followed by 2 sc in the next stitch. This gradual transition from the head to the body will create a seamless look. Your work should feel pleasantly round and cohesive (30 sts).
Row 6: More Body Increases
Continue with your body by following the pattern: 1 sc in the first 4 stitches, then 2 sc in the next stitch. This increase will help maintain the bunny’s soft, plump shape as you build on the body segment (36 sts).
Row 7: Begin Decreasing
Now, to shape the body more, switch to decreasing: 1 sc in the first 4 stitches, then 1 dec. Repeat around. As you decrease, feel for changes in your fabric’s curvature, making sure the body starts gracefully tapering (30 sts).
Row 8: More Decreases
Next, continue decreasing by repeating: 1 sc in the first 3 stitches, then 1 dec. Keep an eye on your stitches and ensure they remain tight to avoid gaps. The body should be narrowing nicely, giving a soft, rounded appearance (24 sts).
Row 9: Final Body Shape
To finish shaping the body, work 1 sc in the first 2 stitches, then 1 dec. This will pack the body down into a cute, bunny-like shape. The piece should be more structured, maintaining its rounded look as it prepares for assembly (18 sts).
Step 10: Ears Setup
For the ears, create a new magic ring with lavender yarn to start. Work 6 sc into the ring, like with the head. Remember that these little pieces play a crucial role in defining your bunny’s character (6 sts).
Step 11: Ear Shape
Now, in the next round, increase by stitching 2 sc in each stitch around. The ears should begin to puff up too, just like your bunny’s head, forming an adorable, rounded shape (12 sts).
Step 12: Color Change
For added charm, switch to cream yarn. Work 1 sc in the first stitch, then 2 sc in the next stitch. While your work should be transitioning to a two-tone ear look, confirm evenness in your tension to avoid distorting the shape (18 sts).
Step 13: Finish Ears
Continue by working 1 sc in the first 3 stitches, then 1 dec around the ear. This will help you gather the top edge slightly as you finish defining the final shape. Your completed ear should be poised and ready to be attached to the bunny’s head (12 sts).
Step 14: Assemble Bunny
Position the finished ears on top of the head and secure them with sl st for a perfect placement. Start attaching your bunny pieces carefully with a yarn needle, ensuring all segments align well. Your bunny should now look almost fully formed!
Step 15: Add Face Details
To complete your crochet bunny pattern, add safety eyes and crochet a small muzzle using pink yarn: create 6 sc in a magic ring and securely stitch it onto the head. This will give your bunny that heartwarming touch (1 muzzle).
Step 16: Finishing Touches
Stuff the body and head gently with fiberfill, being careful to shape it into a round but not overstuff it. This final touch will complete your adorable lavender crochet bunny, ensuring it’s soft enough for cuddling and display.
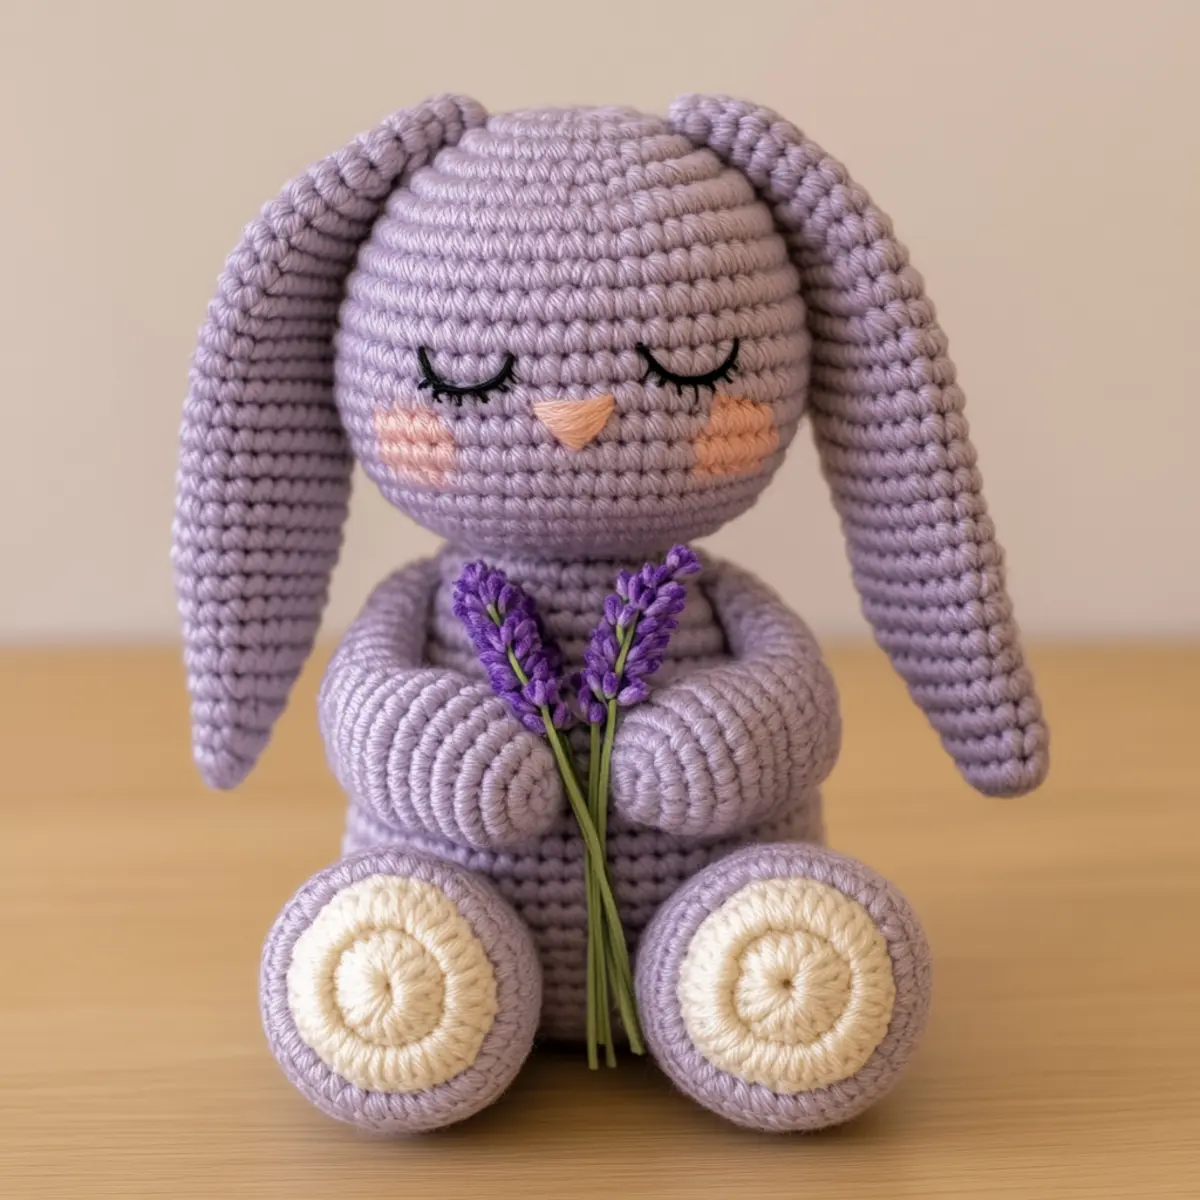
Crochet Bunny Pattern Variations
Feel free to let your creativity bloom as you explore these delightful variations!
-
Yarn Weight Swap: Use a heavier weight yarn for an oversized bunny. Just adjust your hook size accordingly for a fluffy friend.
-
Color Combinations: Choose non-traditional colors like teal or mustard yellow to give your bunny a unique flair. Let your imagination run free!
-
Fiber Alternatives: Swap cotton for a soft, plush yarn such as chenille for an irresistibly huggable texture. Your bunny will become extra cuddly!
-
Texture Twists: Add a fun pom-pom tail or fluffy yarn accents on the ears for added charm. The more texture, the better!
-
Size Adjustments: Scale down by using a lighter yarn and smaller hook for a mini bunny, perfect for gifts or keychains. Little keepsakes bring joy!
-
Embellishment Ideas: Personalize with little accessories like a tiny scarf or a bowtie to make your bunny truly one-of-a-kind. Small touches make a big impact!
-
Color-Blocking Fun: Use a different color for the ears or paws to create eye-catching contrast. This playful technique highlights your crafting skills beautifully.
-
Fringe or Borders: Add a playful fringe around the ears or a decorative border along the bottom to enhance your bunny’s aesthetic appeal. Your bunny will be dressed to impress!
For more creative inspiration, check out our Easter crochet projects and explore unique ways to brighten up your spring festivities!
Care Instructions for Your Crochet Bunny
-
Washing: Hand wash your crochet bunny in cold water using a gentle detergent to maintain its soft texture; avoid using a machine to prevent felting or shrinking.
-
Drying/Blocking: Lay the bunny flat on a clean, dry towel to dry. Reshape it as needed while it’s damp to ensure it retains its charming form.
-
Storage: Store your crochet bunny in a cool, dry place, ideally in a breathable cloth bag to protect it from dust without squishing its shape.
-
Inspection: Regularly check for loose stitches or areas needing reinforcement, especially if the bunny will be a beloved cuddly toy; this will help keep your crochet bunny pattern looking its best for years to come.
Expert Tips for Your Crochet Bunny
-
Watch Your Tension: Ensure consistent tension throughout your work; uneven gauge can lead to gaps that mar the beauty of your crochet bunny pattern.
-
Count Carefully: Stay vigilant when counting your stitches, especially during rounds. It’s easy to lose track, but using stitch markers can help you maintain accuracy.
-
Stuff Sparingly: When stuffing the bunny, add fiberfill gradually. Overstuffing can alter the shape, reducing the overall cute factor of your finished bunny.
-
Secure Assembly: When stitching the parts together, double-check that each piece is securely fastened. This ensures durability and enhances the overall finish of your project.
-
Final Touches: Take the time to block your bunny once it’s complete; this will help relax any curled edges and enhance the overall plush look.
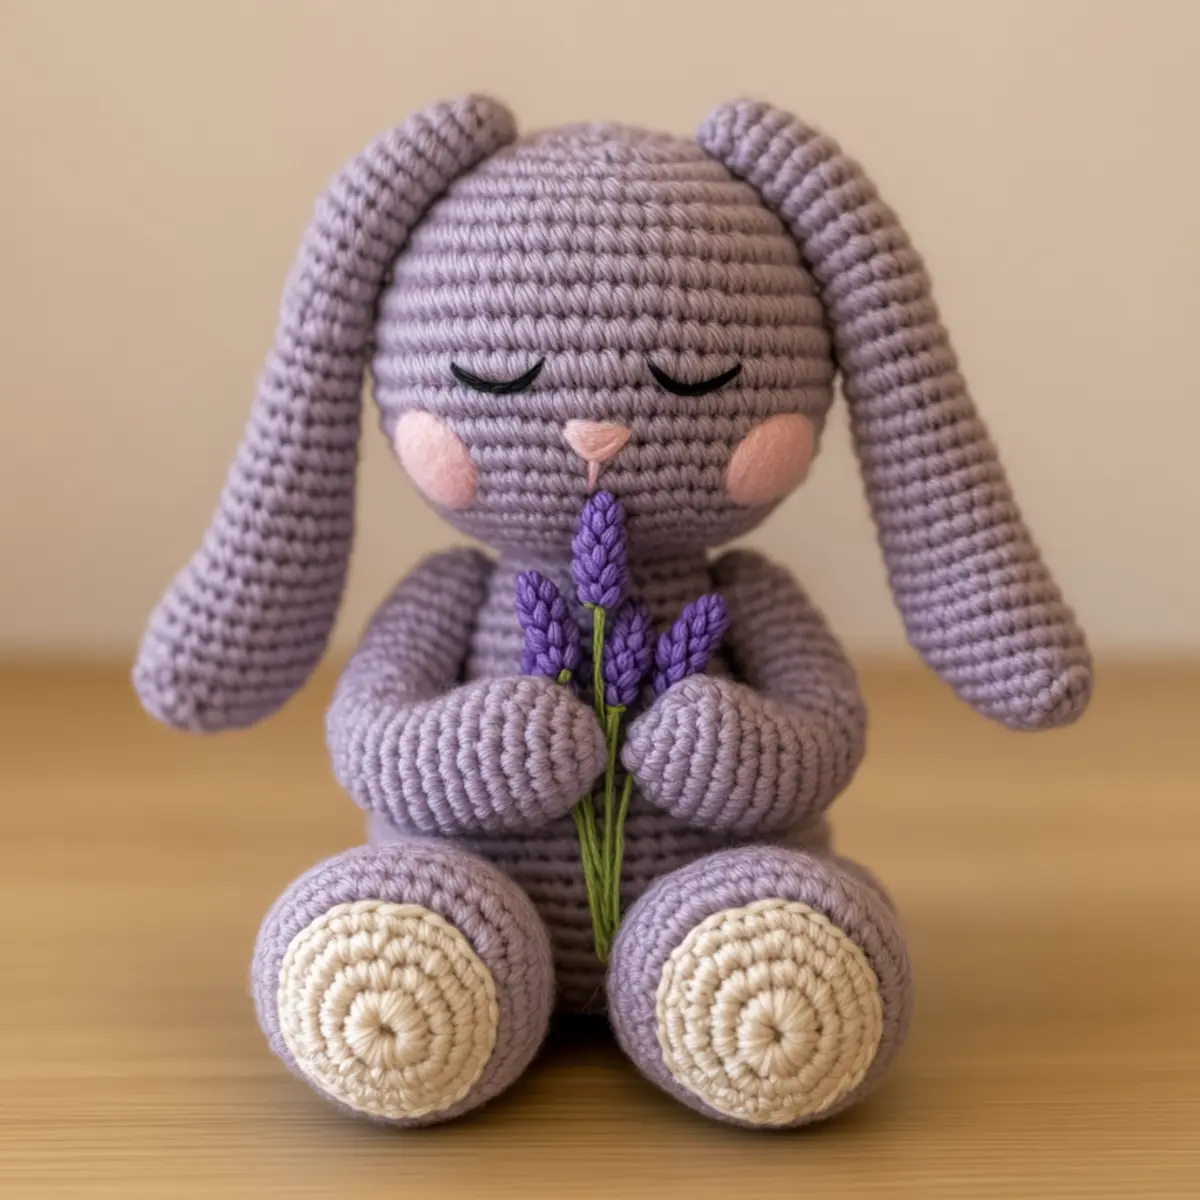
Lavender Floppy-Eared Bunny Crochet Pattern FAQs
Can I use a different type of yarn for this crochet bunny pattern?
Absolutely! While the pattern recommends a medium weight 4 yarn, you can substitute it with another yarn, such as cotton or acrylic blends, to achieve different textures. Just keep in mind that switching to a thicker or thinner yarn may affect the size, so adjust your hook accordingly.
How can I make my bunny larger or smaller?
To modify the size of your crochet bunny, consider changing your yarn weight or hook size. For example, using a thicker yarn and a larger hook will yield a bigger bunny. Alternatively, use a lighter yarn and a smaller hook if you’d prefer a petite version. Remember to check your rows to maintain the proportion!
Why is my bunny’s body curling up?
Don’t panic! If your work is curling like a bowl, it’s often due to too tight of a tension. Make sure you’re not pulling the stitches too tightly, especially in the rounds. If needed, switch to a larger hook to ease the tension. Blocking can also straighten out curled edges beautifully.
What hook size should I use for this pattern?
The recommended hook size for this crochet bunny pattern is a 4.0 mm (G-6). This size will create a nice density in your stitches, helping to ensure that your bunny has the plush look and feel it deserves. Always check your tension gauge to ensure it’s consistent!
How do I fix dropped stitches in my bunny?
If you notice a dropped stitch, simply insert your hook back into the last worked stitch, then re-yarn over and pull through the loop. You can do this with a needle if it’s easier, guiding the yarn back through to secure the stitch. Stay calm; it’s an easy fix!
Can I add accessories to my bunny?
Definitely! Personalizing your bunny with accessories like a scarf or a bow adds unique charm and character. Just let your creativity fly! Use leftover yarn or scraps to create these embellishments, giving your bunny a one-of-a-kind flair that reflects your individual style.
Leave a Reply