
As I settled into my cozy crafting nook, I found myself captivated by the whimsical charm of the sea. This led me to create the Adorable Crochet Whale Amigurumi, a delightful project that brings a touch of ocean magic to life in soft, huggable form. This crochet whale pattern is perfect for those with some amigurumi experience, offering a rewarding crafting adventure that results in a cuddly companion for kids or a unique decor piece for nautical-themed spaces. With its quick-to-work bulky yarn and lovely chenille texture, this plush toy is not only irresistibly soft but also easy to care for, making it a joy to give as a gift or to keep for yourself. So grab your hook and let’s dive into this playful ocean paradise together—your next soft masterpiece awaits!
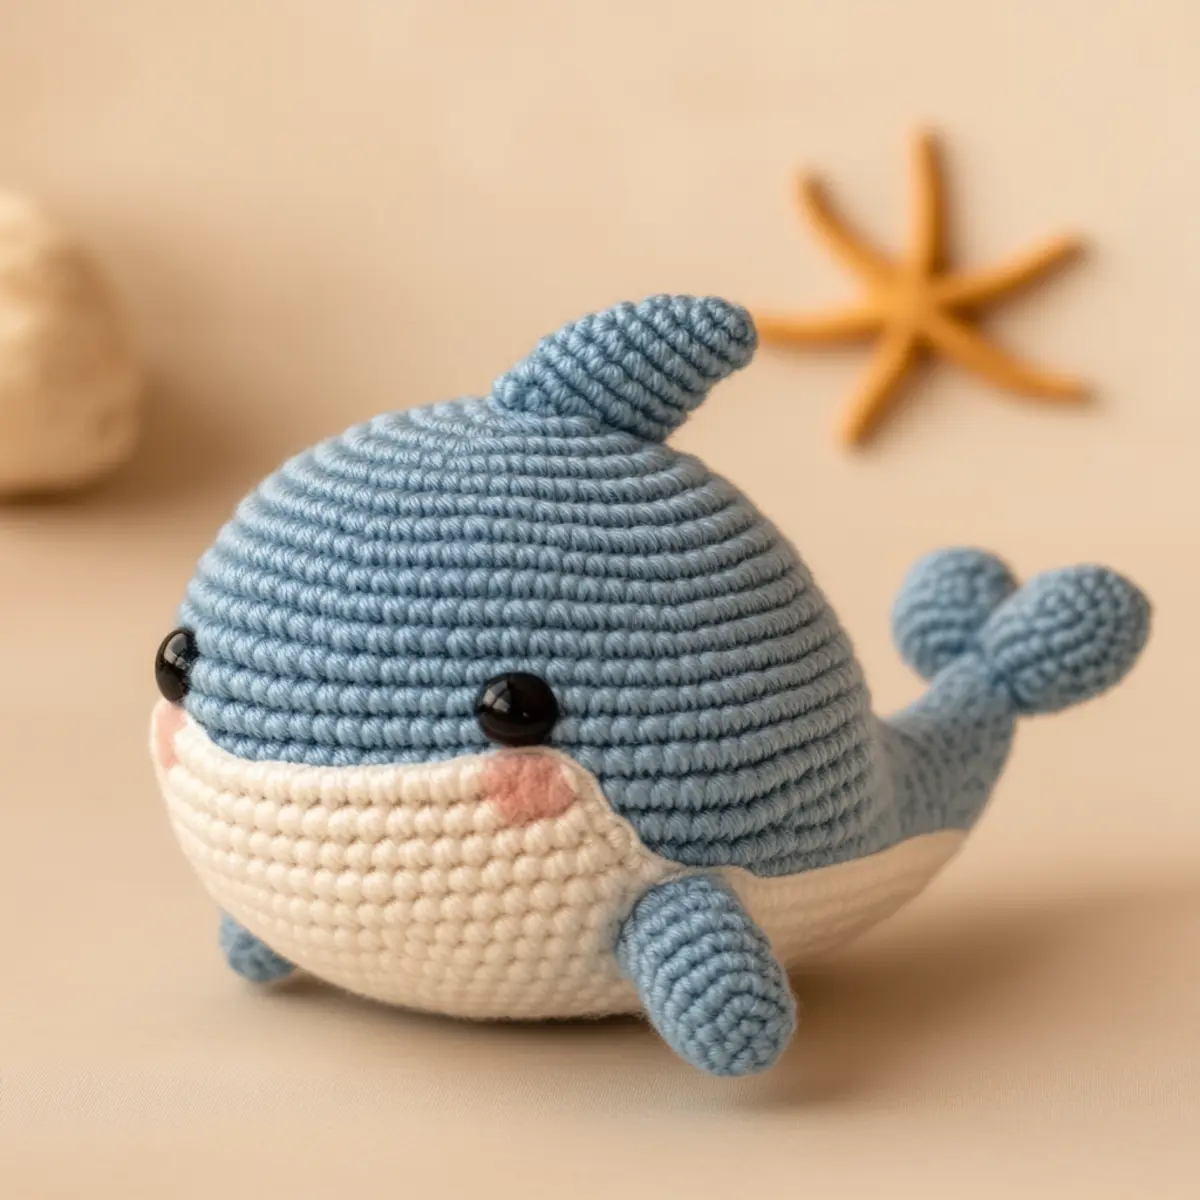
Crochet Whale Materials & Tools
Note: Gather these materials to embark on your delightful crochet whale adventure!
Yarn
• Bulky Chenille Yarn – Approximately 150-200 yards in light blue, white, and a touch of pink for a soft, plush finish.
• Safety Eyes (12 mm) – For those adorable, lifelike expressions on your crochet whale.
Tools & Notions
• 4.0 mm (US G/6) Hook – Ideal for achieving the perfect tension with bulky yarn.
• Yarn Needle – Essential for sewing parts together and embroidering charming features.
• Scissors – For snipping yarn ends neatly as you complete each section.
• Stitch Marker – Helpful in keeping track of your rounds for precise amigurumi shaping.
Feel free to use these materials to craft your unique crochet whale masterpiece!
Why Is This Whale Amigurumi a Must-Make?
Whimsical Design: The adorable shape and charming color palette make this whale a standout project that will enchant anyone who sees it.
Soft Touch: Crafted with bulky chenille yarn, this plush toy offers a cozy, huggable texture that both kids and adults will love.
Quick to Create: Thanks to its straightforward construction, you can whip up your crochet whale in no time—perfect for last-minute gifts or decor updates!
Endless Customization: Feel free to personalize your whale with different colors or even sparkly yarn to create a unique piece that matches your style. Explore more creative twists with this colorful crochet guide.
Perfect Gift: This whimsical amigurumi makes for an ideal gift at baby showers or birthdays, bringing joy and comfort to little ones.
Nautical Charm: The ocean-inspired theme adds a delightful touch to any nautical decor, creating a lovely focal point in children’s rooms or cozy living spaces.
Gauge & Sizing Notes
Don’t skip the gauge swatch! Ensuring your crochet whale has the right size and shape begins with checking your tension. For this project, aim for a gauge measurement of 4×4 inches (10×10 cm) that equals 11 single crochets and 12 rows. If your tension doesn’t match, it’s important to adjust your sizing; for example, to make your whale larger, increase your starting chain or rounds in multiples of 6. If your swatch comes out too small, simply try using a larger hook size to achieve that soft, cuddly texture we adore in the crochet whale. Happy crafting!
Step‑by‑Step Pattern for Crochet Whale
Row 1 (or Round 1): Start the Head
Begin by creating a magic ring and crocheting 6 single crochets (sc) into the ring. Pull the magic ring tight to close it, making sure your stitches are snug. Your work should form a small circle at this point. This foundation will shape the charming head of your crochet whale (6 sts).
Row 2: Increase for the Head
In the next round, crochet 2 sc in each stitch around to increase for the head. This will give your whale a lovely rounded shape. As you work, you’ll notice the circle expanding beautifully. Count your stitches to ensure accuracy and that you’re progressing properly (12 sts).
Row 3: Continue Increasing
For this round, work 1 sc in the first stitch, then 2 sc in the next stitch, and repeat around. This continuous increase will help your crochet whale maintain its form. Keep a close eye on your stitch count to ensure your amigurumi stays beautifully shaped (18 sts).
Row 4: More Increases
In the next round, crochet 2 sc in the first stitch, 1 sc in the next 2 stitches, and repeat around. This round will further expand the head size. As you complete this row, your work should start to visibly cup. Count your stitches to maintain accuracy (24 sts).
Row 5: Shape the Head
Continue by working 1 sc in each stitch around to create a solid base for the whale’s head. This round will help even out the shape. Your crochet whale’s head will begin to look much more defined as you progress (24 sts).
Row 6: Attach Safety Eyes
Now is the time to secure your safety eyes. Measure about 4 stitches apart from each other between Rows 3 and 4, marking their position. Gently attach the eyes before moving on to the body, ensuring they sit evenly, giving your crochet whale a friendly character.
Row 7: Begin the Body
Transition into the body by crocheting 1 sc in each stitch around for the next few rounds. This will allow you to create a gradual increase in size while keeping the body portion consistent. Your work should continue to take a rounded, plump form (24 sts).
Row 8: Increase for the Body
For this round, crochet 1 sc in the first 3 stitches, then 2 sc in the next stitch, and repeat. This will add more volume to the body as you work. Ensure that your stitches remain consistent as you progress to maintain that lovely round shape (30 sts).
Row 9: Maintain the Body Size
Work 1 sc in each stitch around again to solidify the body. This helps create a balanced portion between the head and the body for your crochet whale. Make sure to keep an eye on your tension while working (30 sts).
Row 10: Shape the Bottom
In this round, crochet 1 sc in the first 4 stitches and then 2 sc in the next stitch, repeating around. This will extend the body downwards, giving your whale that adorable chubby shape. Your work should feel full and well-formed as you go (36 sts).
Step 11: Create the Fins
To make the fins, create a new magic ring and crochet 6 sc inside. Pull the ring tight. This small piece will form the fin, essential for completing your crochet whale’s design (6 sts).
Step 12: Build the Fins
In the next round for the fins, crochet 2 sc in each stitch around. This will help your fins remain flat yet distinct. Ensure consistency across your stitches as you create these cute little paddles (12 sts).
Step 13: Shape the Tail
For the tail, chain 4, then in the second chain from the hook, crochet 1 sc, followed by 2 sc in the next stitch, and 1 sc in the last. This gives it a lovely curved shape as you work upward. You will round off this tail piece with 5 stitches total.
Step 14: Assemble the Whale
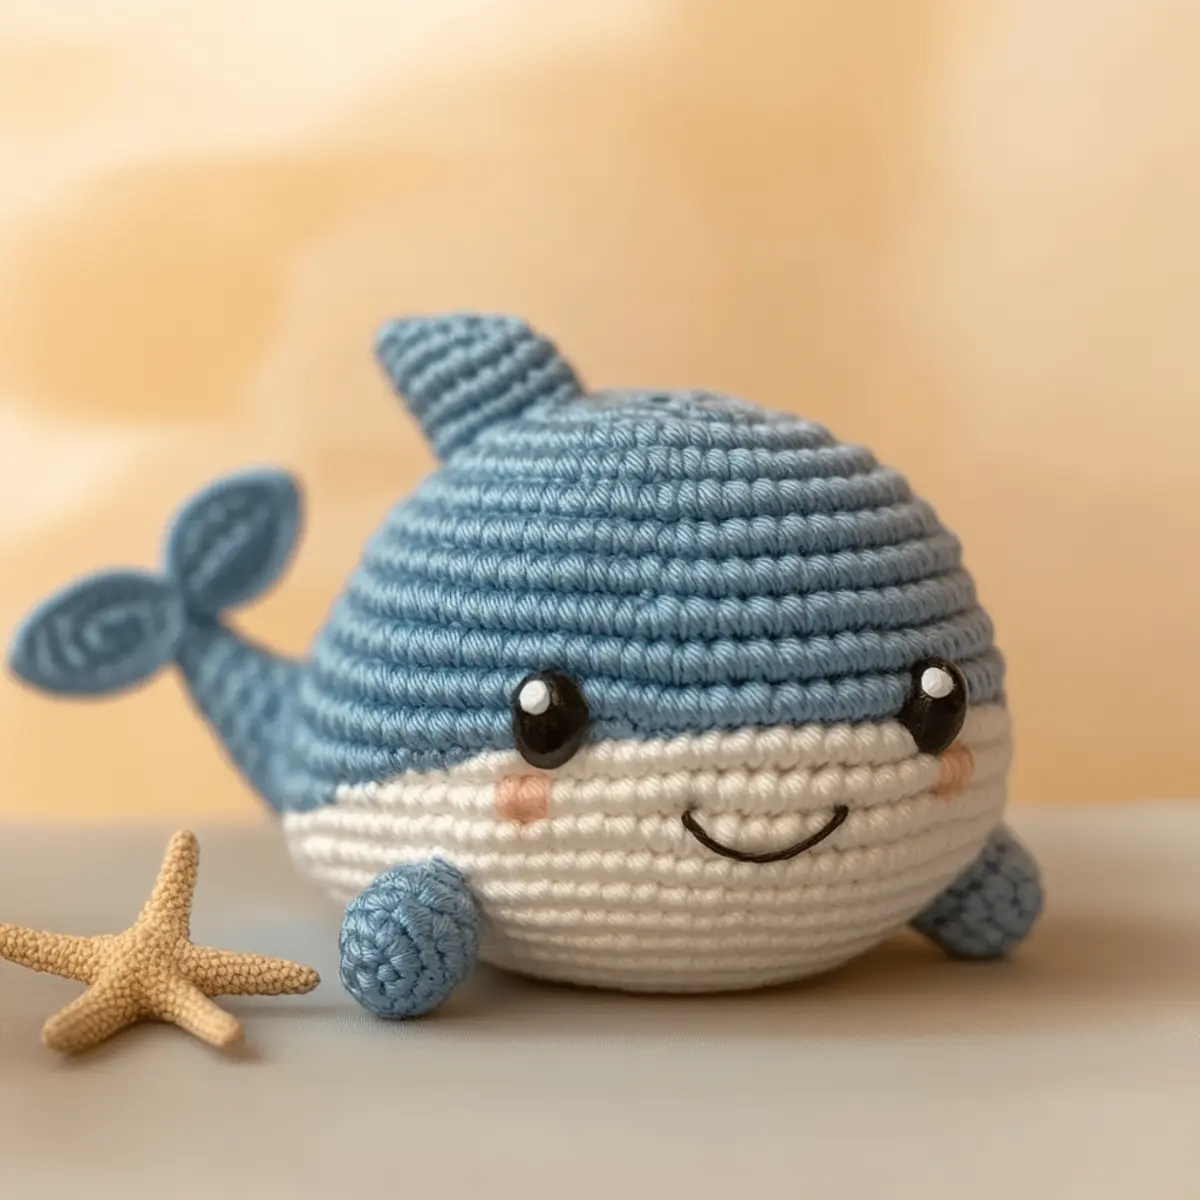
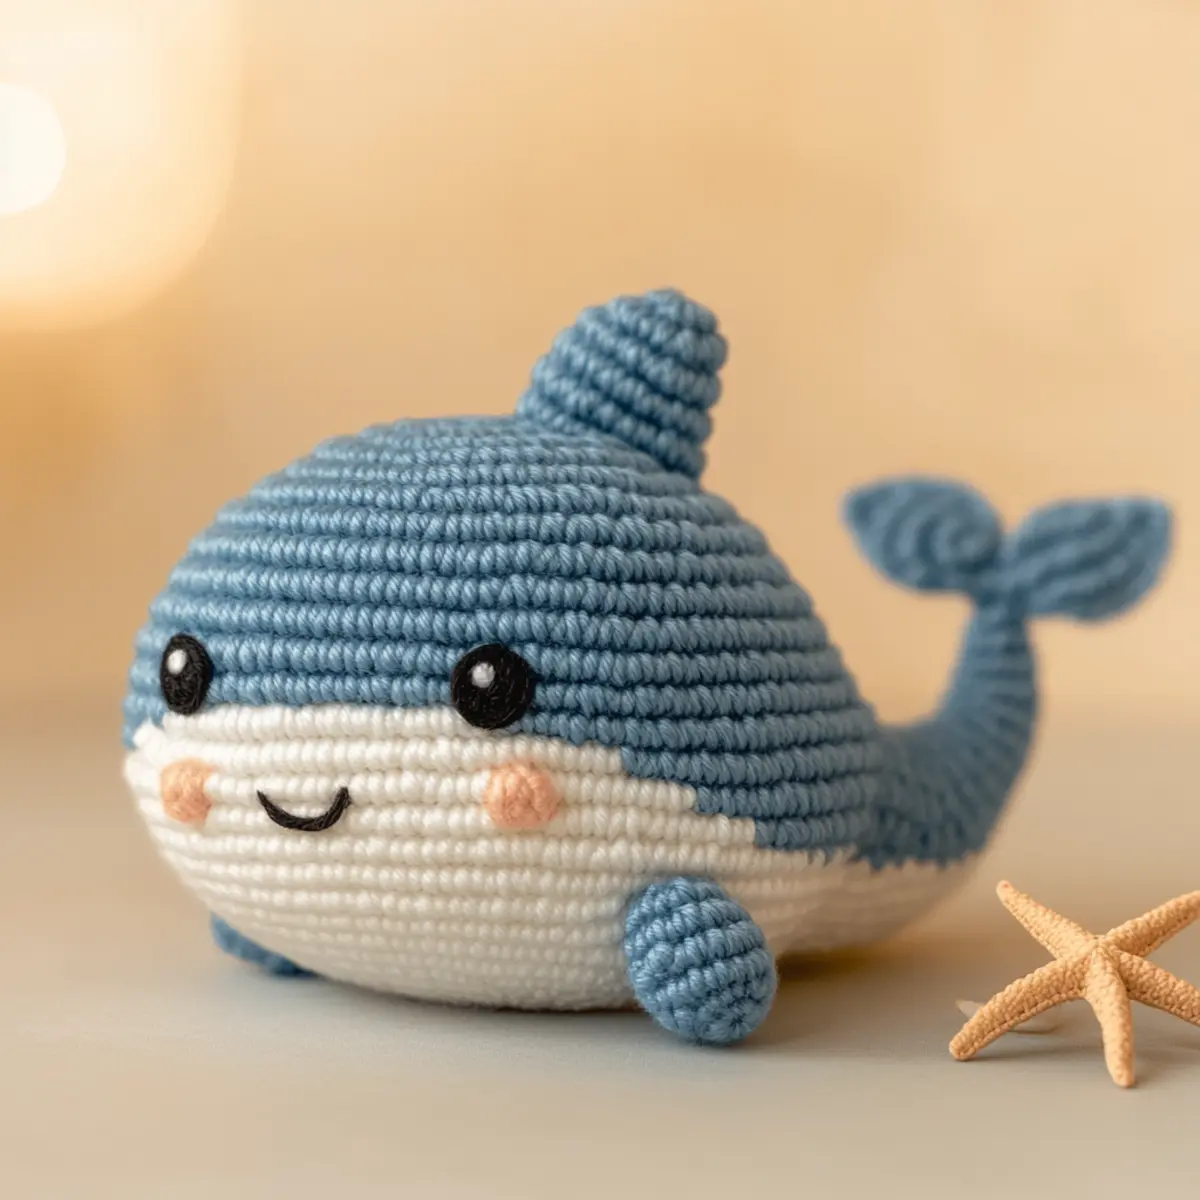
Now for assembly! Align the fins and tail with your crochet whale’s body, using a yarn needle to sew each part securely. This process will help secure all elements while creating the final adorable look. Remember, this is where your creativity shines!
Step 15: Add Final Details
Embroider blush spots and a mouth on your whale using a contrasting color. This will give your crochet whale that charming personality it needs. Take your time to ensure accuracy, as these little details can enhance its overall appeal and warmth.
How to Wash and Care for Your Crochet Whale
Machine Washing: Use a gentle cycle with cold water to clean your crochet whale. Always place it in a mesh laundry bag to prevent any snagging or deformation.
Hand Washing: For a more delicate touch, hand wash your whale in cold water with mild detergent. Gently squeeze out excess water—do not wring or agitate to avoid felting.
Drying/Blocking: Lay your crochet whale flat on a clean towel to dry and reshape it. Avoid hang drying to prevent stretching; this will help maintain its charming form and plush texture.
Storage: Keep your crochet whale in a cool, dry place when not in use. Avoid direct sunlight, which can fade the colors, ensuring this lovely nautical friend stays beautiful for years to come.
Expert Tips for Crochet Whale
-
Maintain Tension: Consistent tension is key to preventing deformation. Ensure you’re applying the same pressure with your yarn throughout the project for a smooth, even finish.
-
Count Rows Carefully: As amigurumi relies on precision, using a stitch marker to keep track of rounds will save you from unravelling later on.
-
Secure Safety Eyes: Position your safety eyes at the right moment when the head reaches size. Double-check placement before securing to ensure your whale has a charming expression!
-
Blocking Techniques: Lightly steam or block your finished whale to reshape any uneven areas. Special attention to the fins and tail can elevate the overall appearance of your crochet whale.
-
Assemble with Care: When sewing parts together, take your time to ensure each section is firmly attached, which maximizes durability and adds to the cuteness factor.
Crochet Whale Variations & Substitutions
Inviting your creativity to shine, here are delightful ways to customize your crochet whale project!
-
Yarn Substitutions: Use cotton yarn for a sturdier toy perfect for outdoor adventures or warmer climates.
-
Color Changes: Swap the light blue for pastel pink or vibrant orange to create a whale that matches any decor style or personality.
-
Size Adjustments: Change to a lighter yarn and a corresponding smaller hook to make a mini whale perfect for a keychain or bag charm.
-
Sparkly Texture: Incorporate metallic or glittery yarn to make your whale shimmer, adding an enchanting sea creature feel.
-
Unique Features: Consider adding a dorsal fin with a contrasting color, bringing an added pop of fun to the design.
-
Embellishments: Personalize with tiny accessories, like a sailor’s cap or a bow, to make your whale distinctly yours.
-
Fringe Finishing: Add a fringe along the tail or fins for a playful touch, enhancing the whimsical nature of your ocean friend.
-
Color-Blocking: Create a stunning rainbow effect by color-blocking various sections of the whale, making it a vibrant eye-catching masterpiece.
Feel free to dive into additional creative ideas with this helpful guide to creative crochet, ensuring that your charming ocean companion is truly one-of-a-kind!
Adorable Crochet Whale Amigurumi FAQs
Can I substitute yarn in this crochet whale pattern?
Absolutely! You can easily swap the bulky chenille yarn for a different fiber type, such as acrylic or cotton, but keep in mind that it may alter the texture and sturdiness of your whale. Just ensure that your substitute yarn meets the same weight category for the best results.
How do I make my crochet whale bigger or smaller?
To adjust the size of your crochet whale, switch to a heavier yarn with a larger hook for a bigger plushie, or opt for a lighter yarn with a smaller hook for a petite version. Just remember to keep your stitch counts consistent to maintain that lovely amigurumi shape!
Why is my crochet whale curling at the edges?
Don’t panic! If you notice curling, it often stems from uneven tension or incorrect stitch counts. Ensure you’re maintaining consistent tension throughout the project and double-check your rounds. Lightly steaming the finished project can also help smooth out any unwanted curves.
What hook size should I use for this project?
For this crochet whale, use a 4.0 mm (US G/6) hook. If you decide to use a different yarn weight, adjust your hook size accordingly: a larger hook for bulky yarn or a smaller one for lighter fibers to keep your stitches tight and avoid gaps.
How do I fix dropped stitches in my crochet whale?
It’s an easy fix! Simply use a yarn needle to weave your yarn back up through the dropped stitch, making sure to catch the surrounding stitches for stability. If you’re unsure, I recommend checking your gauge first to ensure it aligns with the pattern specifications.
What care instructions should I follow for my crochet whale?
To keep your adorable crochet whale looking its best, hand wash it gently in cold water and lay it flat to dry. Avoid using harsh detergents and ensure that it’s thoroughly dried to maintain its plushiness and integrity. This way, your cuddle buddy will remain vibrant and huggable!
Leave a Reply