
With the sea breeze in my hair and the gentle sound of waves, I often find myself dreaming up delightful projects like the adorable tiny jellyfish keychain. This charming little accessory is not just a simple crochet piece but a winking nod to the whimsical wonders of ocean life! Perfect for crocheters at any skill level, this beginner-friendly pattern makes it easy to create a cute, functional item in no time at all. You’ll not only embrace a soothing craft experience, but you’ll also end up with a unique keychain that’s perfect for gifting or adding a splash of personality to your bags. Are you excited to dive in and make your very own tiny jellyfish? Let’s start stitching!
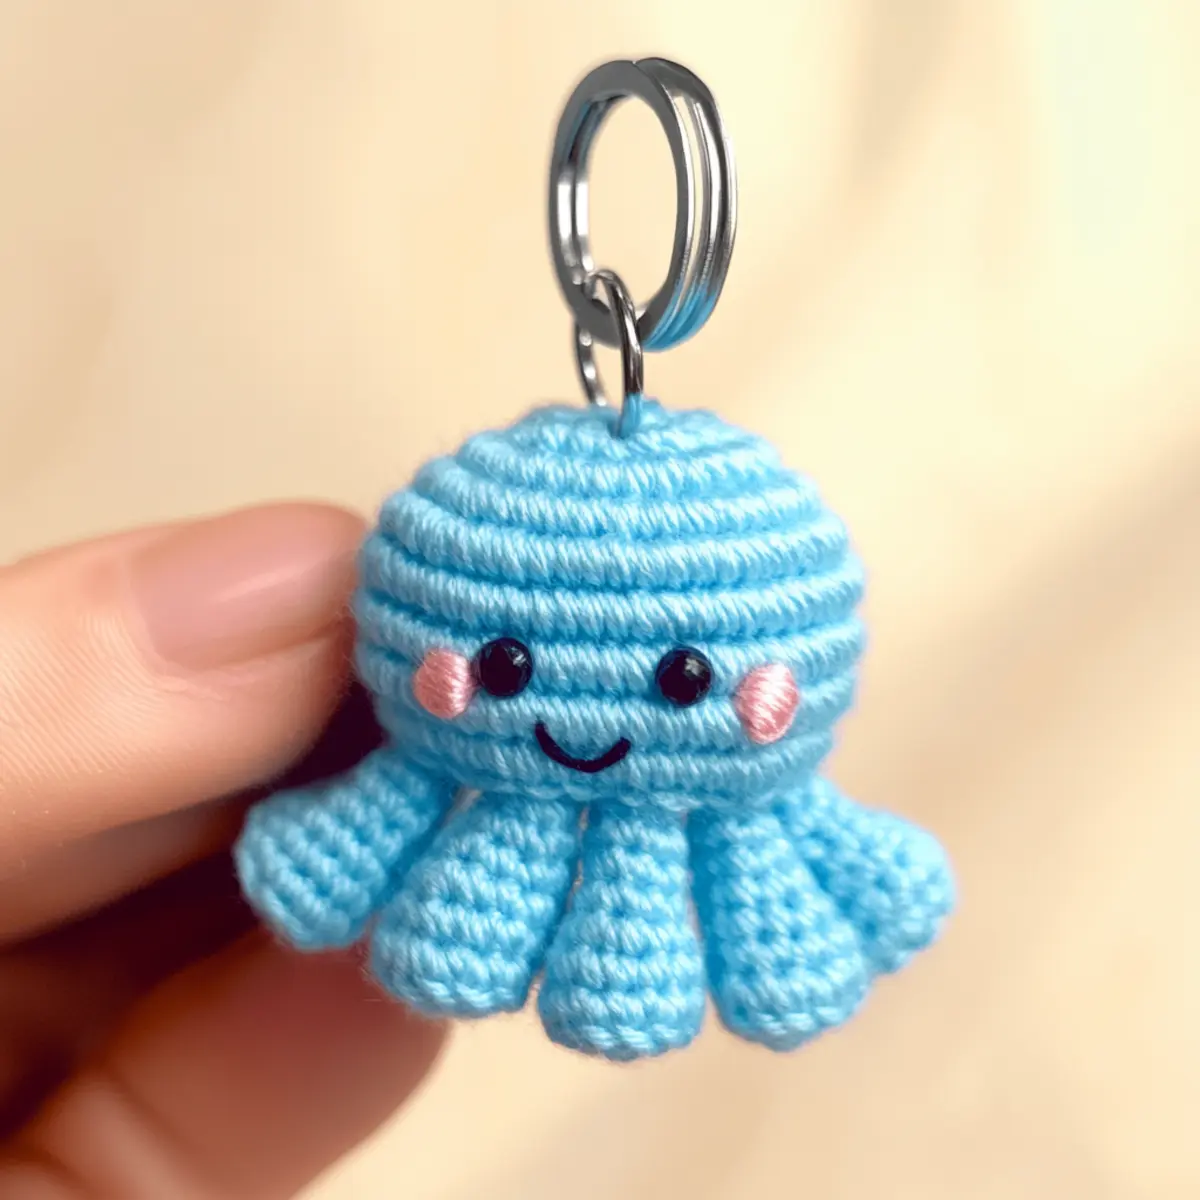
Tiny Jellyfish Keychain Materials & Tools
Yarn
• Light Worsted Yarn (Weight Category 3) – You’ll need about 50-75 yards for your cute jellyfish!
• Soft Acrylic or Cotton Blend – This ensures durability and comfort for your adorable creation.
Tools & Notions
• 3.5mm (US E) Crochet Hook – This size is perfect for achieving the right tension for your jellyfish design.
• Safety Eyes – Use for your jellyfish’s adorable face, giving it character.
• Small Button – Add a decorative touch to your jellyfish.
• Yarn Needle – Essential for weaving in ends and adding details.
• Stuffing – Necessary for shaping your jellyfish and giving it that squishy texture.
• Keychain Attachment – Complete your tiny jellyfish keychain so you can take it anywhere!
This enchanting project is sure to spark joy and creativity as you stitch up your very own tiny jellyfish keychain!
Why Is This Jellyfish Keychain So Special?
Beginner-Friendly: This pattern is perfect for newcomers to crochet, using only basic stitches like single crochet, making it an accessible and satisfying project.
Charming Aesthetic: The jellyfish design is both whimsical and cute, ideal for adding a playful touch to your keys or bags.
Quick Satisfaction: With just 50-75 yards of yarn needed, you’ll see your adorable jellyfish come to life in no time—perfect for instant gratification!
Versatile Gift: This tiny jellyfish keychain is not just for you; it makes a delightful gift for ocean lovers or a functional accessory for children.
Customizable: Feel free to add a colorful twist to your jellyfish by using vibrant yarn or personalizing with unique embellishments. Making this keychain unlocks a world of creative possibilities!
Gauge & Sizing Notes
Don’t skip the gauge swatch! Ensuring the correct tension while working on your tiny jellyfish keychain is vital to achieving the desired size and shape. A standard gauge measurement for this project is a 4×4 inch (10×10 cm) square = 14 single crochets by 8 rows. If you find your swatch differs from this, adjusting your starting chain is simple: to make your jellyfish larger, increase your chain in multiples of 6. Conversely, if your swatch is too small, try going up a hook size for a looser tension. Remember, matching your crochet gauge will help your tiny jellyfish keychain maintain its whimsical form and charm!
Step‑by‑Step Pattern for tiny jellyfish keychain
Round 1: Start the Body
Begin by creating a magic ring. Work 6 sc into the ring, pulling it tight to secure your stitches. This will form the center of your jellyfish. As you work, ensure your ring is closed snugly to avoid any gaps. Your work should resemble a small circle (6 sts).
Round 2: Increase the Body
Continue in the round by making 2 sc in each stitch around, doubling your stitch count for a fuller jellyfish body. This round will start to shape the jellyfish’s form. Keep an eye on your tension; it should feel snug but not overly tight (12 sts).
Round 3: Shape the Body
Now, work 1 sc in the next stitch, then 2 sc in the following stitch and repeat around. This increase will create a gentle curve to the jellyfish’s body, giving it a plump appearance. Your jellyfish should be rounding out beautifully by the end of this round (18 sts).
Round 4: Continue Shaping
In this round, make 1 sc in the next 2 stitches, then 2 sc in the next stitch around. This will further expand the jellyfish’s body, helping achieve that adorable, rounded shape. Your work will begin to cup slightly as it grows (24 sts).
Round 5: Finish the Body
Work 1 sc in the next 3 stitches, then 2 sc in the next stitch for this round. This will reflect the final shaping phase of the jellyfish’s body. By now, you should see a lovely rounded form taking shape (30 sts).
Round 6: Base of the Jellyfish
To create the base, work 1 sc in each stitch around, ensuring your jellyfish starts to become more solid. This round will provide a sturdy foundation. Your jellyfish should feel firm and secure (30 sts).
Round 7: Tentacle Preparation
Now, we’ll start forming the tentacles. Ch 30 for each tentacle. Slip stitch back into the body at the base of your jellyfish to attach the tentacle. Make 4 tentacles in total for a delightful and playful appearance. They should hang freely from the jellyfish’s body.
Step 1: Edging the Body
For a charming frilly edge, work 2 dc in each of the next 6 stitches, then 1 hdc, followed by 2 dc in the next 5 stitches. This will give the jellyfish a whimsical flair, perfecting its friendly look. Your edge should wave gently; it will be quite lovely (approximately 20 frills).
Step 2: Adding Facial Features
With safety eyes or embroidered features, add delightful eyes on the body of the jellyfish just above where the tentacles begin. Use your yarn needle to weave in any loose ends securely, ensuring your jellyfish maintains its charm and character.
Step 3: Final Assembly
Attach the keychain clip to the top of the jellyfish. Weave any remaining ends into the body with your yarn needle. Give your tiny jellyfish keychain a gentle fluff to ensure the stuffing is evenly distributed, and admire your cute new accessory!
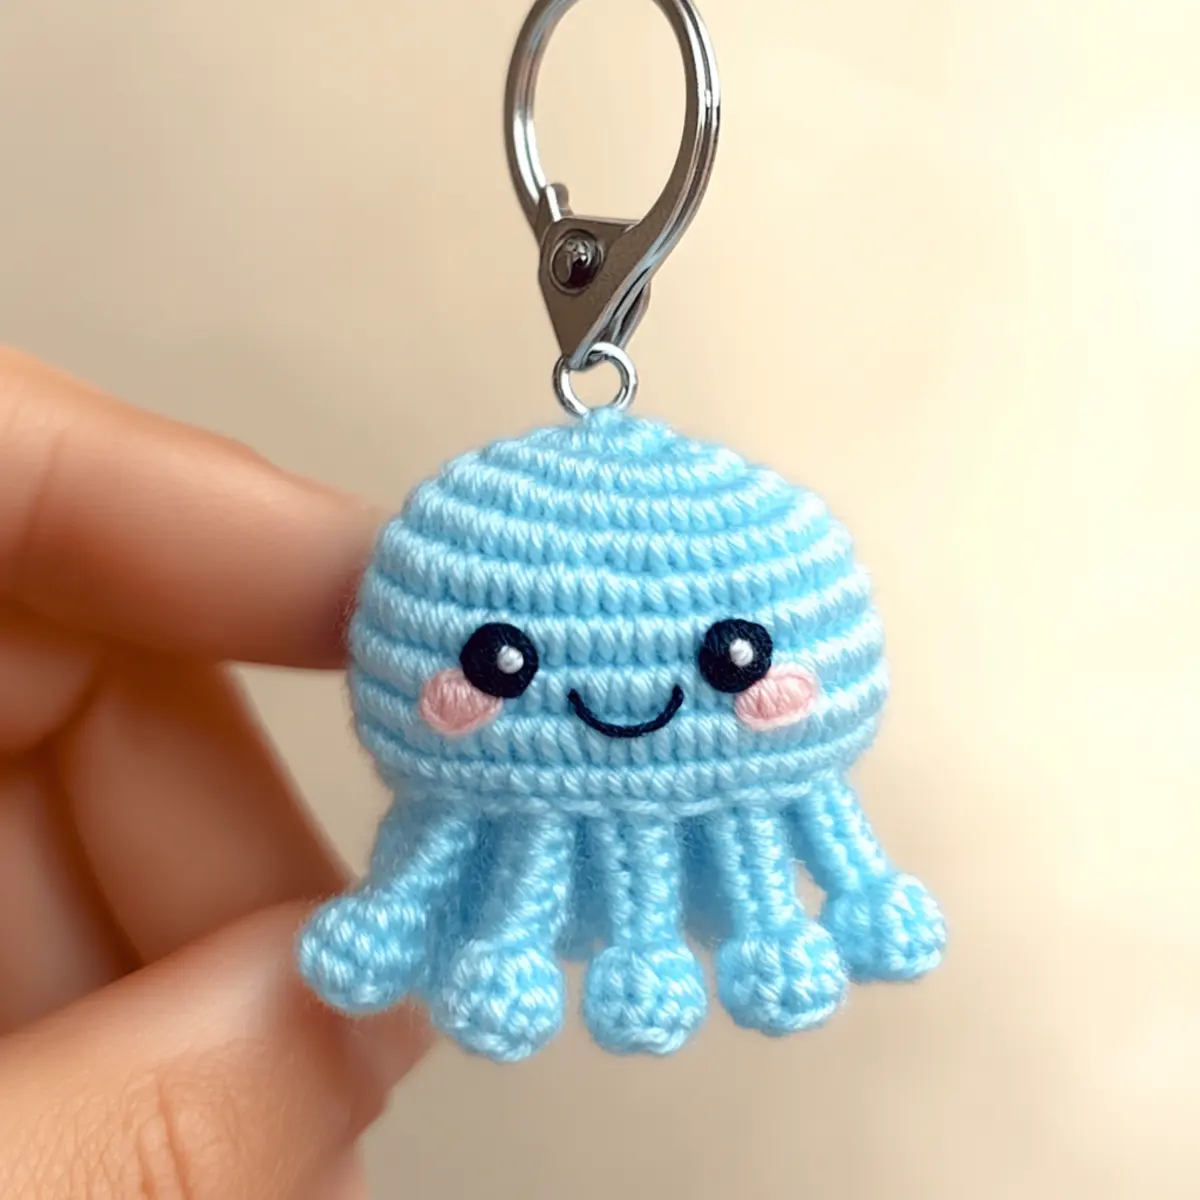
Expert Tips for Your Tiny Jellyfish Keychain
• Consistent Tension: Maintain even tension throughout your stitches to keep the jellyfish’s shape intact, especially important for those cute frilly edges.
• Use Stitch Markers: Utilize stitch markers to track your rounds accurately. This is particularly helpful in the tentacle section where increases can cause confusion.
• Count Carefully: Take your time counting stitches, especially at the beginning of each round. Losing count can lead to uneven sizes, which can impact your adorable tiny jellyfish keychain.
• Block for Shape: Lightly blocking your finished keychain helps refine the jellyfish shape, enhancing its charm and overall visual appeal.
• Embellish Thoughtfully: When personalizing your jellyfish, remember that less is often more. A simple bow or small accessory can elevate the cuteness without feeling cluttered.
How to Wash and Care for Your Tiny Jellyfish Keychain
Machine Washing: Use a gentle cycle with cold water to preserve the integrity of your tiny jellyfish keychain, and avoid agitation to prevent felting or pilling.
Hand Washing: If you prefer, gently hand wash your keychain in cold water with mild soap, ensuring you don’t wring it out, to maintain its soft and squishy form.
Drying/Blocking: Lay your keychain flat on a clean towel to dry. This will help maintain its unique shape while allowing it to dry naturally without any heavy weight.
Storage: Keep your jellyfish keychain in a cool, dry place, away from direct sunlight to prevent fading, ensuring it remains a vibrant accessory for years to come!
Tiny Jellyfish Keychain Variations
Let your creativity flow and customize your very own tiny jellyfish keychain with these fun ideas!
-
Yarn Weight Swap: Use a lighter or heavier yarn for different sizes—try worsted weight for a chunkier jellyfish.
-
Color Magic: Experiment with neon colors or pastels to create a vibrant jellyfish family. The possibilities are endless!
-
Fiber Alternatives: Switch acrylic for a cotton blend for a softer, eco-friendly touch. Cotton offers breathability, especially for summer gifts.
-
Sizing Adjustments: Use a smaller hook and thinner yarn for mini keychains, or larger yarn for a bold statement piece. Your jellyfish can be as unique as you are!
-
Whimsical Eyes: Replace safety eyes with sweet embroidered versions for a handmade charm. This adds a personal touch to your jellyfish.
-
Fringe Fun: Adorn your jellyfish with fringed tentacles for a playful twist! It’s a simple crochet technique that adds texture and flair.
-
Creative Embellishments: Throw in some sparkly buttons or tiny charms to personalize your jellyfish further. Accessories like bows or stars could make a great addition!
-
Add a Border: Consider adding a decorative border to the jellyfish’s body for an upscale finish. A simple scalloped edge can bring out the whimsy even more.
These variations offer a great way to express your creativity and make your jellyfish truly one-of-a-kind. If you’re inspired to try other fun projects, check out crochet essentials to explore more ideas, or visit our guide on colorful crochet techniques for more stunning options!
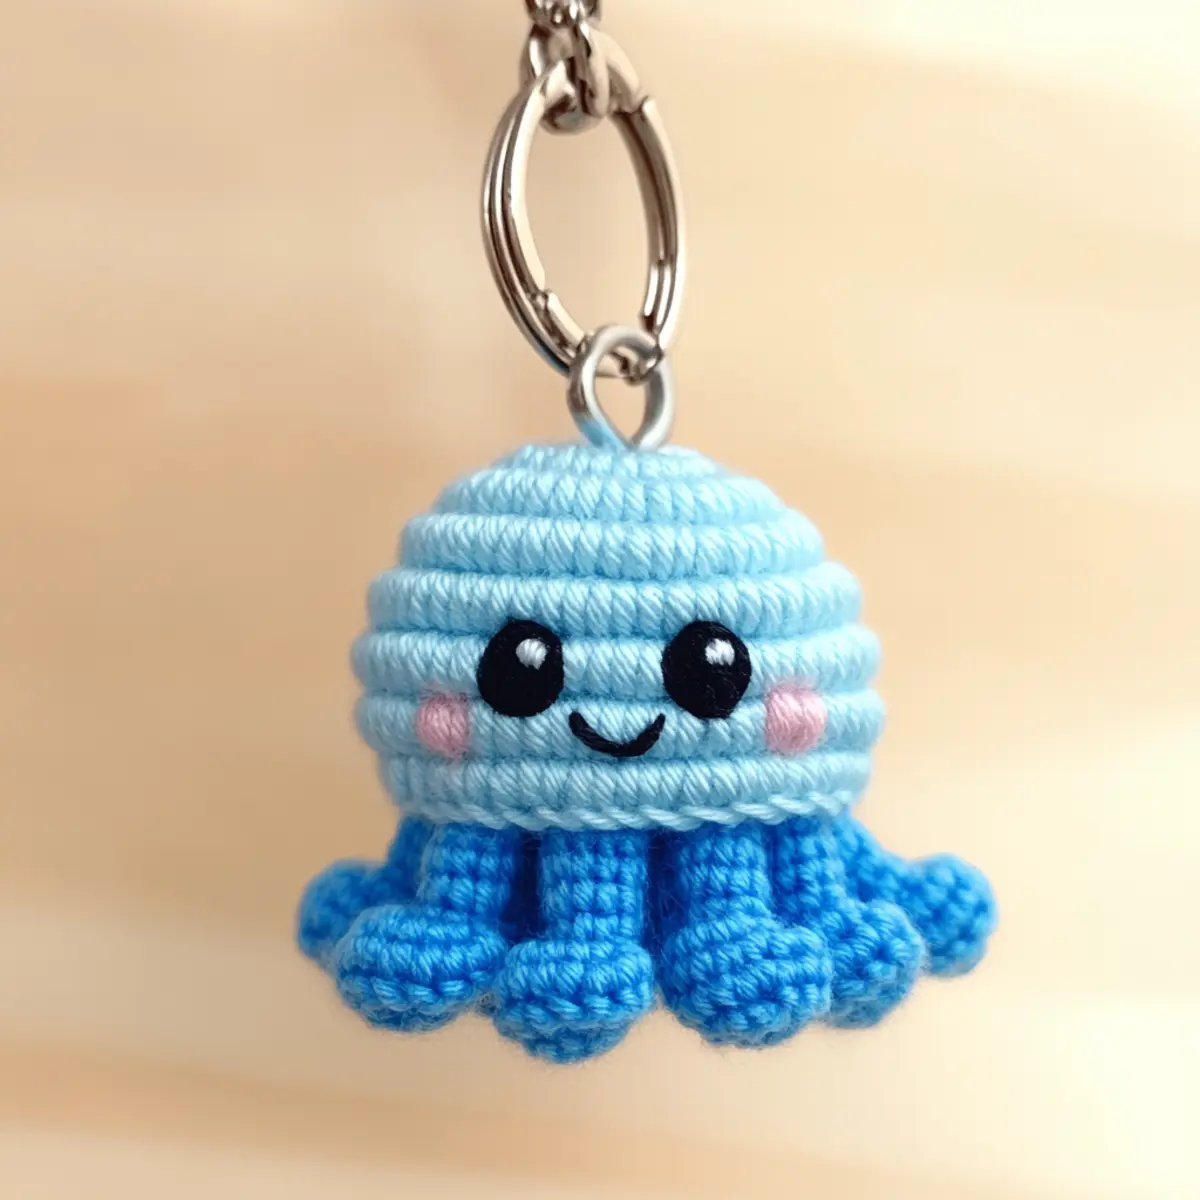
Cute Tiny Jellyfish Buddy Keychain FAQs
Can I use a different yarn weight for my tiny jellyfish keychain?
Absolutely! You can swap different yarn weights—just remember that using a lighter weight (like sport or DK) may result in a smaller jellyfish, while a heavier yarn could make a larger one. Just be sure to adjust your crochet hook size accordingly for best results.
How do I adjust the size of my jellyfish keychain?
If you’d like to make your jellyfish larger or smaller, it’s as simple as changing your yarn and hook sizes! If using thicker yarn, choose a larger hook, and if you want it smaller, consider a thinner yarn and smaller hook. For a mini version, I recommend a lighter yarn (like weight category 2) with a 3mm hook.
Why is my jellyfish keychain curling at the edges?
Don’t panic! If your jellyfish is curling, it may be due to inconsistent tension or not crocheting enough rounds. Check to ensure your stitches are even. Blocking lightly after completing can also help it lay flat and look fabulous!
How do I fix dropped stitches in my jellyfish pattern?
It happens to the best of us! If you spot a dropped stitch, you can use your crochet hook to pull the yarn back up to the next row or use a yarn needle to secure it. Just weave the end back into your work and you’re good to go.
What size crochet hook should I use for my tiny jellyfish keychain?
For the tiny jellyfish keychain, I recommend using a 3.5mm (US E) crochet hook, as it helps achieve the right tension for the lightweight yarn. If you’re trying a different yarn weight, remember to adjust your hook size accordingly to maintain stitch consistency!
Can I personalize my jellyfish keychain?
Absolutely! You can make your tiny jellyfish keychain unique by adding different colors or accessories like bows or stars. Just be mindful not to overcrowd it—it’s all about achieving that whimsical charm while keeping it captivating!
Leave a Reply