
There’s nothing quite like the feeling of transforming a simple ball of yarn into something that bursts with life and beauty. I’m thrilled to share my newest crochet adventure: the Blossom Granny Square with a delightful tulip design. This granny square crochet pattern doesn’t just capture the essence of spring; it also allows you to create a striking centerpiece for your home or a unique accessory. What I love most about this pattern is that it’s beginner-friendly, making it perfect for those just starting out, while also offering enough charm to keep seasoned crafters engaged. The best part? You can whip these squares up quickly, creating cozy blankets or adorable bags in no time! Curious about how to add a touch of floral elegance to your yarn stash? Let’s dive in and get started on this lovely crochet journey together!
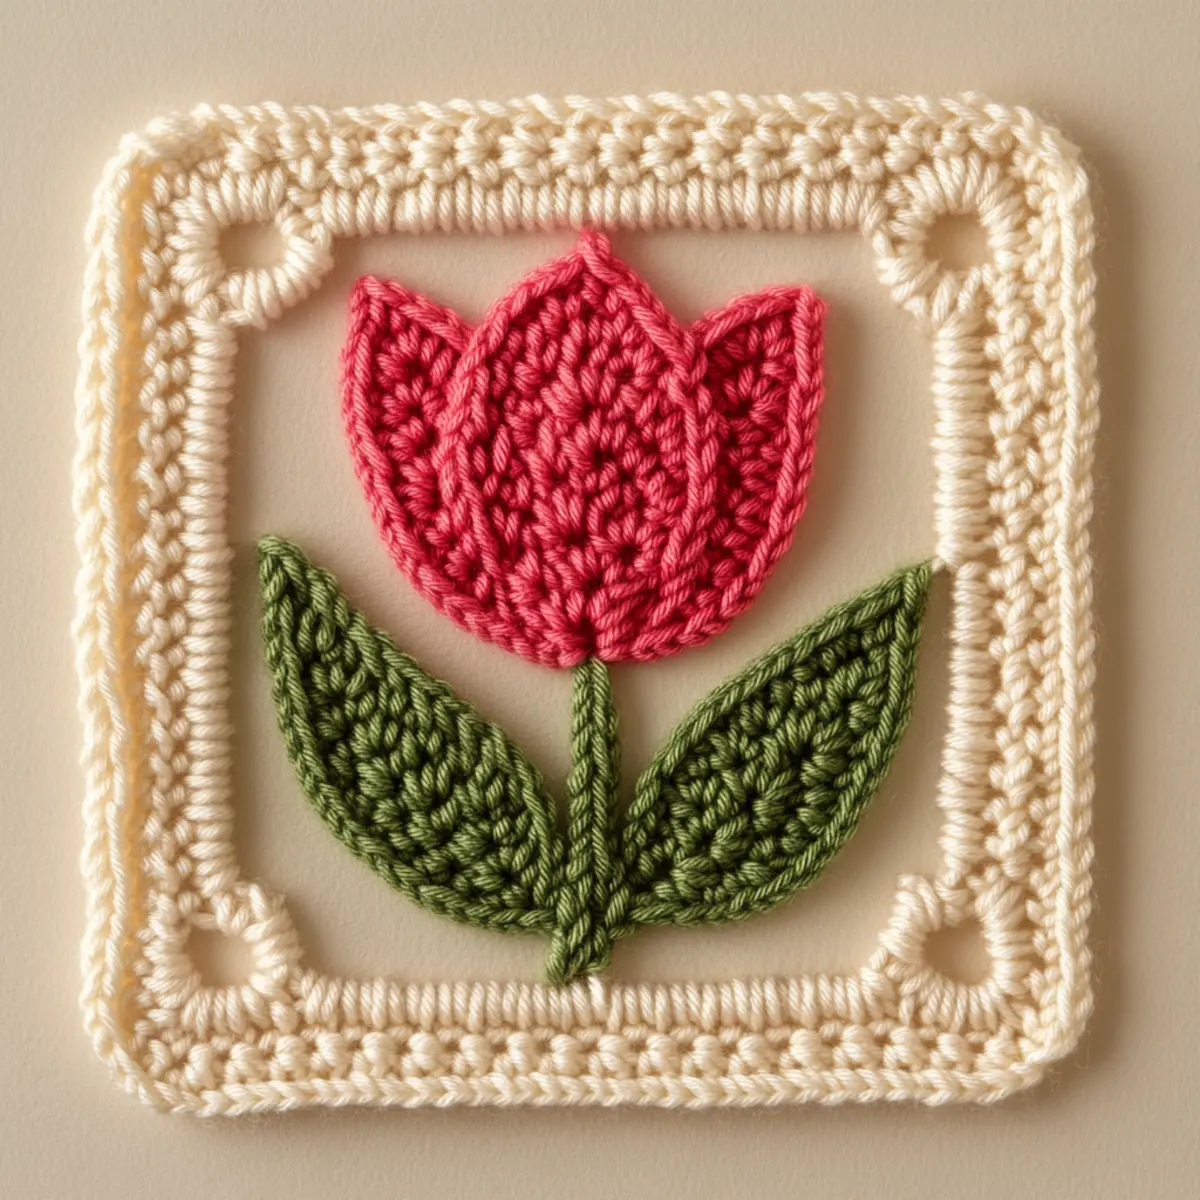
Granny Square Crochet Materials & Tools
Get ready to stitch your own floral beauty!
Yarn
• Medium Weight Yarn – Choose an acrylic or cotton blend; plan for 150-200 yards for one square.
• Cream Yarn – This will serve as the base color for your square.
• Pink Yarn – Use this for the tulip petals, bringing a burst of spring to your design.
• Green Yarn – Ideal for crafting leaves that complement the tulip motif.
Tools & Notions
• 4.5mm (G) Crochet Hook – This hook size will help you create nice and comfy stitches.
• Stitch Markers – Mark the beginning of each round to keep your dimensions uniform.
• Darning Needle – Essential for weaving in ends and finishing your beautiful square.
• Scissors – For snipping your yarn cleanly when needed.
With these materials, you’re all set to start your charming granny square crochet adventure!
Why is the Tulip Granny Square Special?
Versatile Design: Whether you’re looking to create blankets, bags, or decorative pillows, this granny square crochet pattern adapts beautifully to any project.
Charming Aesthetic: The tulip design showcases a vibrant and uplifting feel, embodying the freshness of spring, making it a perfect addition to your home decor.
Relaxing Process: Enjoy the gratifying experience of crocheting with simple stitches while still crafting something that looks intricate and beautiful.
Quick Completion: With only 150-200 yards per square, you’ll be able to create multiple pieces in no time, perfect for gifts or personal use.
Room for Creativity: Mix and match colors or swap out motifs, like daisies or sunflowers, to personalize your squares and make each one uniquely yours!
Ideal for All Skill Levels: This beginner-friendly pattern invites newcomers while also providing enough detail to keep experienced crafters engaged. Dive into this delightful project, and soon you’ll have a stunning collection of tulip granny squares!
Gauge & Sizing Notes
Don’t skip the gauge swatch! Checking your tension is essential for the granny square crochet project, as it ensures that your squares turn out with uniform size and appearance. For this pattern, a standard gauge measurement is: 4×4 inch (10×10 cm) square = 14 double crochets by 8 rows. If you desire a larger square, you can easily increase your starting chain in multiples of 6 and add additional rounds to accommodate more petals or leaves. If your swatch measures smaller than expected, simply go up a hook size to achieve a roomier tension. Embrace the joy of creating with the perfect fit!
Step‑by‑Step Pattern for Blossom Granny Square with Tulip Design
Row 1 (or Round 1): Create the Base Ring
Begin with a slip knot in cream yarn and chain 4 to form a ring. Work 12 double crochets (dc) into the ring, ensuring it’s snug. Join with a slip stitch (sl st) to the top of the first dc, forming your round. At this point, your work should resemble a small circular shape (12 sts).
Row 2: Expand the Circle
Switch to pink yarn and chain 2. In the same stitch, work 2 dc (dc) to create an increase. Continue to work 2 dc in each stitch around the base, joining with a sl st to the top of the initial chain to complete the round. This round will amplify your circle to a satisfying fullness (24 sts).
Row 3: Form the Tulip Petals
In pink, chain 1 and work 1 hdc in the first stitch, followed by 2 dc in the next stitch. Skip the following stitch and repeat this pattern around. For each petal, your piece should start to have a charming tulip shape as you alternate between hdc and dc, ending with a sl st (12 petals formed).
Row 4: Create Petal Depth
Chain 2 and into the first petal, work 1 dc, 1 hdc, and 1 dc (forming the first petal tip). Repeat this into each petal, ensuring they taper gracefully. Your project will start resembling clearly defined tulip petals, with a lovely texture created by the varied stitches used (12 tapered petals).
Row 5: Leaf Addition
Attach green yarn at the base of a tulip petal. Chain 1 and work 2 sc into the same stitch, followed by a dc in the next stitch. Skip the next and sl st back into the same stitch to create the first leaf. This will start giving your tulip granny square a lush, garden-like feel (3 leaves completed).
Row 6: Finish the Leaves
Continue working at the base of the tulip petals, creating one leaf per petal. Use a mix of sc and dc stitches to provide dimension, ensuring all leaves point downwards for a natural look. After this round, your flower should be fully incorporated with lovely leafy accents (6 leaves decorated).
Step 7: Add a Finishing Border
Switch back to the cream yarn and chain 1. Work a single crochet (sc) border around the entire granny square, placing 3 sc in each corner to maintain a nice shape. This border will neatly finish your project while making it truly stand out (total of 60 sc around).
Step 8: Final Touches
To finish your tulip granny square, weave in any ends with a darning needle. Consider blocking your square to achieve crisp edges and enhance the floral design. Your masterpiece is now ready to shine as a decorative piece, measuring approximately 6-8 inches!
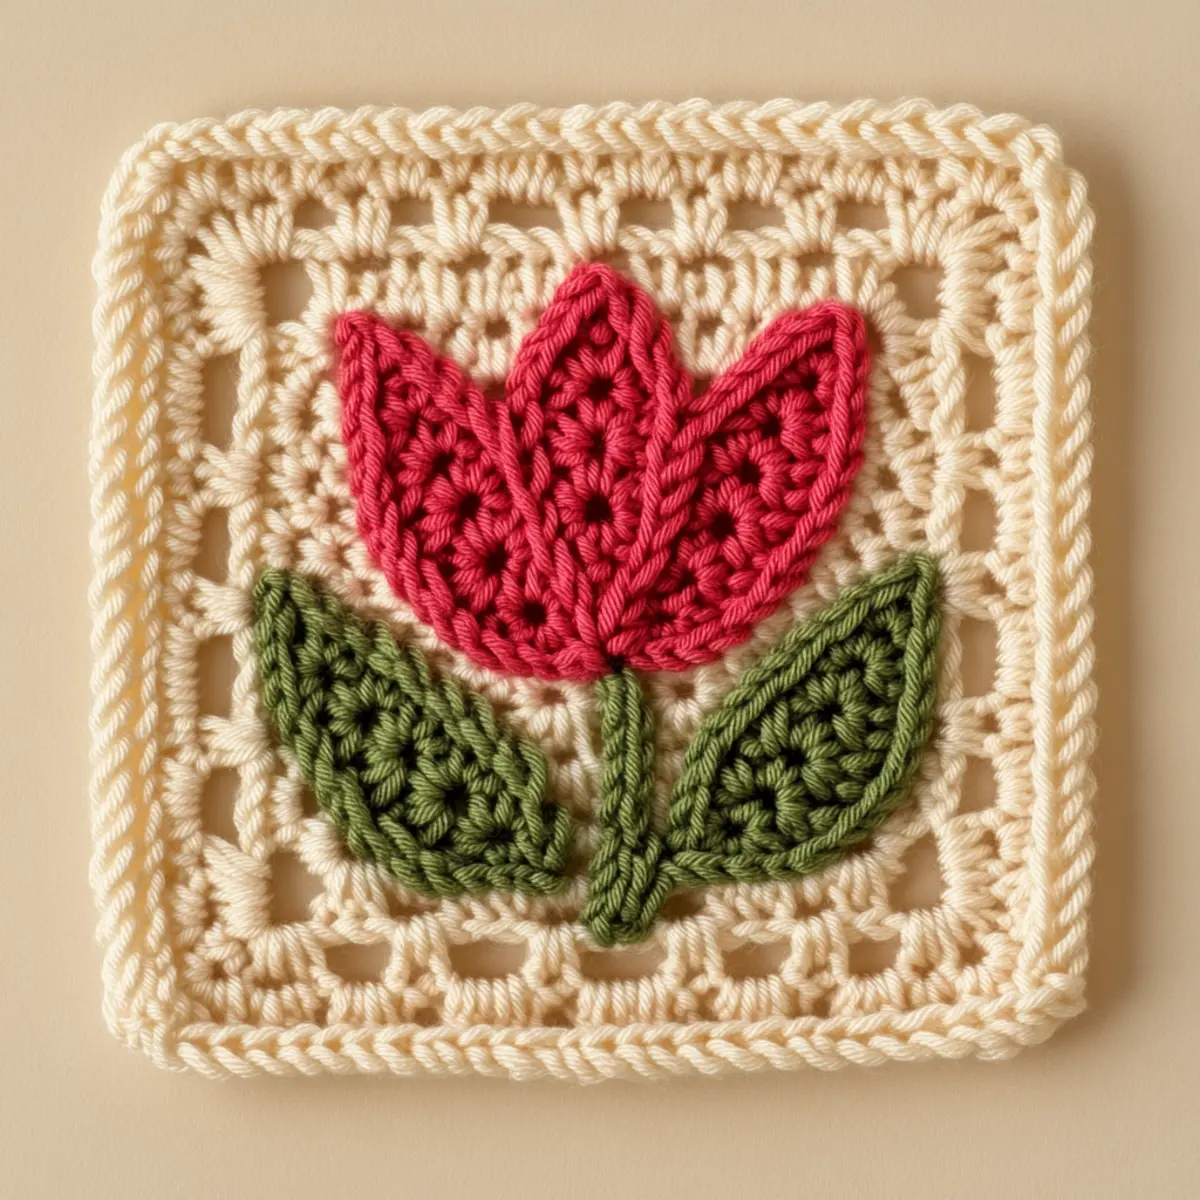
Granny Square Crochet Variations
Feel free to let your creativity flourish and customize this lovely granny square crochet pattern to perfectly suit your style!
-
Yarn Substitutions: Swap acrylic for a cotton blend for a lighter, breathable feel—ideal for warm-weather projects.
Mixing fibers gives you a unique texture; imagine the softness of cotton against your skin. -
Color Blocking: Use three or more colors instead of two to create striking blocks of color within the square.
This method can transform your project into a vibrant masterpiece, reflecting your personality and style. -
Larger Square: Create larger squares by adding more rounds and adjusting your stitch counts accordingly.
Bigger pieces can make cozy throws or bedspreads that elevate your home decor. -
Floral Motif Swap: Replace tulips with daisies, sunflowers, or even a simple star for a fresh seasonal twist.
Each variation brings a new life to the design while still following the same construction guidelines. -
Textured Yarn: Incorporate textured yarns with slight variations for a blossoming appearance that’s both delightful and visually intriguing.
The added texture can enhance the overall aesthetic, so let your yarn summer bloom! -
Size Adjustments: Alter your hook size to create granny squares with distinct dimensions, fitting them seamlessly into various projects.
Experimenting with your hook size can lend to different drapes and styles, broadening your crochet possibilities! -
Add Fringe or Pom-Poms: Breathe life into your finished squares with playful fringe or pom-poms along the edges.
These fun additions can create festive flair and allow your squares to stand out in any setting. -
Decorative Borders: Switch up the border with lace stitches or contrasting colors to give your square an enchanting finish.
A beautiful border can frame your hard work, making your pieces feel polished and complete.
As you explore these variations, consider checking out different granny square crochet tutorials or guides to spark more ideas along your crafting journey!
Expert Tips for Tulip Granny Square
• Maintain Even Tension: Consistent tension is key to achieving uniform dimensions for your granny square crochet. Use a stitch marker to mark the start of each round for accuracy.
• Count Your Stitches: Carefully count your stitches as you crochet each round to avoid losing count, which can lead to uneven squares or missing petals.
• Perfect Your Blocking: Blocking is essential! It helps achieve crisp edges and makes the tulip design pop. Block your square after the final round for that polished look.
• Practice First: If you’re new to granny squares, practice with scrap yarn first. This helps you get comfortable with the stitch patterns without the pressure of creating a finished piece.
• Try Different Colors: Experiment with pastel colors for a soft look or bold hues for a lively spring vibe. Mix colors for the tulip and leaves to bring your granny square crochet to life!
Care Instructions for Tulip Granny Square
Machine Washing: Use cold water on a gentle cycle to preserve the delicate stitches of your granny square crochet. Avoid using harsh detergents that may fade or damage the fibers.
Hand Washing: For best results, gently hand wash your tulip granny square in cold water with a mild detergent. This method keeps the floral details vibrant and intact.
Drying/Blocking: After washing, lay your granny square flat on a clean towel to dry. Use blocking mats and pins to shape the square, allowing the design to stand out beautifully.
Storage: Store your finished squares in a cool, dry place. Keep them folded or flat in a breathable bag to prevent any dust buildup while ensuring the yarn fibers stay fresh.
Tulip Granny Square Crochet Pattern FAQs
Can I substitute yarn for this pattern?
Absolutely! While the pattern calls for a medium (worsted weight) acrylic or cotton blend, you can experiment with other yarn types. Just be mindful of the weight difference; a lighter yarn will create a lacey daintiness, while a thicker yarn may produce a chunkier appearance. Just remember to check your gauge before you start!
How do I adjust the size of my granny square?
To make your Tulip Granny Square larger, simply add more rounds! Each additional round will require an increase in stitch count. If you’re aiming for a significantly larger square, consider adding extra petals or leaves for added charm; just be sure to chain in multiples of 3 + 1 for the correct foundation!
Why is my work curling?
Don’t panic! Curling often occurs when your tension is too tight or if there’s an imbalance in your stitch counts. Make sure you maintain even tension while crocheting and check your stitch counts as you go, making adjustments if necessary. Blocking after finishing can also help flatten and smooth out your square.
What hook size should I use for this pattern?
The recommended hook size for the Tulip Granny Square is 4.5 mm (G). However, if you find your stitches are too tight or loose, don’t hesitate to try a different size. A larger hook can create a more open, airy feel, while a smaller one can give you a denser fabric. Experiment until you find your perfect fit!
How can I fix dropped stitches in my granny square?
It’s an easy fix! Simply use your darning needle to pick up the dropped stitch and pull it back through the last worked stitches. If you’re ever uncertain, just keep stitching; I recommend practicing on scrap yarn first. You’ll build confidence and learn how to resolve small issues effortlessly.
Leave a Reply