
As I sat on my porch one breezy afternoon, surrounded by vibrant blooms bursting with color, inspiration struck—why not crochet a playful flower bracelet that captures that joy? This charming crochet flower bracelet is not just a delightful accessory; it’s a canvas for your creativity, perfect for expressing your unique style through cheerful flowers. This beginner-friendly project is a great way to test out new color combinations and improve your crochet skills as you create something beautiful to wear or gift. With just a few simple stitches and lightweight cotton yarn, you’ll be amazed at how quickly this lovely bracelet works up, making it a fantastic project for sunny days ahead. Ready to dive into this colorful crochet adventure together? Let’s get started!
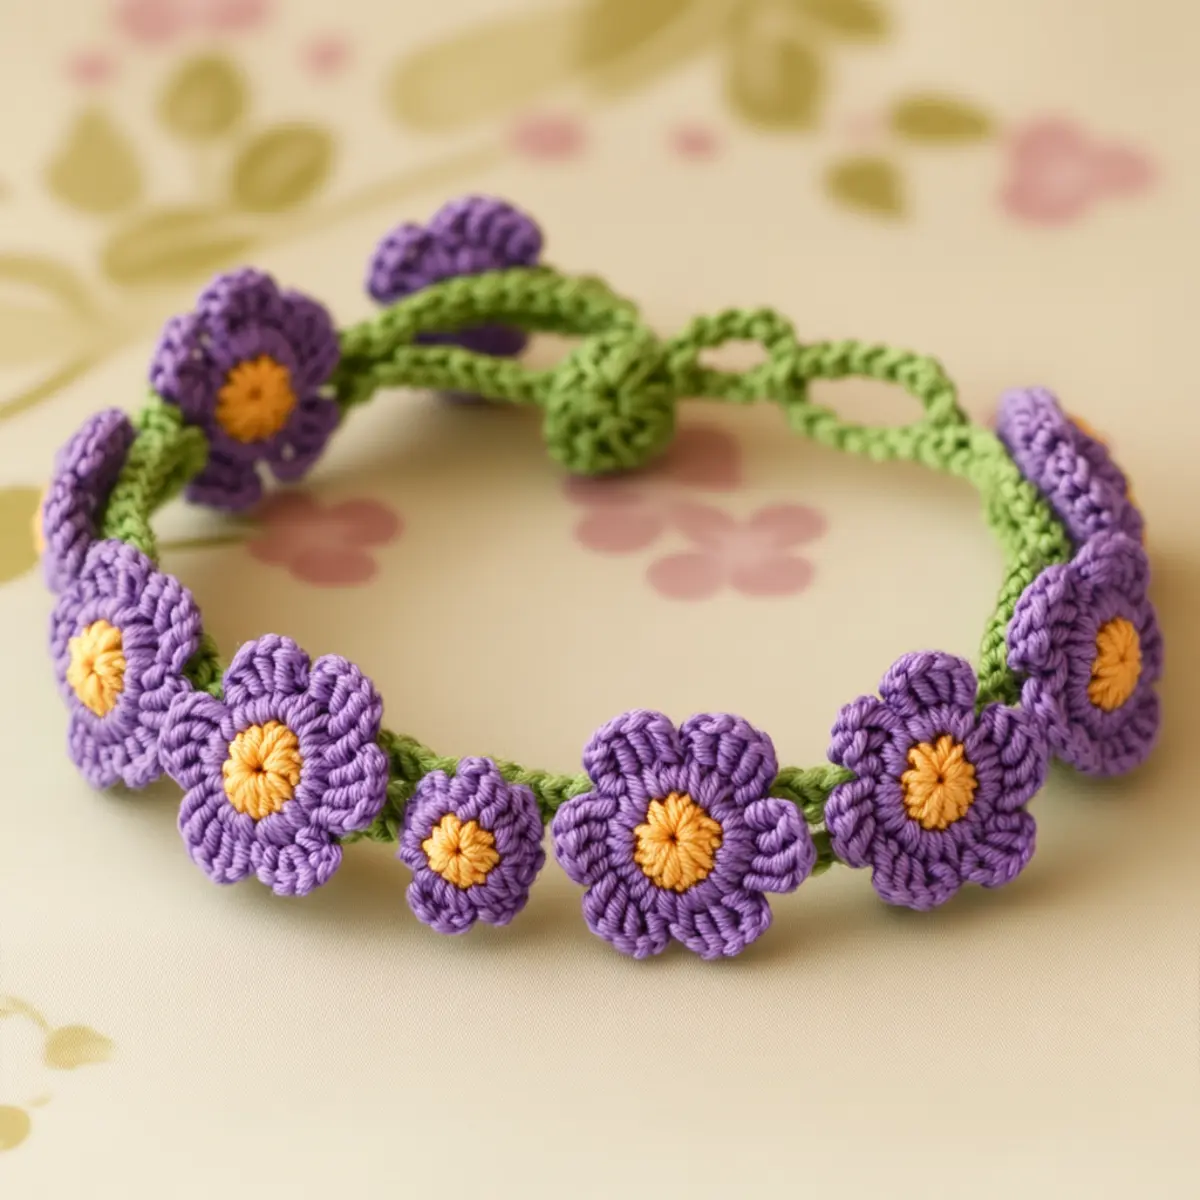
Flower Bracelet Materials & Tools
Ready to create your beautiful flower bracelet? Gather these supplies to embark on your crochet journey!
Yarn
• Sport Weight Cotton Yarn – Choose three colors: lavender, yellow, and green for a vibrant effect, using approximately 50-70 yards total.
Tools & Notions
• 2.0 mm (US B-1) Hook – Ideal for fine details in your flower designs.
• Scissors – Essential for cutting yarn at the end of your project.
• Tapestry Needle – Great for weaving in ends and securing your work.
• Stitch Marker (optional) – Helpful in marking flower placements and keeping your stitches counted.
Get ready to crochet with a splash of color and creativity!
Why crochet a flower bracelet?
Creativity Unleashed: This cheerful flower bracelet is a wonderful opportunity to showcase your artistic flair!
Beginner-Friendly: Using simple stitches, this project is ideal for novice crocheters looking to enhance their skills without feeling overwhelmed.
Vibrant Customization: Mix and match colors to reflect your personality or seasonal themes, ensuring each bracelet is truly one-of-a-kind.
Perfect for All Ages: This stylish accessory makes a delightful gift for friends and family or a fun project for crafting groups.
Quick Satisfaction: With an estimated total yardage of just 50-70 yards, you can whip up several bracelets in no time, perfect for those sunny days!
Dive into crafting your own beautiful piece and embrace the joy of crochet with this lovely flower bracelet design.
Gauge & Sizing Notes
Don’t skip the gauge swatch! Achieving the correct tension is essential for your delightful crochet flower bracelet, as it ensures that each flower maintains a uniform size and the overall bracelet fits comfortably. For this project, a standard gauge measurement of 4×4 inches (10×10 cm) should yield approximately 14 double crochets by 8 rows. If you want to adjust the size of your bracelet, increase your starting chain in multiples of 3 for each additional flower, or simply add more rounds in multiples of 4 if you wish to create larger flowers. If your tension swatch is smaller than expected, try going up a hook size to achieve that perfect fit for your flower bracelet!
Step‑by‑Step Pattern for flower bracelet
Row 1: Start the Flower
Begin by creating a magic ring. Chain 3 (counts as your first dc), then work 11 dc into the magic ring. Pull the ring tight to secure your stitches, and join with a sl st to the top of the initial ch-3. You should have 12 double crochets total, and your work should appear as a small circle.
Row 2: Form the Flower Petals
For the petals, chain 2 (counts as first hdc) and then hdc, ch 2, sl st into the next dc; repeat this sequence in each of the remaining dc around. This will create a ruffled look, with 12 petals forming. Remember, your work should start to have a lovely, textured edge as you complete this row.
Row 3: Center of the Flower
Switch to your yellow yarn to begin the flower center. Sl st into the first ch-2 space, then crochet ch 3, sl st back into the same space to secure. Repeat this in each ch-2 space around, which will give the flower its lovely center. You will have 12 tiny loops in bright yellow, adding a cheerful touch to your flower bracelet.
Row 4: Connect the Flowers
After creating several flowers, it’s time to connect them. Using green yarn, chain 5 after the last flower, then sc in the next ch-2 space of the next flower to connect. Repeat this, chaining 5 between each flower for space, ensuring your bracelet will have flexibility and flow.
Row 5: Finalizing the Bracelet Length
Keep connecting flowers until you reach your desired bracelet length. Make sure to count the number of flowers used, aiming for about 7-9 inches total length. You may adjust the number of connecting chains as needed to achieve a comfortable fit for your wrist.
Step 6: Finish with a Sliding Knot
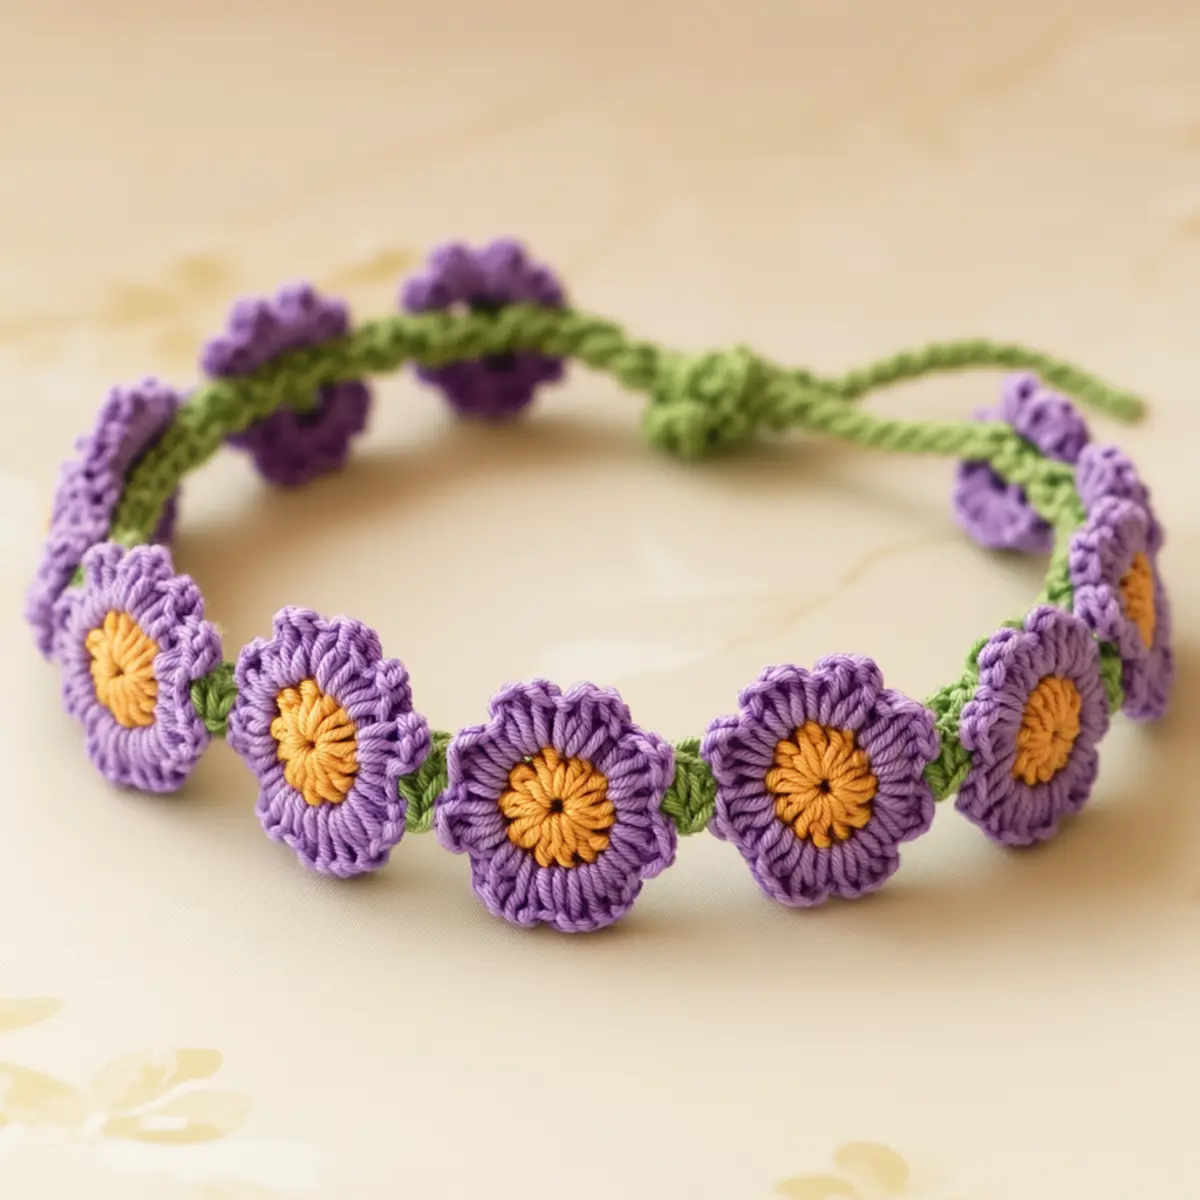
To create the adjustable sliding knot, chain 15 after your last flower. Then, pass the yarn end back through the last flower and tie a knot to secure. This will allow you to adjust the bracelet comfortably, ensuring it sits perfectly on your wrist. Trim any excess yarn and weave in the ends for a polished finish.
How to Wash and Care for Your Flower Bracelet
Machine Washing: Use cold water on a gentle cycle to help preserve the beauty of your flower bracelet. Avoid agitation to prevent any felting or pilling.
Hand Washing: For best results, hand wash your bracelet in cold water, using mild detergent. Gently squeeze and rinse to remove soap while keeping the flowers intact.
Drying/Blocking: After washing, lay your flower bracelet flat on a clean, dry towel to reshape and dry. This will help maintain the lovely shape of each flower.
Storage: Store your flower bracelet in a cool, dry place, away from direct sunlight. Keep it in a soft bag to avoid snagging or crushing those charming flower details.
Flower Bracelet Variations & Substitutions
Embrace your creativity and style by customizing your flower bracelet with these fun ideas!
-
Yarn Alternatives: Swap cotton yarn for bamboo or linen for a unique texture and sheen. Explore how this can completely change the bracelet’s vibe!
-
Color Combos: Experiment with vibrant summer shades or softer pastels for a lovely spring look. Each palette can evoke different feelings and styles, making your bracelet truly yours.
-
Larger Flowers: Use a thicker yarn to create oversized flowers for a more dramatic statement piece. This change can really make your bracelet pop!
-
Beaded Additions: Incorporate beads or charms in between flowers for a touch of elegance. This simple extra can add sparkle and character to your design.
-
Adjustable Sizing: Play with the length of the bracelet for a custom fit for any wrist size. Feel free to embrace variations in sizing to include little ones or friends!
-
Texture Twists: Add a pom-pom or fringe to the ends for a playful finish. These small details can elevate your bracelet’s aesthetic, adding a fun, youthful touch.
-
Seasonal Themes: Change colors and motifs according to the season, using warmer tones and autumn leaves for a fall bracelet. Your floral design can blossom differently with each season’s inspiration!
-
Double-Duty: Consider making a matching necklace or hair accessory using the same flower pattern. A coordinated set can take your crochet game to the next level!
For more inspiration on variations and creative ideas, don’t forget to check out our guide on customizing crochet patterns and tips on using alternative yarn blends for your projects! Happy crocheting!
Expert Tips for Your Flower Bracelet
• Maintain Even Tension: Consistent tension is key! It helps ensure that each flower is uniform in size, making your bracelet look polished.
• Count Carefully: When switching colors, keep track of your stitches diligently. This avoids losing count and creating uneven flower attachments.
• Use a Stitch Marker: Place a stitch marker on your flower chain to help identify where your flowers will connect. This is crucial for proper spacing!
• Block for Shape: Lightly block your finished bracelet to help the flowers lay flat and enhance their details, giving you a beautiful final touch.
• Experiment Wisely: Try out different yarn weights and colors for unique flower designs, but remember to keep track of tension for consistency in your flower bracelet!
Flower Bracelet FAQs
Can I use a different yarn instead of cotton cord for the flower bracelet?
Absolutely! While cotton cord is ideal for its lightweight and breathable quality, you can substitute it with other yarns like acrylic. Just ensure the yarn is of a similar weight, ideally sport weight (Category 2), to maintain the structure and size of the flowers.
How can I make my flower bracelet bigger or smaller?
To adjust the size of your flower bracelet, simply add or remove the number of flowers you crochet or change the length of the chains between flowers. For a larger bracelet, increase the number of chain stitches you use to connect flowers or add additional flowers. Conversely, for a smaller size, remove flowers or decrease chain lengths for the connectors.
Why is my flower bracelet curling up?
Don’t panic! If your bracelet is curling, it’s often due to overly tight stitches or inconsistent tension. Make sure you’re relaxed while crocheting and try to keep your tension even throughout the project. If it’s already done, lightly blocking the finished piece can help flatten it out.
What hook size should I use for the flower bracelet?
For this lovely flower bracelet, I recommend using a 2.0 mm (US B-1) hook. This size will help achieve the intricate details of the flowers while maintaining the overall flexibility and comfort of the bracelet.
How do I fix dropped stitches while making my flower bracelet?
It’s an easy fix! Simply locate the dropped stitch and use your crochet hook to pull the yarn back through the stitch appropriately. If needed, you can work backwards and take out a few stitches if the problem persists, ensuring you don’t have any gaps in your flower motifs.
Can I add beads or charms to my flower bracelet?
Absolutely! Adding beads or charms between the flowers can elevate the bracelet’s appeal and personalize your creation. Just make sure the beads fit the yarn securely and that they don’t add too much weight to the bracelet, so it remains light and comfortable to wear!
Leave a Reply