
With a delicate touch and a bit of yarn, I’ve found joy in crafting my own accessories—just like this lovely flower bracelet! It’s not just a stunning addition to your spring or summer outfits; it’s an accessible project that crafters of all skill levels can dive into. This crochet flower bracelet stands out for its simple stitch techniques, making it a truly beginner-friendly endeavor. You’ll not only enjoy the satisfaction of creating a charming piece of wearable art, but you can also personalize it to perfectly match your style, adding your favorite colors or beads for extra flair. Whether you’re gifting it to a friend or wearing it yourself, this bracelet is sure to bloom with beauty. So, grab your favorite cotton yarn and let’s start making something beautiful together!
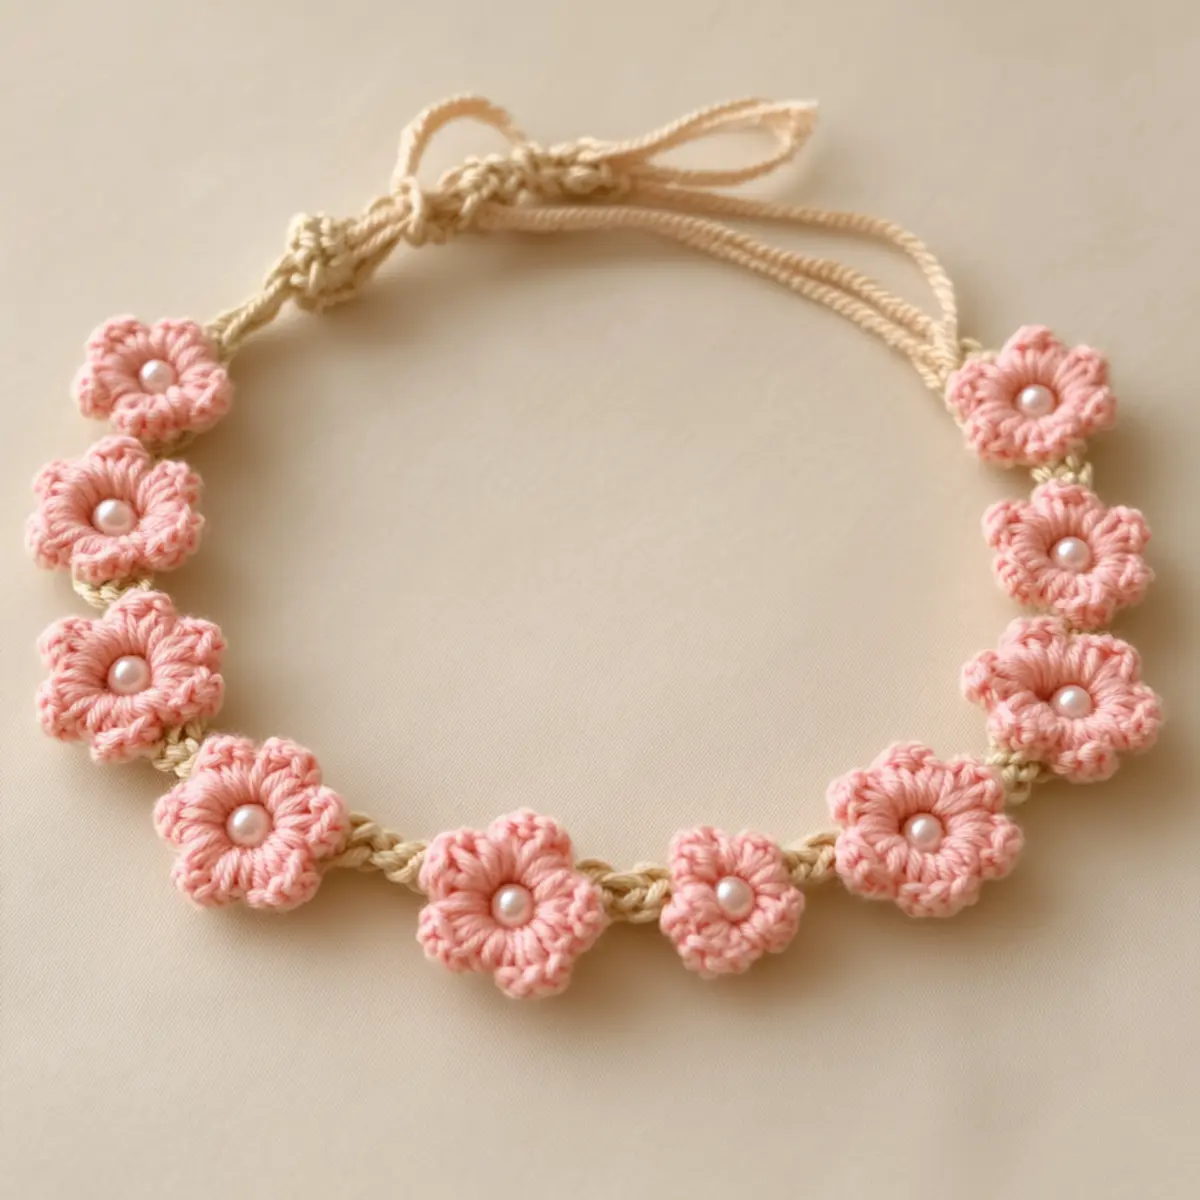
Flower Bracelet Materials & Tools
Yarn
• Cotton Yarn – Choose pastel pink and beige or off-white, approximately 30 yards of each color for a lovely bloom.
Tools & Notions
• 2.0mm (B) Hook – This recommended size is perfect for delicate stitches that bring your flower bracelet to life.
• Scissors – Essential for cutting your yarn and tidying up any loose ends.
• Measuring Tape (optional) – Handy for ensuring your bracelet fits comfortably on your wrist.
• Fabric Glue (optional) – Use to securely fasten the ends for a polished finish.
• Small Beads (optional) – Add a touch of whimsy by placing them in the centers of your flowers for extra flair.
Why Is This Flower Bracelet Special?
Delightful Design: This flower bracelet is a truly charming accessory that brings a splash of color and elegance to any outfit.
Beginner-Friendly: With easy stitch techniques, even novice crocheters can tackle this project confidently.
Personalization Options: Express your creativity by choosing vibrant yarn colors and unique bead placements to make it uniquely yours!
Comfortable Fit: Thanks to the lightweight cotton yarn, this bracelet drapes beautifully, ensuring it feels as good as it looks.
Adjustable Sizing: Create a perfect fit with the adjustable design, making this a wonderful gift or a perfect addition to your collection.
By the way, if you’re looking for more beginner-friendly projects like this, check out our delightful easy crochet accessories!
Gauge & Sizing Notes
Don’t skip the gauge swatch! Ensuring your tension is right for the flower bracelet is essential to achieve a lovely fit and maintain the beautiful floral structure. The standard gauge for this project is a 4×4 inch (10×10 cm) square that equals 22 single crochets by 24 rows. If your gauge swatch is off, simply adjust by changing your hook size—if your swatch is too small, try going up a hook size. To customize the size of your flower bracelet, increase your starting chain by multiples of 6 to add length or decrease it to make a snugger fit. Happy crocheting!
Step‑by‑Step Pattern for flower bracelet
Row 1: Start the Flower Base
Begin by creating a magic ring. Inside the ring, crochet 6 single crochets (sc) to form the flower base. Pull the tail to tighten the ring, ensuring no gap is present. Your work should lie flat and form a small circle at this stage, which sets the foundation for your beautiful flower bracelet (6 sts).
Round 2: Form the Flower Petals
For the petals, chain 3 to create the first petal, then crochet 5 sc into the ring. Repeat this for each of the 6 petals, ensuring they are evenly spaced. After all petals are formed, slip stitch (sl st) into the top of the first petal to close the round. You should now see a lovely flower shape, ready to bloom (30 sts total).
Row 3: Create Additional Flower Motifs
To create more flowers for your bracelet, repeat Rows 1 and 2 to make as many flowers as desired, typically 4-6 flowers for a standard bracelet size. Varying colors enhances the bracelet’s charm, so feel free to switch yarn as you go. By the end of this round, your workspace will be filled with colorful flower motifs, vibrant and ready for assembly.
Step 4: Assemble the Bracelet Straps
For the adjustable straps, take a long length of yarn and chain until it measures your desired wrist size, usually about 8-10 chains, then slip stitch back into the starting chain to form a loop. Repeat the process for the other side of the bracelet. Your straps should now create a harmonious connection to the flowers, ensuring ease of wear.
Step 5: Attach the Flowers
Position the prepared flowers along the straps by chaining 2 between each flower for spacing, then slip stitch them onto the strap. Secure each flower firmly so they’re evenly distributed along the bracelet. As you attach the flowers, your creation will start to take on a vibrant, floral appearance, showcasing the beauty of your flower bracelet.
Step 6: Final Touches and Optional Beads
To finish, make sure all ends are secured, possibly using fabric glue for extra hold. If desired, add small beads in the center of each flower for a touch of whimsy. Check that the bracelet fits comfortably on your wrist; if needed, adjust the strap length accordingly. Once finalized, your delightful flower bracelet is ready to wear or gift with love!
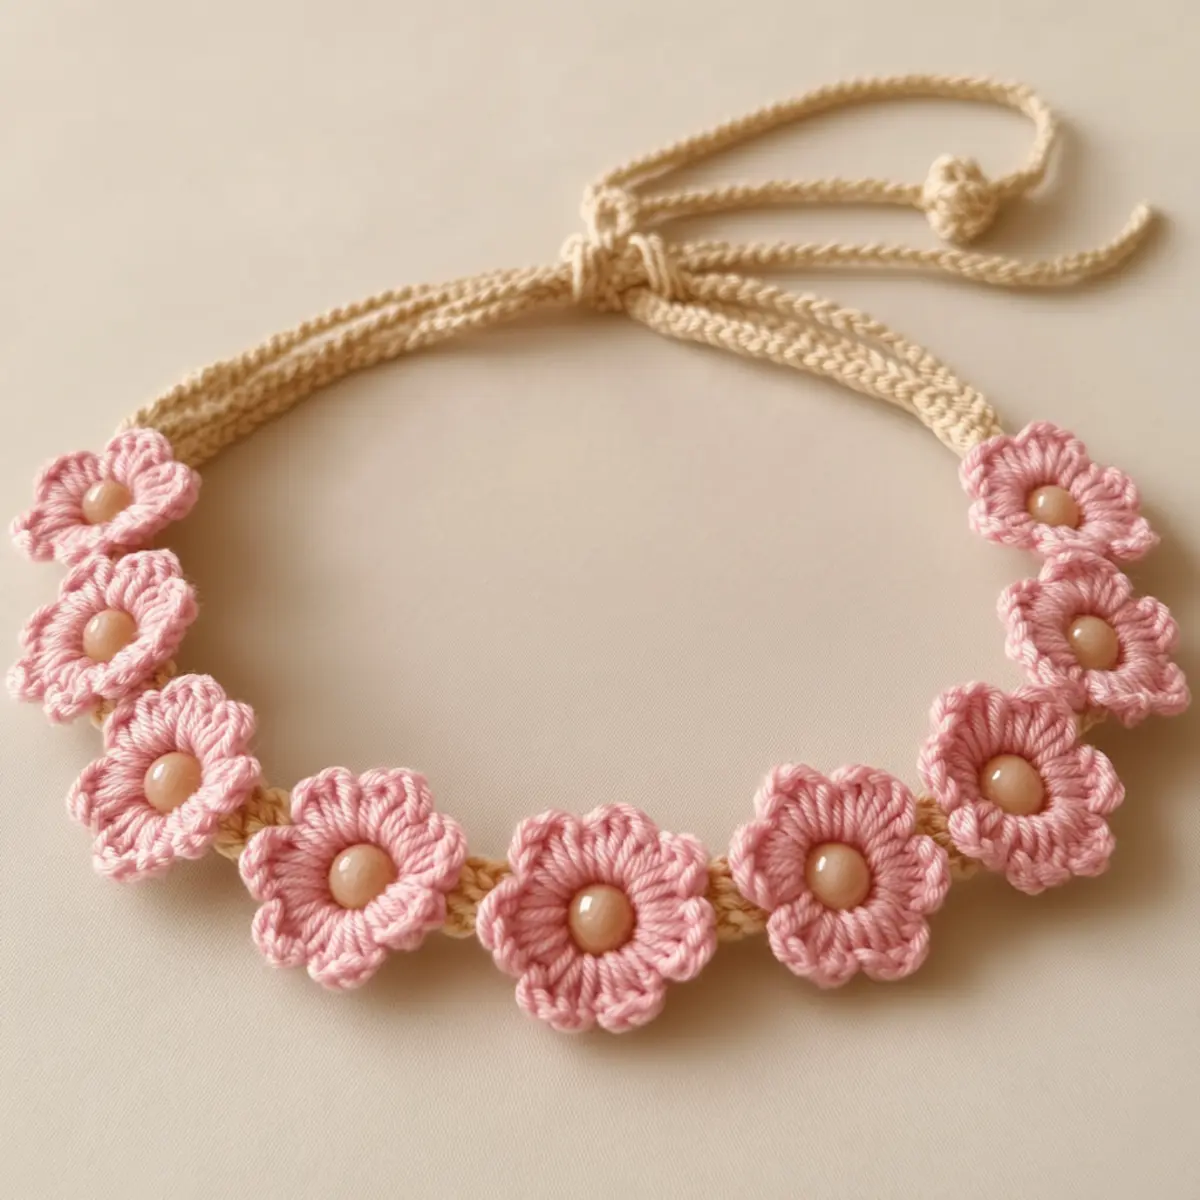
Expert Tips for Your Flower Bracelet
• Consistent Tension: Keep your tension even when making flower puffs to maintain uniformity. This ensures a polished look in your flower bracelet.
• Count Stitches: Count your single crochet stitches as you go to avoid losing track. It’s easy to drop a stitch when getting caught up in the flow!
• Secure Ends Well: If you’re using fabric glue, apply it sparingly to avoid excess buildup. This helps keep your ends neat and secure, enhancing the bracelet’s durability.
• Bead Size Check: Choose beads that fit nicely within the flowers without overwhelming them. This keeps the design balanced and harmonious.
• Light Block If Needed: Lightly block your flowers after finishing to enhance their shape and ensure they lay well against the skin when worn.
These tips will help you craft a beautiful flower bracelet that you can proudly wear or gift to loved ones!
Flower Bracelet Variations & Substitutions
Feel the joy of personalizing your crochet flower bracelet with these creative ideas!
- Yarn Substitutions: Swap cotton yarn for soft bamboo or linen for a different feel and drape. The choice of fiber can evoke a unique texture that enhances the bracelet’s character.
- Color Variations: Experiment with bold hues like deep blue or vibrant yellow to make a statement piece. Mixing colors can add a striking pop, elevating your accessory game.
- Flower Sizes: Create a whimsical look by varying the sizes of your flower motifs. Larger flowers can be focal points while smaller ones fill in spaces, offering visual interest.
- Bead Alternatives: Instead of standard beads, try using charms or buttons in the center of your flowers for added personality. These unique elements can turn your bracelet into a one-of-a-kind accessory.
- Texture Additions: Add a playful touch with pom-poms or fringed edges. These features not only give your bracelet a fun flair but also enhance its tactile appeal.
- Adjustable Length: If you have a larger wrist or prefer a looser fit, increase the number of flower puffs you create. This ensures your bracelet remains comfortable and fitting for your style.
- Glitter Yarn: Choose metallic or glitter yarn for a touch of shimmer that catches the light beautifully. A hint of sparkle can make your crochet flower bracelet perfect for special occasions.
- Pattern Mixing: Incorporate different crochet techniques, like adding lace elements or open weave between flowers. This adds complexity to your design while keeping the overall look cohesive.
Don’t forget, if you’re new to these techniques, our guide on beginner-friendly crochet projects can help you along the way!
Care Instructions for Flower Bracelet
Machine Washing: Use a gentle cycle with cold water to prevent damage to the stitches and prevent shrinkage in your charming flower bracelet.
Hand Washing: For best results, hand wash your bracelet using a mild detergent. Gently agitate it to keep the flowers intact without risking felting.
Drying/Blocking: Lay the bracelet flat on a clean, dry towel to air dry, reshaping the flowers if needed. Avoid hanging it to maintain its lovely shape.
Storage: Keep your flower bracelet in a cool, dry place, and consider using a soft pouch to protect it from snagging or damage when not in use.
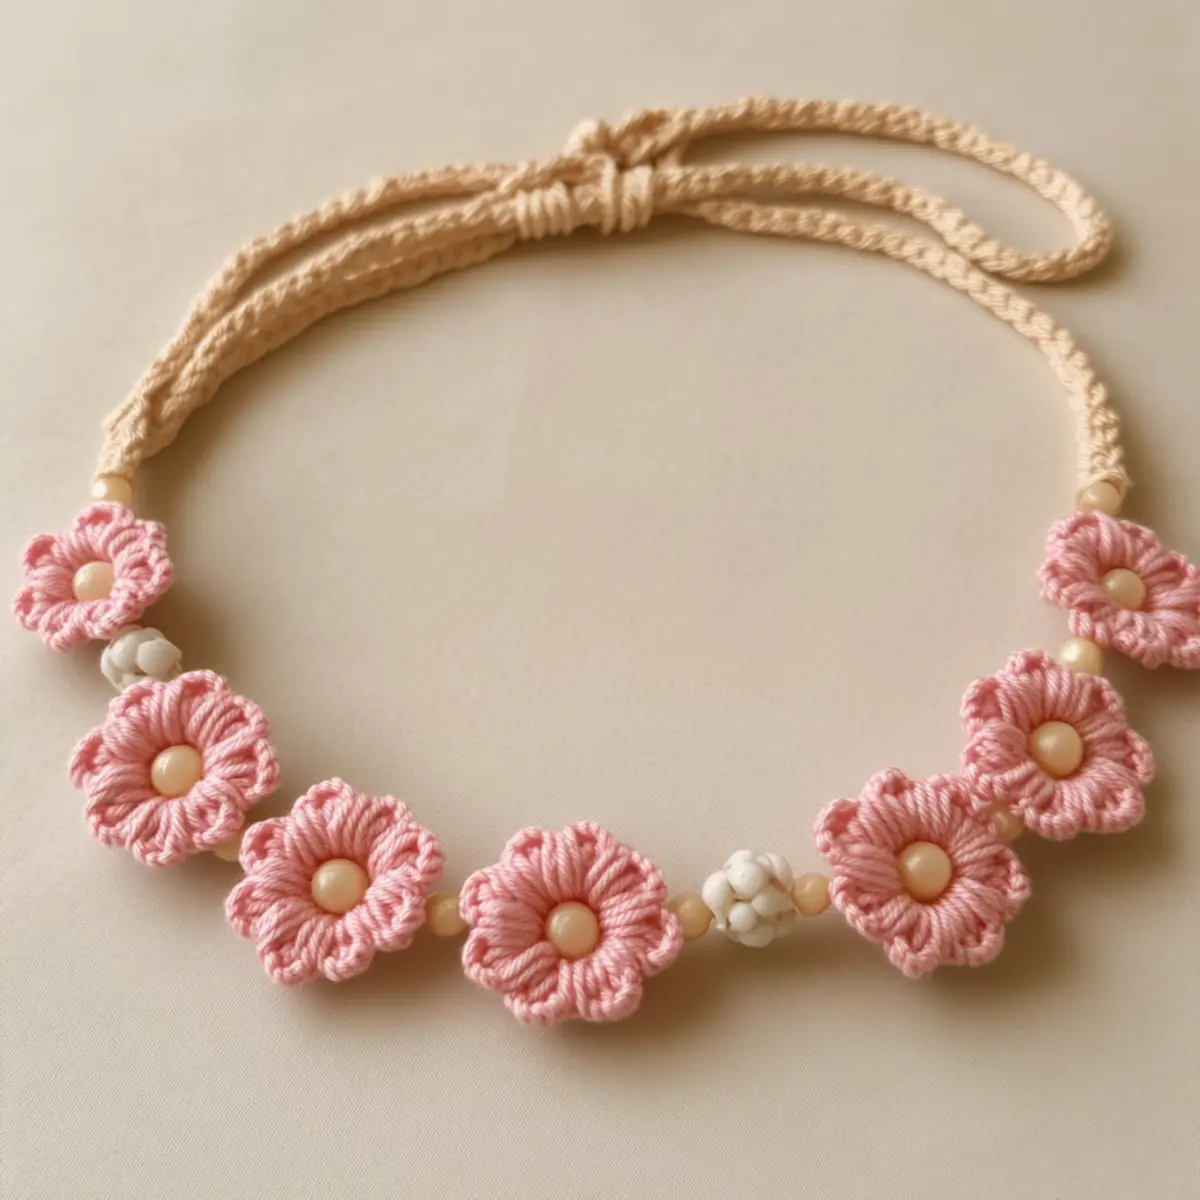
Blooming Beauty: Crochet Flower Bracelet FAQs
Can I substitute yarn for the flower bracelet?
Absolutely! While this pattern recommends cotton yarn, you can use acrylic or bamboo yarn for a different texture. Just make sure to check the yarn weight; a lightweight option will work best to maintain the bracelet’s drape.
How can I adjust the size of the flower bracelet?
Don’t worry, adjusting the size is simple! You can add or reduce the number of flower puffs you crochet based on your wrist size. For each flower you add, the bracelet will extend by about an inch, so aim for around 7-8 inches total for comfort.
Why is my flower bracelet curling or buckling?
If your bracelet is curling like a bowl, it might be due to tight tension. To fix this, try loosening your grip or using a larger hook size. Blocking the finished flowers lightly can also help them lay flat and enhance their shape.
What size hook should I use for this flower bracelet?
I recommend using a 2.0 mm (size B) crochet hook for this project. It’s perfect for creating the delicate stitches needed for the floral motifs, ensuring a refined finish for your flower bracelet.
How do I fix a dropped stitch in my crochet work?
Don’t panic! If you drop a stitch while crocheting, simply use a crochet hook to catch the loop and pull it back up through the last completed stitch. Make sure to work it back into place so your flower bracelet stays neat and secure.
Can I incorporate beads into my flower bracelet?
Definitely! Adding small beads can give your flowers an extra touch of charm. Just ensure the beads fit comfortably within the flower’s center without overwhelming the design, and attach them securely while assembling your bracelet.
Leave a Reply