
As I nestled into my favorite corner with a skein of soft cotton yarn, I felt a wave of inspiration for this crochet tulip bracelet. This playful piece not only brightens up my accessory collection but also brings the beauty of spring right to my wrist. With its charming tulip flowers and customizable colors, the crochet tulip bracelet is perfect for both beginners and those looking to add a bit of whimsy to their outfits. Not only does it work up quickly, making it ideal for a last-minute gift, but its lightweight design ensures it’s comfortable for all-day wear. Plus, it’s a wonderful way to make use of leftover yarn, letting you express your personal style with every stitch. So, let’s grab those hooks and start crafting a floral delight that captures the essence of spring!
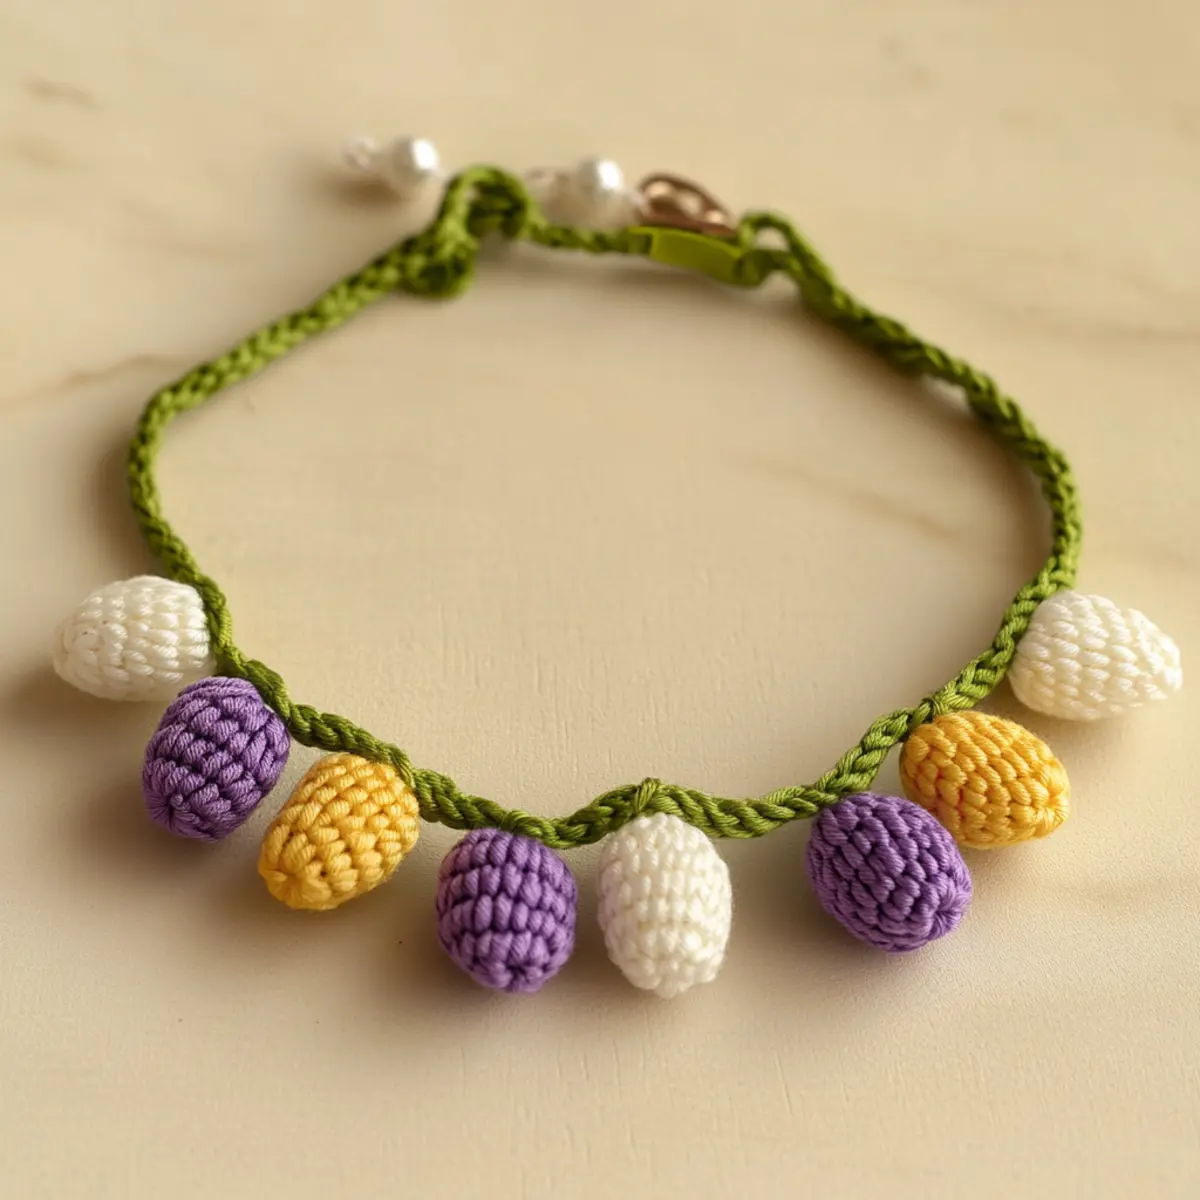
Crochet Tulip Bracelet Materials & Tools
Get ready to bring spring to life with your own handmade accessory!
Yarn
- Lightweight Cotton Yarn – You’ll need approximately 30-50 yards of each color (purple, yellow, white, and green) for a vibrant tulip bracelet.
Tools & Notions
- 2.0-2.5 mm Hook – A B-1 to C-2 hook will help you achieve the delicate stitch work needed for the tulips.
- Scissors – Essential for cutting your yarn to the desired lengths.
- Tapestry Needle – Perfect for weaving in ends and sewing your flowers to the bracelet.
- Small Pearl Beads (2 pieces, 6mm) – Add a touch of elegance with these lovely beads for extra flair.
Use this materials list to create your own stunning crochet tulip bracelet that showcases your style!
Why is this tulip bracelet a must-make?
Charming Design: The playful tulip flowers bring a touch of nature to your style, perfect for spring celebrations!
Beginner-Friendly: Ideal for both beginners and those with some crochet experience, this pattern combines simplicity with delightful details.
Customizable Colors: Personalize your bracelet by selecting your favorite flower colors and combinations—whether vibrant or pastel, the choice is yours.
Quick to Make: With only a few hours of work, you’ll have a stunning accessory that’s ready to wear or gift—perfect for last-minute projects!
Lightweight Comfort: Crafted with soft cotton yarn, this bracelet feels airy and easy on the wrist, making it a joy to wear all day.
Plus, don’t forget to check out our guide on beginner crochet techniques to help you along the way!
Gauge & Sizing Notes
Don’t skip the gauge swatch! Checking your gauge is crucial for ensuring the perfect fit of your crochet tulip bracelet. A standard gauge measurement for this project is a 4×4 inch (10×10 cm) square that equals 20 single crochets by 22 rows. To adjust the size of your bracelet, increase your starting chain in multiples of 10 to create a longer piece, or decrease for a shorter one. If your swatch ends up smaller than desired, simply go up a hook size for a more relaxed tension. Remember, a cozy fit always makes for a beautiful crochet tulip bracelet!
Step‑by‑Step Pattern for crochet tulip bracelet
Row 1: Create the Magic Ring
Begin by making a magic ring. Chain 2, then work 6 single crochet (sc) stitches into the ring. Pull the tail of the yarn to tighten the ring. This forms the center of your tulip flower. Remember, your work should start to curl inwards as you complete this step (6 sts).
Row 2: Build the Flower Base
Next, in the same magic ring, work 2 double crochet (dc) stitches in each sc to create the flower’s body. This round will give your tulip a lovely fullness. At the end of this row, you will have 12 double crochet stitches. Your tulip should start to take shape, resembling a small cup (12 sts).
Row 3: Shape the Tulip Petals
For the third round, chain 1, and in the first stitch, work 1 single crochet (sc), followed by 2 half double crochet (hdc) in the next stitch. Repeat this pattern around: (1 sc, 2 hdc) in each stitch. This will gently flare out the tulip petals, giving them a delightful curve. You’ll end with 18 stitches (18 sts).
Row 4: Finish the Flower
For the final round of the flower, chain 1, then work 1 single crochet (sc) in each of the next three stitches. In the fourth stitch, do a slip stitch (sl st) to secure the petal. Repeat this pattern around the flower to complete it. Your blossom should be distinctly shaped and ready to bloom (6 petals).
Step 5: Make the Leaves
To create the leaves, chain 7. In the second chain from the hook, make 1 slip stitch (sl st). Then, in the next stitch, work 1 single crochet (sc) followed by 1 half double crochet (hdc) in the next two stitches. Finally, work 1 slip stitch (sl st) to finish the leaf shape. Your leaves should have a slight curve, resembling a real tulip leaf (2 leaves).
Step 6: Attach the Leaves
Position each leaf on either side of the tulip flower. Using a tapestry needle, sew or slip stitch (sl st) the leaves securely to the sides of the flower. This step enhances the natural look of your crochet tulip bracelet, ensuring each flower is beautifully complemented by its leaves.
Step 7: Prepare the Base Chain
Now, crochet the base chain for your bracelet. Start by chaining 80 to 90 stitches, depending on your wrist size. This length permits an adjustable fit, so feel free to leave some extra length. Your chain should lay flat and neat to serve as a lovely foundation for your tulip flowers.
Step 8: Attach the Tulip Flowers
Arrange your completed tulip flowers evenly along the base chain. Secure each flower onto the chain using slip stitches (sl st) or by sewing them in place. This arrangement allows the flowers to be spaced out beautifully, creating a whimsical and colorful look on your crochet tulip bracelet.
Step 9: Create the Adjustable Closure
For the adjustable closure, fold the remaining chain ends together. Create a sliding knot (a macrame square knot works well) to achieve an adjustable fit. Make sure to maintain consistent tension as you tie the knot, ensuring the bracelet retains its shape and can easily slide to fit your wrist.
Step 10: Final Touches
To neaten your tulip bracelet, consider blocking the flowers lightly. This enhances their shape and gives a refined finish to your accessory. Attach small pearl beads to the center of the tulip flowers for an added touch of elegance. Your charming crochet tulip bracelet is now ready for all your spring outings!
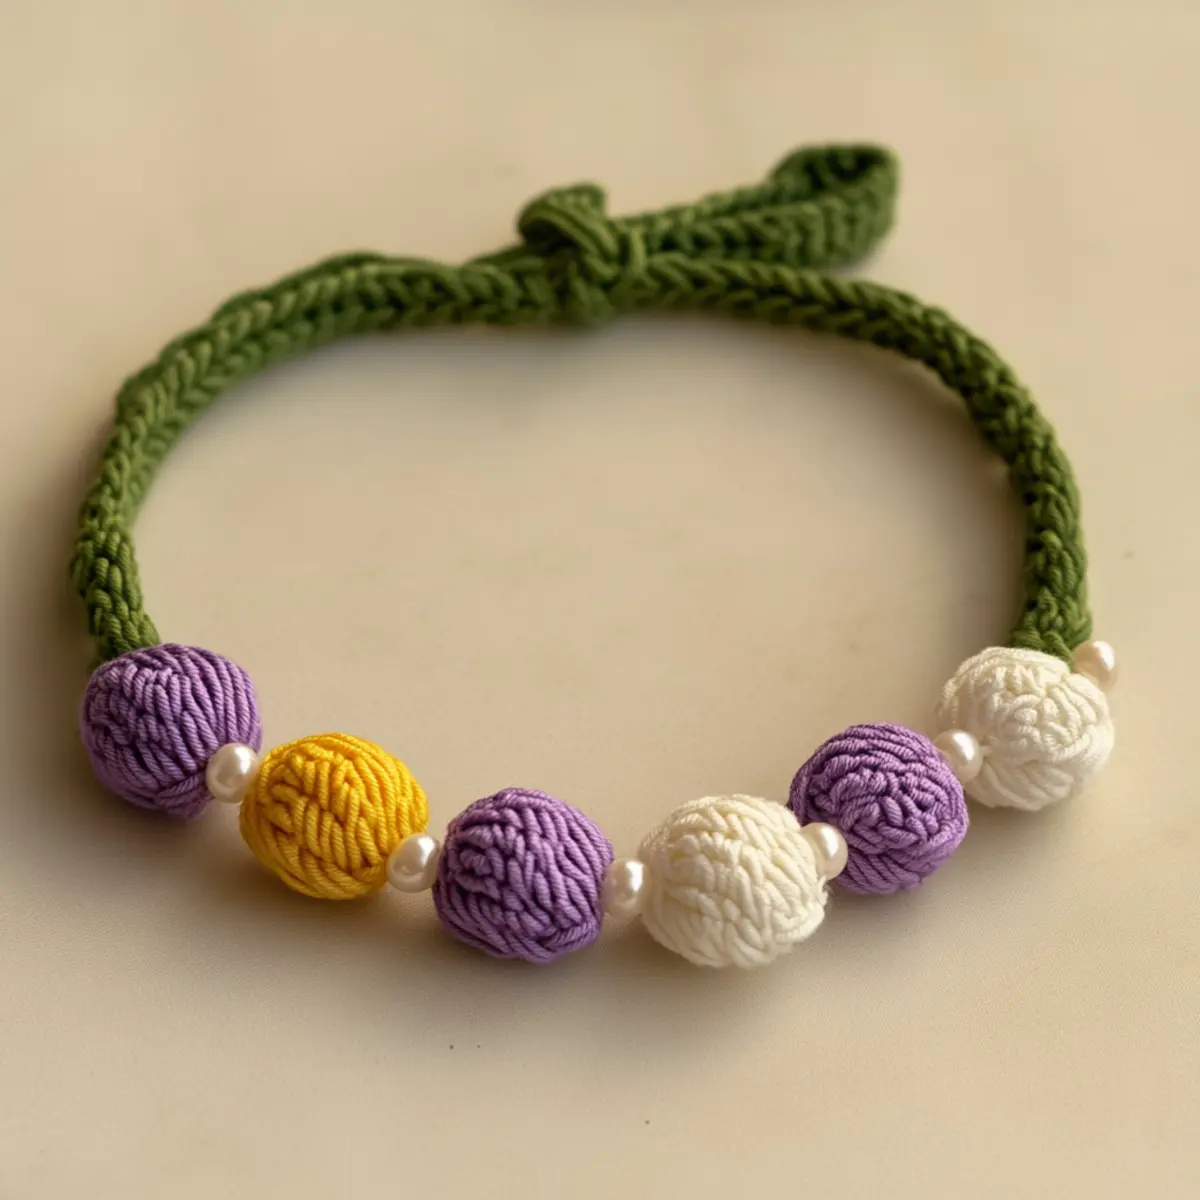
Crochet Tulip Bracelet Variations
Get ready to make this project your own and add personal flair to your crochet tulip bracelet!
-
Color Swaps: Change the tulip colors to vibrant pinks or yellows for a bolder look. Each hue can reflect your unique personality!
-
Bead Variety: Experiment with different bead sizes or types. Adding a touch of sparkle or whimsy can elevate your floral piece in an instant.
-
Flower Count: Adjust the number of tulip flowers based on your wrist size or preference. Feel free to design a daintier or chunkier statement piece.
-
Yarn Alternative: Try a cotton blend or bamboo yarn to experience a different texture. This simple switch can create an elegant twist to your bracelet.
-
Textured Elements: Add pom-poms or fringe to the end of your bracelet for an extra playful touch. This would lend a bohemian vibe to your creation!
-
Size Adjustments: Modify the base chain length for a more fitted or looser bracelet. Your comfort is key, so adjust as needed.
-
Border Detailing: Add a contrasting border around the base chain with a different color to frame the lovely tulips attractively. This will make your bracelet truly pop!
-
Seasonal Themes: Shift the whole color scheme to reflect different seasons, like rich fall colors or icy blues for winter. This way, your bracelet can complement any seasonal wardrobe!
Remember, these variations are just the beginning of your creative journey. You can also check out our guide on yarn types for more ideas on how to swap out fibers and enhance your projects!
How to Wash and Care for Your Crochet Tulip Bracelet
Machine Washing: Use cold water on a gentle cycle to preserve the delicate nature of your crochet tulip bracelet. Avoid agitation to keep the flowers intact and avoid any felting.
Hand Washing: If you prefer a gentler touch, soak the bracelet in cold water with mild detergent for a few minutes. Gently press the water through without rubbing to prevent pilling.
Drying/Blocking: Lay your bracelet flat on a towel to dry, reshaping the flowers if necessary. Blocking helps enhance the shape and gives your crochet tulip bracelet a neat finish.
Storage: Keep your bracelet in a cool, dry place. Avoid hanging it to maintain its shape, and consider using a drawstring pouch for added protection from dust and damage.
Expert Tips for Your Crochet Tulip Bracelet
-
Maintain Even Tension: Keep your tension consistent while crocheting to ensure that your tulip flowers and leaves look neat and uniform.
-
Count Stitches Carefully: Don’t lose track of your stitches, especially when forming the flowers. A simple stitch marker can help you keep count!
-
Adjustable Closure Tips: When creating the sliding knot for your bracelet closure, ensure you’ve left enough extra chain for comfort and adjustability.
-
Block for Neatness: Blocking your flowers after they are complete will enhance their shape and give the bracelet a polished finish, making your crochet tulip bracelet look professionally crafted.
-
Mind the Magic Ring: Remember to tighten your magic ring securely after the first round to prevent gaps, ensuring your tulip flowers come together beautifully!
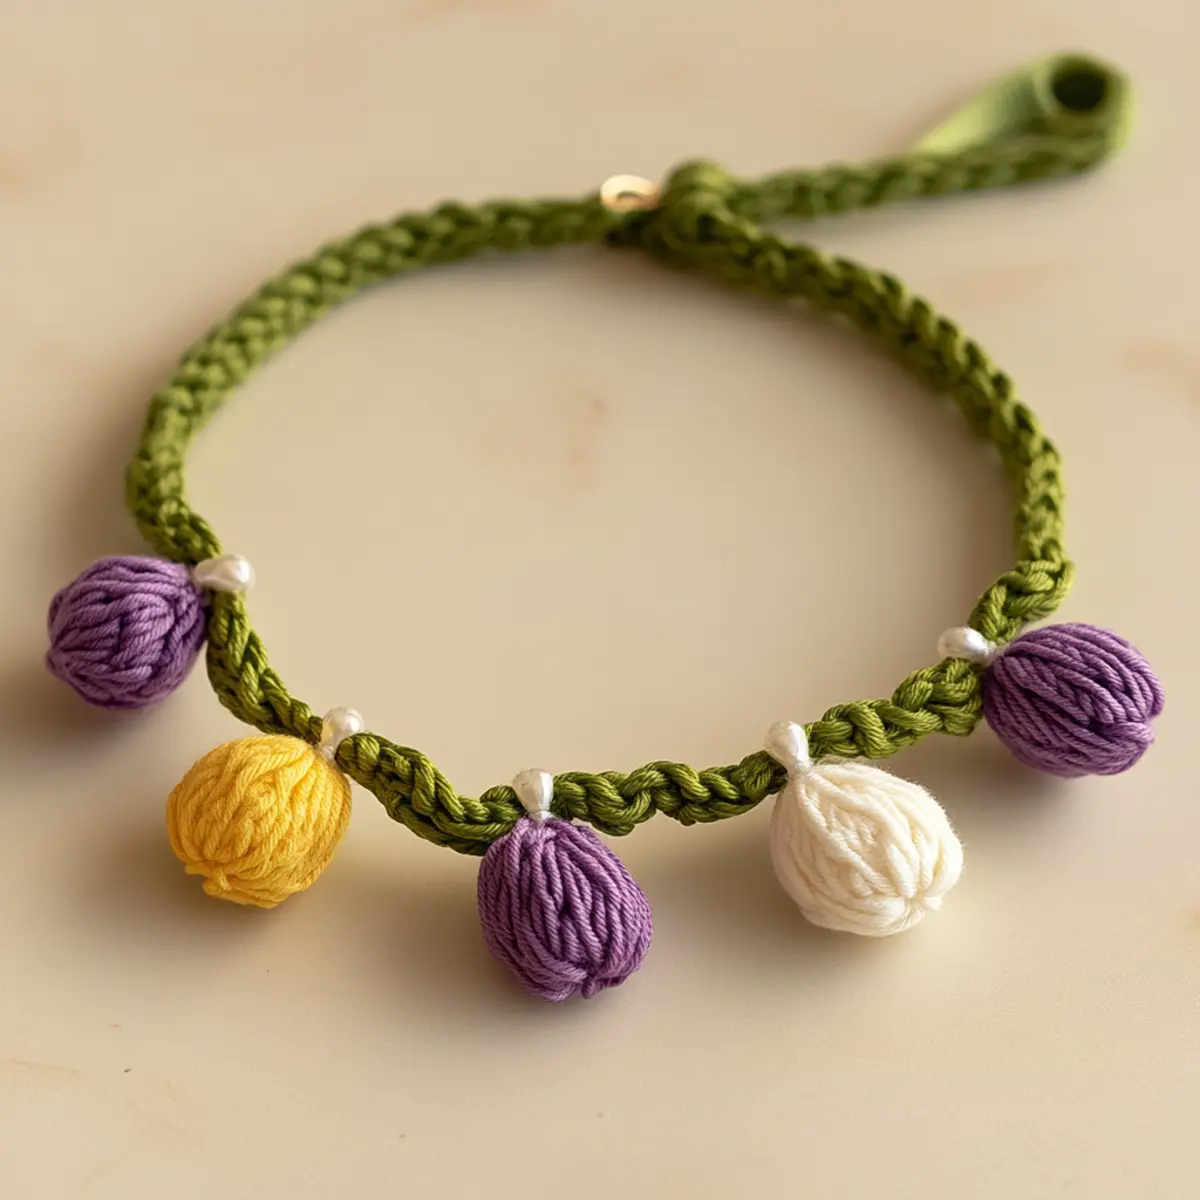
Crochet Tulip Bracelet FAQs
Can I substitute yarn for the crochet tulip bracelet?
Absolutely! While I recommend using 100% cotton yarn for its softness and drape, you can explore blends, such as cotton-acrylic, for a different texture. Just be mindful of the yarn weight; DK (lightweight) is ideal for this pattern.
How can I adjust the size of my crochet tulip bracelet?
For a customized fit, simply adjust the length of your base chain. If you have a larger wrist, chain up to 90-100 stitches, and if smaller, chain down to 80. Always remember to make sure your tension remains consistent to keep that lovely shape!
Why is my work curling as I crochet the tulip flowers?
Don’t panic! Curling often happens because of tight tension. Check that you’re not pulling your stitches too tightly; loosening your grip while working may help. Additionally, blocking after you finish can really help your flowers lay flat.
What hook size should I use for the crochet tulip bracelet?
I recommend a 2.0 to 2.5 mm hook (B-1 to C-2) for this project. This range will give you the best results with the lightweight cotton yarn, ensuring your stitches remain neat and even.
How do I fix dropped stitches in my tulip flowers?
It’s an easy fix! Just locate the dropped stitch, pull the working yarn gently to create slack, and use your hook to grab the yarn and pull it back through. If it looks complicated, take a moment to watch a quick video on fixing dropped stitches—it can be a lifesaver!
Can I use larger beads on my crochet tulip bracelet?
Absolutely! Feel free to experiment with different bead sizes or types for added flair. Just make sure your chosen beads can fit comfortably without weighing down the yarn, keeping the bracelet lightweight and enjoyable for everyday wear.
Leave a Reply