
As I sat down to crochet, a sudden whimsy washed over me—the desire to create playful jellyfish ornaments that would drift from a windowsill or hang like magic in a nursery. These crochet jellyfish ornaments are not just fun to make; they invoke the colorful depth of the ocean and can brighten any space they inhabit. Perfect for those looking to hone their skills while enjoying the process, these delightful creations are both charming decor and personalized gifts for ocean lovers. With quick assembly and the freedom to experiment with colors and textures, you can create a vibrant underwater scene right in your home. Ready to dive in and let your creativity flow? Let’s get started on crafting these enchanting jellyfish!
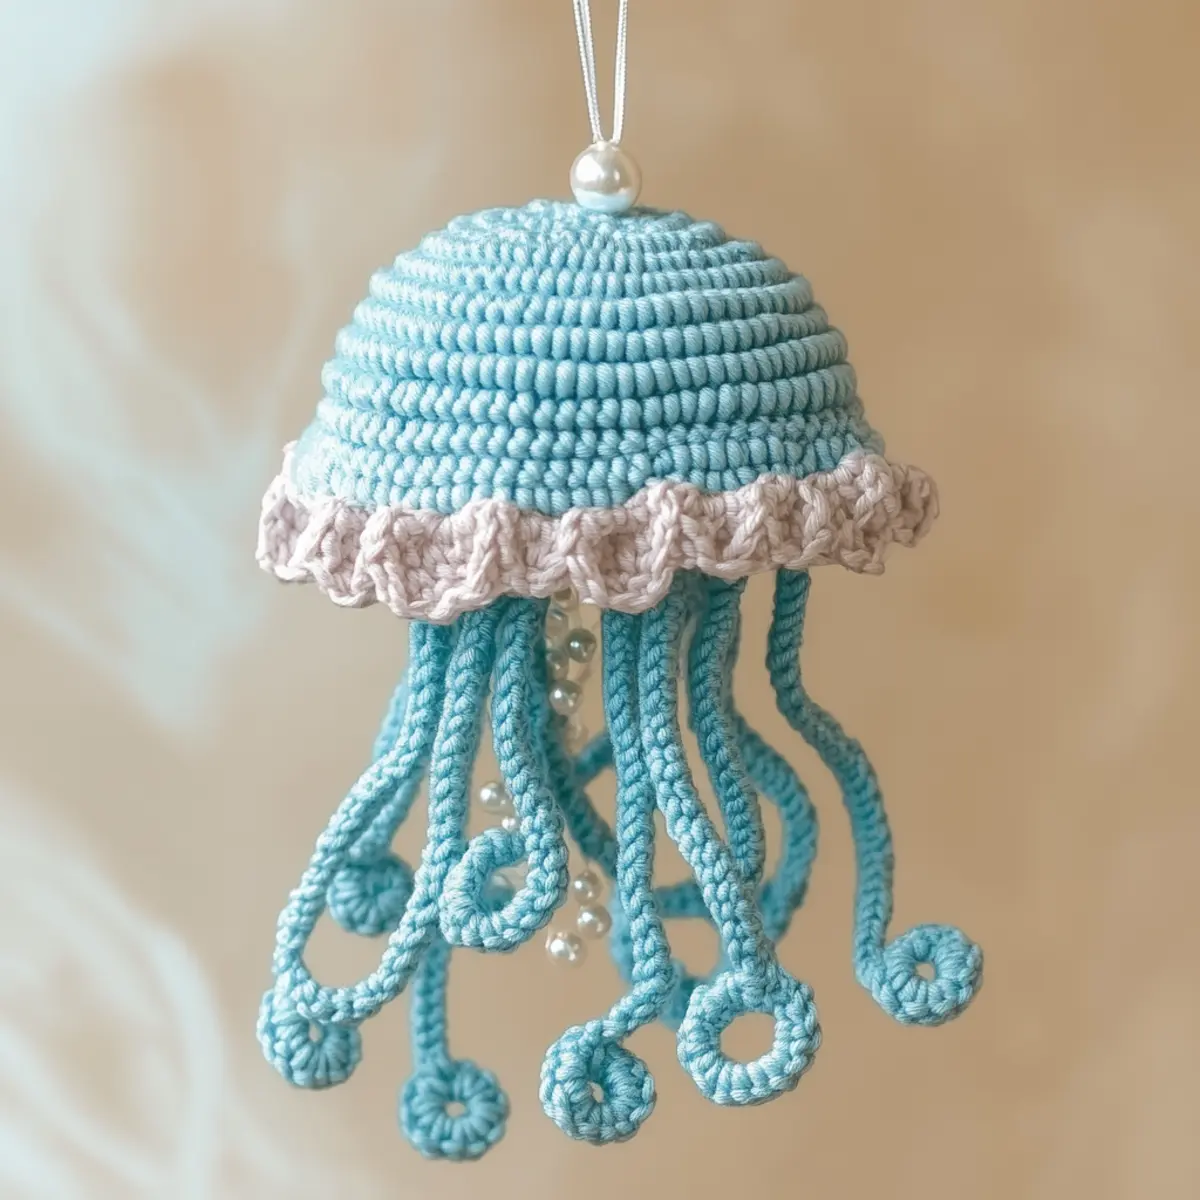
Crochet Jellyfish Ornaments Materials & Tools
Yarn
• Sport or DK Weight Yarn – Choose lightweight yarn for a delicate structure; aim for 100-150 yards in each color.
Tools & Notions
• 3.5mm to 4.0mm (E/F) Crochet Hook – This size is crucial for achieving the right tension and shape in your crochet jellyfish ornaments.
• Stitch Markers – Use these to track your rounds accurately while working on the top of the jellyfish.
• Yarn Needle – Perfect for weaving in ends and ensuring a neat finish.
• Safety Eyes or Decorative Pearls – Optional embellishments that can add charm and character to your jellyfish.
Now, gather your materials and let the fun begin in creating these whimsical crochet jellyfish ornaments!
Why Craft Crochet Jellyfish Ornaments?
Whimsy Awaits: Making crochet jellyfish ornaments invites a playfulness into your crafting that transforms ordinary decor into vibrant expressions of artistry.
Charming Decor: These delightful pieces are perfect for adding a splash of marine magic to nurseries or themed parties, becoming wonderful conversation starters.
Skill Development: As an intermediate pattern, you’ll refine your crochet skills while mastering stitches and techniques—ideal for advancing your craft!
Colorful Creativity: Experiment with a rainbow of yarn colors and textures to bring unique flair to each jellyfish—mix vibrant hues or add sparkle with sequined yarn!
Quick & Rewarding: With simple assembly, you’ll enjoy the satisfaction of completing these stunning ornaments in a short time, perfect for gifts or a weekend project.
Ready to explore more fun crochet projects? Check out this easy crochet pattern for your next crafting adventure!
Gauge & Sizing Notes
Don’t skip the gauge swatch! Checking your tension is vital for ensuring that your crochet jellyfish ornaments turn out just as you envision. Aim for a standard gauge of 4×4 inches (10×10 cm), which should measure approximately 14 single crochets by 16 rows. If you desire a larger jellyfish, simply increase your starting chain in multiples of 6 to adjust the width, or add additional rounds for height. If your swatch is smaller than the specified size, don’t worry—just try going up a hook size to achieve a looser tension. Happy crafting and enjoy making these whimsical crochet jellyfish ornaments!
Step‑by‑Step Pattern for crochet jellyfish ornaments
Row 1: Start the Bell
Begin by making a magic ring. Into the ring, work 6 sc, then pull the ring closed. This forms the base of your jellyfish bell. Make sure the stitches are snug, and your work should sit relatively flat. This round will set the foundation for the dome shape of your crochet jellyfish ornaments (6 sts).
Row 2: Increase for the Dome
In the next round, work 2 sc in each stitch around. Use stitch markers to keep track of your rounds if needed. After this round, your work should start to dome up, giving a lovely shape to your jellyfish bell (12 sts).
Row 3: Continue Shaping the Bell
For the third round, work 1 sc in the next stitch, then inc in the following stitch. Repeat this until you complete the round. This alternating increase will maintain the dome shape while expanding the size, making your crochet jellyfish ornaments rounder (18 sts).
Row 4: Adding More Rounds
In this round, work 1 sc in the next 2 stitches, then inc in the following stitch. Repeat to the end of the round. Your dome should now be taking a more pronounced shape, feeling sturdy and delightful as a base for the jellyfish (24 sts).
Row 5: Creating Texture
Switch to hdc stitches for this round. Work 1 hdc in each stitch around. This will add texture to your jellyfish bell while keeping it visually interesting. By the end of this round, you should feel a gentle curve, amplifying the whimsical aesthetic (24 hdc).
Row 6: Form the Ruffled Edge
Continue with hdc stitches, but on this round, work a repeat of (1 hdc, inc) around. This will create a ruffled edge on your jellyfish bell, giving it that magical finish that makes your crochet jellyfish ornaments stand out (36 sts).
Step 7: Tentacle Base
To make the tentacle base, ch 30, then sl st into the second chain from the hook and each chain to the end. This creates a lovely long tentacle. Make at least 3-5 of these to give your jellyfish a playful, flowing look. Each should sway gently (1 tentacle).
Step 8: Curl Your Tentacles
For added texture, work 1 sl st in each ch until you reach the end, then curl by wrapping around your fingers and securing with a stitch marker. This adds a lively bounce to your tentacle and enhances the appeal of your crochet jellyfish ornaments.
Step 9: Attach the Tentacles
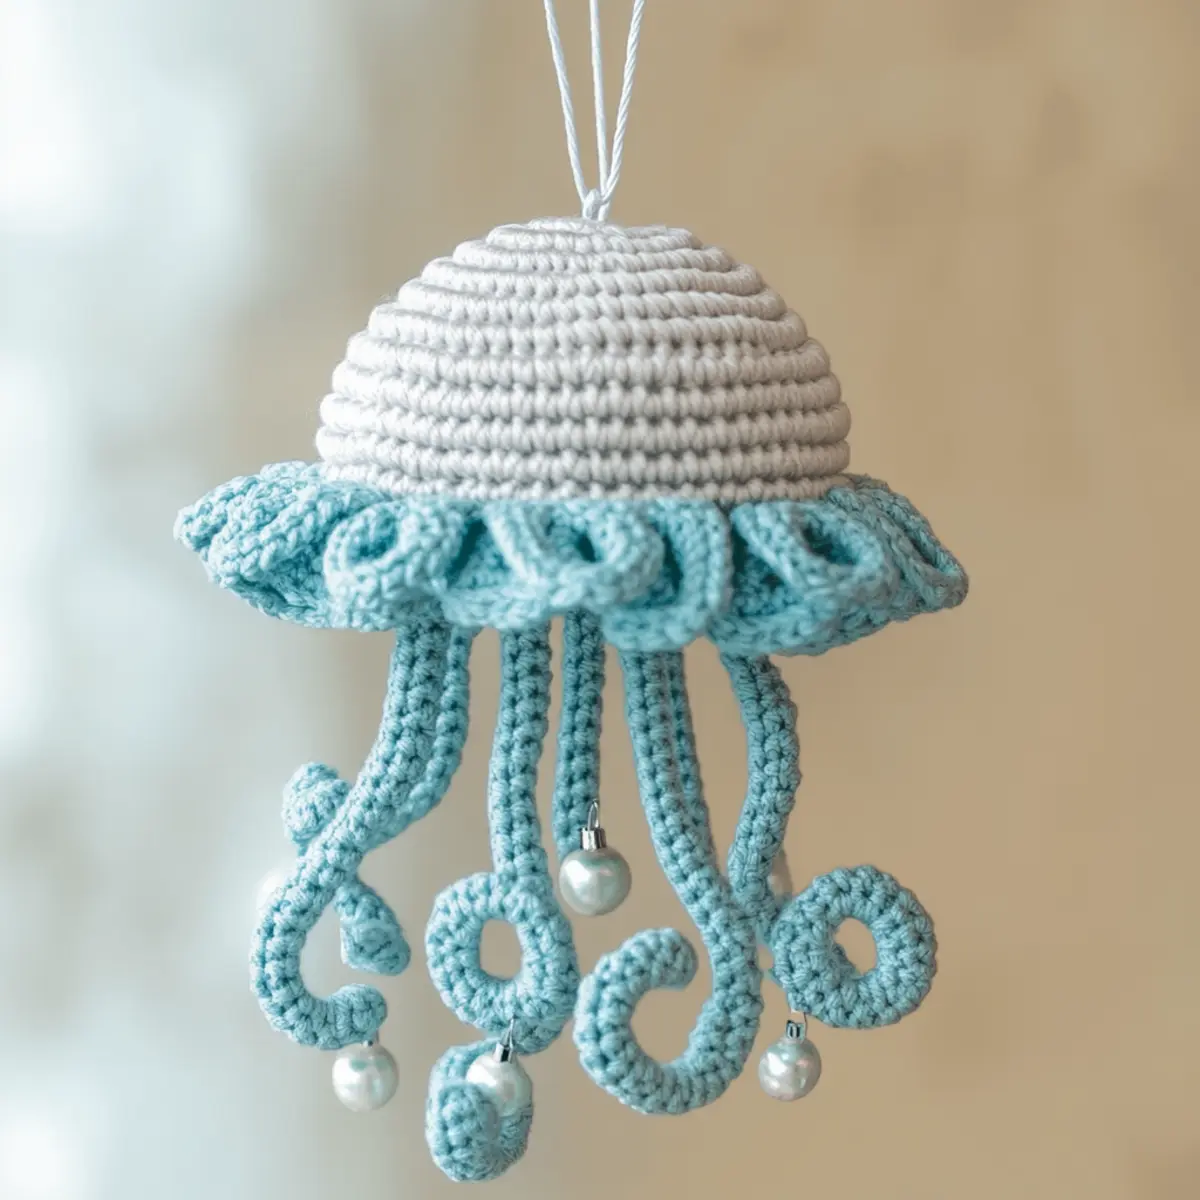
With your finished tentacles, use a yarn needle to sew them securely to the bottom of the jellyfish bell. Space them evenly for a balanced look, and ensure they hang freely. The tentacles should sway gently, creating a whimsical charm in your design.
Step 10: Embellishments and Final Touch
As a delightful finishing touch, sew on safety eyes or small decorative pearls to the jellyfish bell. These elements bring personality to your crochet jellyfish ornaments, making each one unique and perfectly suited for display or gifting.
Step 11: Final Shaping and Blocking
Carefully block your jellyfish ornaments to enhance the ruffle and ensure they hold their shape. Lightly mist it with water or gently steam, taking care not to damage the stitches. This step will really elevate your project, making it an enchanting addition to any decor.
Expert Tips for Crochet Jellyfish Ornaments
- Even Tension: Ensure consistent tension throughout your work to maintain the jellyfish’s shape; avoid loosening your grip when working on intricate patterns.
- Stitch Counting: Frequently count your stitches, especially in the ruffled top area, and use a stitch marker to keep track of rounds without losing count.
- Blocking Matters: Lightly block your completed jellyfish to accentuate the ruffle effect, making sure they maintain their intended shape and drape beautifully.
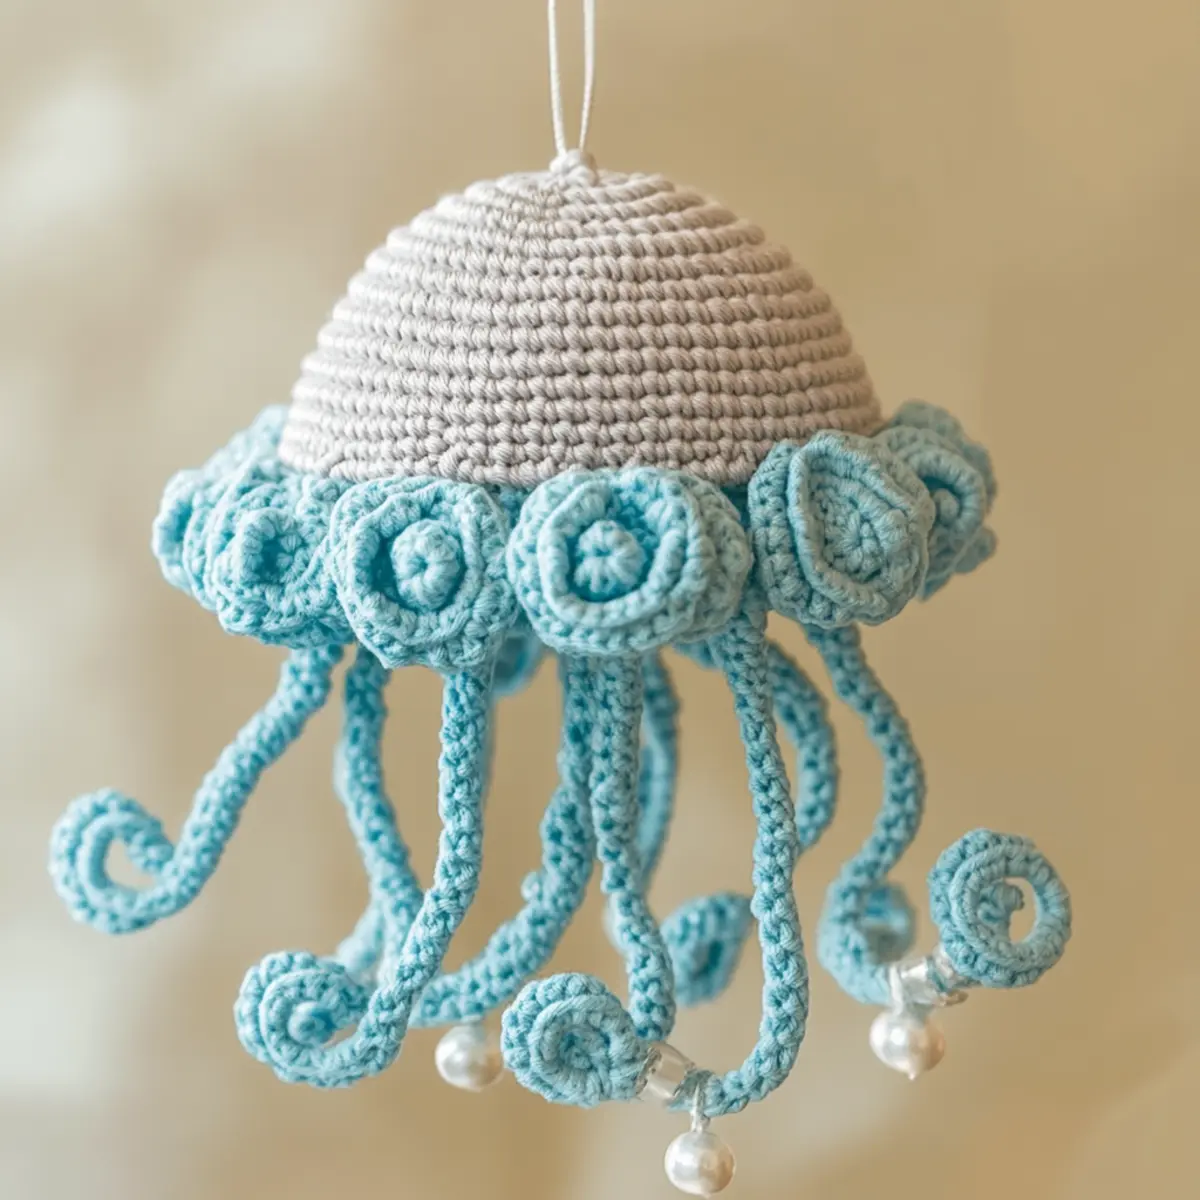
- Beaded Placement: When adding beads to tentacles, be cautious about fabric placement, ensuring the tension stays consistent to avoid sagging or distortion.
- Customize Wisely: Feel free to mix yarn textures and colors, but keep a careful eye on how they may affect your final crochet jellyfish ornaments’ overall structure and appearance.
How to Wash and Care for Your Crochet Jellyfish Ornaments
- Washing: Use cold water and a gentle, wool-safe detergent to hand wash your crochet jellyfish ornaments to prevent damage or fading. Avoid using hot water, as it may cause felting.
- Drying: After washing, lay flat to dry on a clean, dry towel. Reshape the jellyfish gently to maintain their form, and avoid hanging them as this could distort their shape.
- Blocking: If necessary, lightly block the jellyfish to enhance the ruffle effect and ensure they keep their intended shape. Pin them in position and mist with water, allowing them to dry completely.
- Storage: When not displayed, store your crochet jellyfish ornaments in a cool, dry place away from direct sunlight to maintain their colors and prevent dust accumulation.
crochet jellyfish ornaments Variations
Embrace your creative spirit by customizing your jellyfish ornaments to truly make them your own!
-
Yarn Swaps: Experiment with different fiber types like cotton or acrylic to impact the drape and sheen of your jellyfish.
-
Weight Changes: Switch to worsted weight yarn for a chunkier look or to lace weight for delicate, airy jellyfish—they’ll all have unique charms!
-
Color Blocking: Use two-toned patterns by alternating colors in the bell to create eye-catching stripes or gradients, just like the vibrant oceans.
-
Textured Brushes: Add a playful touch with fluffy yarn at the tentacle tips for a beachy feel, giving your jellyfish a lively squish.
-
Unique Tentacles: Instead of standard chains, try braided tentacles or twist them with varying lengths for a dynamic, flowing look that mimics real jellyfish.
-
Decorative Elements: Incorporate small seashells, buttons, or hand-painted wooden shapes along the tentacles for that extra personal flair, turning each piece into a mini artwork.
-
Size Adjustments: Alter the hook size to produce smaller or larger jellyfish. Smaller hooks yield petite ornaments perfect for gifts, while larger hooks create impressive, show-stopping decor.
-
Custom Ruffle Edges: Consider adding a decorative scallop or picot edge around the bell for added elegance—a little whimsical twist to capture that underwater magic!
For more inspiration, take a look at this exciting crochet project and let your imagination swim freely!
Whimsical Crochet Jellyfish Decor FAQs
What yarn can I substitute for sport or DK weight yarn?
Absolutely! You can use any lightweight yarn, such as a thin worsted weight, but be mindful that it may change the drape and size of your jellyfish. Just remember to check your gauge before starting!
How do I adjust the size of my jellyfish?
Don’t panic! To make a larger jellyfish, simply use a bigger hook size or heavier yarn. For a smaller version, choose a lighter weight yarn and a smaller hook. My golden rule: strive for a gauge that allows you to keep an even tension throughout your project!
Why is my jellyfish curling at the edges?
If your jellyfish is curling like a bowl, it may be due to uneven tension or incorrect stitch counts. Ensure you’re counting stitches, especially around the ruffled top. Blocking your finished piece can also help flatten those edges, so give it a try!
What hook size should I use for this pattern?
For this crochet jellyfish ornaments project, a 3.5mm to 4.0mm crochet hook (US size E/F) is recommended. If you’re using different yarn weights, don’t hesitate to adjust the hook size accordingly to achieve the desired tension and appearance!
How can I fix dropped stitches in my jellyfish?
It’s an easy fix! Simply use a yarn needle to thread the dropped stitch back up to the correct row, then secure it with a knot. For future projects, use stitch markers to keep track of tricky areas and reduce the risk of dropping those precious stitches.
Can I use different yarn textures in one jellyfish?
Yes, definitely! Mixing textures can add uniqueness to your jellyfish. Just be cautious with how different yarns affect the drape and overall look, ensuring they complement each other for a cohesive design. Happy crafting!
Leave a Reply