
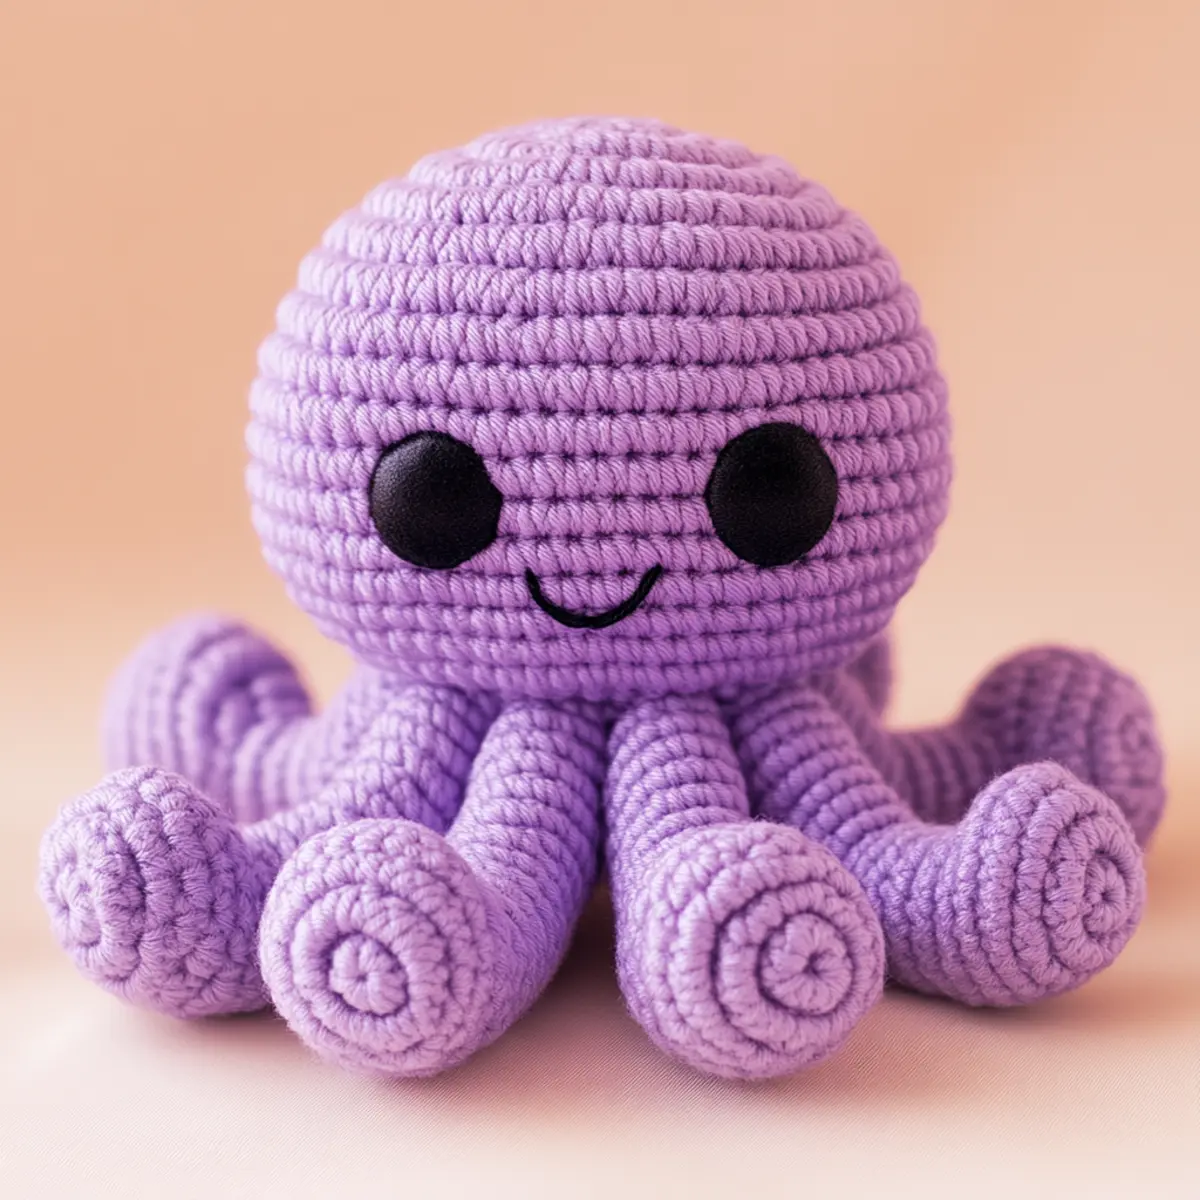
You won’t believe how quickly you can whip up a stunning new friend for your home! Meet Octavia, the crochet octopus pattern that promises to bring smiling faces to both young and old. This delightful plush companion boasts a whimsical design, featuring soft lavender hues and charming details that make her irresistibly cute. Perfect for intermediate crocheters, this project not only allows for quick assembly but also sparks your creativity—experiment with colors and personal touches to make each octopus truly one-of-a-kind. Get ready to dive into a world of crochet fun as you bring this adorable amigurumi to life! So, are you ready to start stitching your cheerful new buddy?
Crochet Octopus Pattern Materials & Tools
Note: Gather your supplies and let the fun begin with this delightful crochet octopus pattern!
Yarn
• Plush or Chenille Yarn – Approximately 200-250 yards in lavender for the octopus body, plus light pink for suckers and cheeks, and white for head spots.
Tools & Notions
• 4.0 mm (G/6) Crochet Hook – Ensures a tight yet flexible stitch to keep stuffing from showing through.
• 12 mm Safety Eyes – Perfect for adding a whimsical, playful look to Octavia.
• Polyester Stuffing – To fill your octopus and maintain that huggable quality.
• Yarn Needle – For seamless assembly and finishing off your project.
• Scissors – Essential for cutting your yarn as needed.
Why Is Octavia the Perfect Crochet Toy?
Joyful Crafting: Whipping up Octavia means diving into a project that celebrates the joy of creation.
Quick to Assemble: With straightforward techniques like magic rings and increasing rows, you can complete this plush octopus in no time.
Adorable Aesthetics: Octavia’s vibrant colors and whimsical shape make her a showstopper, perfect for gifts or home decor.
Creative Freedom: Customize her with your favorite color combinations, or even add unique accessories—think tiny hats or scarves!
Soft & Huggable: Crafted with plush yarn, Octavia is not only aesthetically pleasing but also irresistibly cuddly for all ages.
Fun for Intermediate Crafters: This pattern offers a satisfying challenge without being overwhelming, and it’s a great way to enhance your crochet skills.
Explore more ways to express yourself by checking out our guide on beautiful amigurumi patterns and let your creativity flow!
Gauge & Sizing Notes
Don’t skip the gauge swatch! It’s essential for ensuring your crochet octopus pattern turns out just right, especially given the plush nature of the yarn. Aim for a standard gauge of 4×4 inches (10×10 cm) to equal 14 single crochets by 16 rows. If you want to adjust the size of your octopus, consider increasing your starting chain in multiples of 8 to make it wider or taller. Conversely, if your swatch is coming up too small, simply go up a hook size to loosen your tension. Remember, achieving the correct crochet gauge not only helps with size but also ensures a beautifully plush finish for your adorable Octavia!
Step‑by‑Step Pattern for Octavia the Crochet Octopus
Round 1: Start the Head with a Magic Ring
Begin by making a magic ring, then work 6 sc into the ring. Pull the tail to close the ring tightly. This will form the center of your octopus head. Your work should look like a small circle with 6 stitches visible. (6 sts)
Round 2: Increase for the Dome Shape
Ch 1 and make 2 sc in each st around to start shaping the dome. This round will create a fuller appearance for Octavia’s head. You should see the circle expanding. (12 sts)
Round 3: Gradual Increase
Ch 1, sc in the first st, inc in the next; repeat from * to * around. This will begin to round out the head more, so your work should still be expanding while maintaining a smooth look. (18 sts)
Round 4: Continue Increasing
Ch 1, sc in the first 2 sts, inc in the next; repeat from * to * around. Your piece will continue to grow, forming a nice dome shape, while it should feel soft and squishy. (24 sts)
Round 5: Stabilizing Round
Ch 1, sc in each st around. This round will help set the shape of the head before moving to the body. Make sure it’s nice and even, providing a solid base. (24 sts)
Round 6: Start the Body
Ch 1, sc in the first 3 sts, inc in the next; repeat from * to * around. This will start flaring out the body, giving the plushy characteristic. Your work should start having a gentle curve. (30 sts)
Round 7: Further Body Expansion
Ch 1, sc in the first 4 sts, inc in the next; repeat from * to * around. You should see the body widen, continuing with an inviting plumpness. Ensure the stitches remain neat and tight. (36 sts)
Round 8-12: Body Height
Ch 1, sc in each st around for Rounds 8-12. These rounds allow the body to rise while keeping it uniform. At the end of Round 12, your work should resemble a well-defined plushy shape. (36 sts)
Round 13: Indicate the Bottom
Ch 1, sc in the first 4 sts, dec; repeat from * to * around. This round gives an elegant taper towards the bottom of Octavia’s body, adding to her overall form. (30 sts)
Round 14: Finishing the Body
Ch 1, sc in the first 3 sts, dec; repeat from * to * around. The body closes up gently again, leaving room for stuffing. Your work should start looking like a rounded bottom. (24 sts)
Round 15: Stuff and Close
Ch 1, stuff the body firmly before continuing. Then, sc in the first 2 sts, dec; repeat from * to * around, ensuring you have a solid shape before securing the head. (18 sts)
Round 16: Final Decrease
Ch 1, sc in the first st, dec; repeat from * to * around. After this round, ensure there’s enough stuffing for a plush shape, and your octopus body should be completed at this point. (12 sts)
Step 1: Create the Legs
Start with a magic ring, and work 8 sc into the ring for each leg. Pull closed and secure to begin crafting the plush limbs of Octavia. You’ll notice a small circle forming. (8 sts)
Step 2: Shape the Legs
Ch 1, inc in each st around. This will help your legs have a rounded look, ensuring they remain cuddly and enjoyable. Your legs should be expanding beautifully. (16 sts)
Step 3: Lengthening the Legs
Continue with sc in each st around for several rounds (4-5), allowing the legs to gain some length. They should begin to hang down in a soft, squishy manner, adding to Octavia’s whimsical form.
Step 4: Creating the Suckers
Make small circles by creating a magic ring and working 6 sc. These will serve as the suckers on the arms. You should form tiny, snug circles ready for attachment. (6 sts)
Step 5: Assembly of the Legs
Sew each leg onto the base of the body, space them evenly to maintain symmetry. Your octopus should start taking shape, with arms that drape playfully downwards.
Step 6: Facial Features
Sew on 12 mm safety eyes and embellish with cheeks using light pink yarn. Position these features nicely, as they’ll bring charm to Octavia’s character. The face is an essential element, giving her personality.
Step 7: Final Assembly
Secure all pieces well, ensuring no loose ends. Weave in any yarn tails to finish up Octavia the crochet octopus. Your delightful plush friend should now be complete, ready to spread joy and cuddles!
Crochet Octopus Pattern Variations
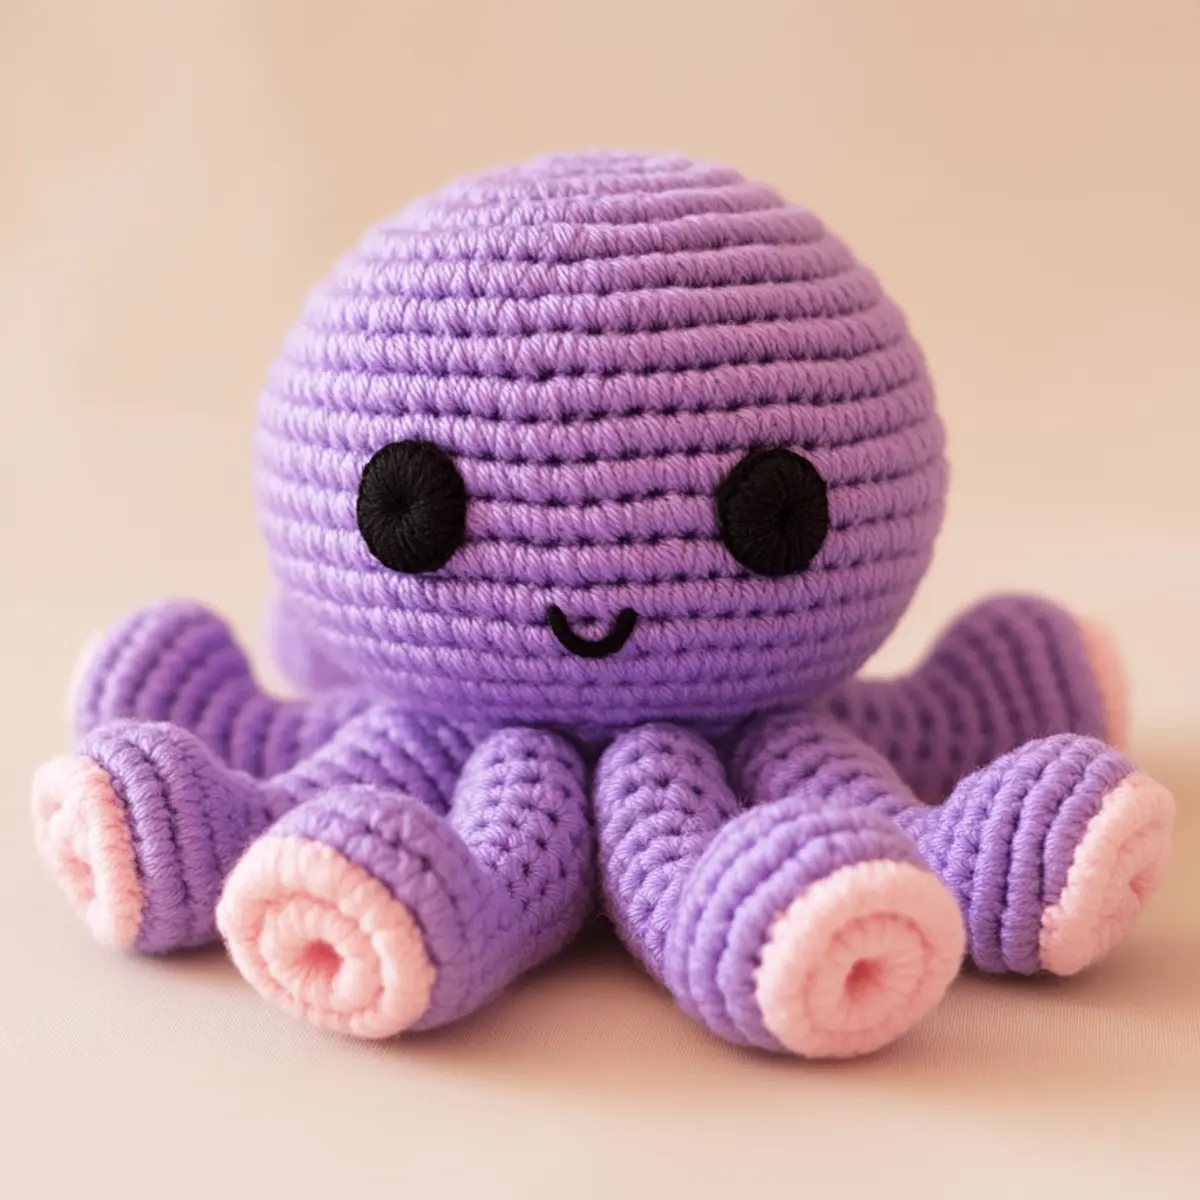
Inviting your creative spirit, this crochet pattern allows for delightful personal touches that enhance Octavia’s charm!
-
Yarn Substitutions: Swap plush yarn for cotton for a firmer, sturdy octopus. This alteration enhances texture and durability, making it suitable as a playful keychain.
-
Color Blocking: Create a rainbow effect by using multiple colors for each leg. Mix and match shades for a fun, whimsical palette that truly stands out.
-
Size Adjustments: Choose a larger hook to make a sizable version of Octavia, or go for a smaller hook to create a pocket-sized octopus. These adjustments can make unique gifts for all ages.
-
Fiber Alternatives: Experiment with bamboo yarn for a cool, breathable finish. This gives Octavia a lighter texture that’s perfect for warm-weather cuddling.
-
Textured Additions: Enhance the octopus with playful features by incorporating pom-poms on each leg. They add extra flair and whimsy, making Octavia even more fun for little hands.
-
Accessorized Style: Add a charming scarf or tiny hat for character. These accessories not only personalize your Octavia but also make her unique to your creative vision.
-
Contrast Details: Introduce contrasting colors for the suckers or spots on the head. A pop of color can elevate the design, drawing in the eye and adding visual depth.
-
Fringe Legs: Transform Octavia’s legs with simple fringing techniques for a truly unique texture. This will create a playful, flowing effect that embodies her whimsical nature.
Let your creativity soar with these ideas, and don’t forget to explore more magic in the world of amigurumi patterns.
Expert Tips for Octavia’s Crochet
Tension Control: Ensure a consistent tension by practicing with your 4.0 mm hook. This helps the plush yarn hold its shape.
Count Your Stitches: Regularly check your stitch count, especially during shaping rounds. This prevents any discrepancies that could alter Octavia’s charming form.
Magic Ring Mastery: Perfect your magic ring technique to start Octavia’s head on the right foot. A tight starting ring keeps your stitches secure, avoiding gaps.
Proper Stuffing: Use ample polyester stuffing to give your octopus a plush, huggable quality. Distribute it evenly to maintain shape without overstuffing.
Eye Placement: Carefully position the 12 mm safety eyes before stitching them on. Small adjustments can significantly change Octavia’s expression, adding to her whimsy.
Finishing Touches: When assembling, secure each part tightly to enhance durability. Don’t forget to weave in ends neatly for a polished final look in your crochet octopus pattern.
How to Wash and Care for Your Crochet Octopus
Machine Washing: Use a gentle cycle with cold water to preserve the plush texture of Octavia. Avoid agitation to prevent any felting or pilling of the yarn.
Hand Washing: If you prefer, hand wash your crochet octopus in cold water using a mild detergent. Gently squeeze the water out without wringing to maintain her charming shape.
Drying/Blocking: Lay Octavia flat on a clean towel to dry. This prevents stretching and helps maintain her adorable form while ensuring she retains that huggable quality.
Storage: Keep Octavia in a cool, dry place to prevent any moisture damage. Store her in a breathable bag to keep dust away, ensuring she stays fresh for cuddles.
Octavia the Crochet Octopus FAQs
Can I use a different type of yarn instead of plush or chenille yarn?
Absolutely! While plush or chenille yarn is recommended for Octavia’s soft and cuddly finish, you can definitely opt for acrylic or cotton yarn. Just keep in mind that this might alter the texture and overall look of your crochet octopus pattern, so choose a fiber that feels right for your project.
How do I make Octavia bigger or smaller?
To adjust the size of your octopus, you can use a larger hook and thicker yarn for a gigantic version, or a smaller hook and lighter yarn for a mini octopus. If you change the yarn weight, you might also need to recalculate your stitch counts, so gauge swatches can be your best friend in achieving the desired dimensions.
Why is my work curling up?
Don’t panic! Curling can happen for various reasons, often linked to tension. If your stitches are too tight, try loosening your grip or switching to a larger hook. Additionally, ensure you’re maintaining the correct stitch count, especially in your increasing rows. Regularly checking your stitches can help keep everything flat.
How do I fix dropped stitches?
It’s an easy fix! If you notice any dropped stitches, use a yarn needle to carefully pick up the loop and pull it back through to re-secure it within the fabric. You can also crochet a few stitches back over the area to make it less noticeable, blending seamlessly into Octavia’s design.
What size hook should I use for this pattern?
For Octavia, a 4.0 mm crochet hook (G/6 in US sizing) is recommended to achieve a tight yet flexible fabric. However, if you’re using a different yarn type, you might want to adjust your hook size accordingly. Always check your stitch gauge to ensure your octopus holds its adorable shape!
How do I ensure the safety eyes are securely attached?
To secure the 12 mm safety eyes properly, position them before you finish stitching Octavia’s face. Press the safety washers firmly into place, ensuring they grip the yarn snugly. This will help prevent them from coming loose during playtime or cuddling, keeping Octavia safe for all ages.
Leave a Reply