
With each stitch, I can feel the soft embrace of the plush yarn, making my heart leap at the thought of creating something as whimsical as the Cherry Blossom Panda Plush Toy. This delightful crochet panda plush is not only a joy to craft but also serves as an enchanting addition to any home decor or a treasured gift for loved ones. Perfectly huggable and irresistibly cute, the playful design captures attention with its cheerful expression and beautiful cherry blossom accents. Plus, you’ll love how quickly it works up, allowing you to see your progress in no time. Customizing colors and sizes opens the door to your creativity, making each panda uniquely yours. So, are you ready to dive into the world of cuddly creations? Let’s get hooking!
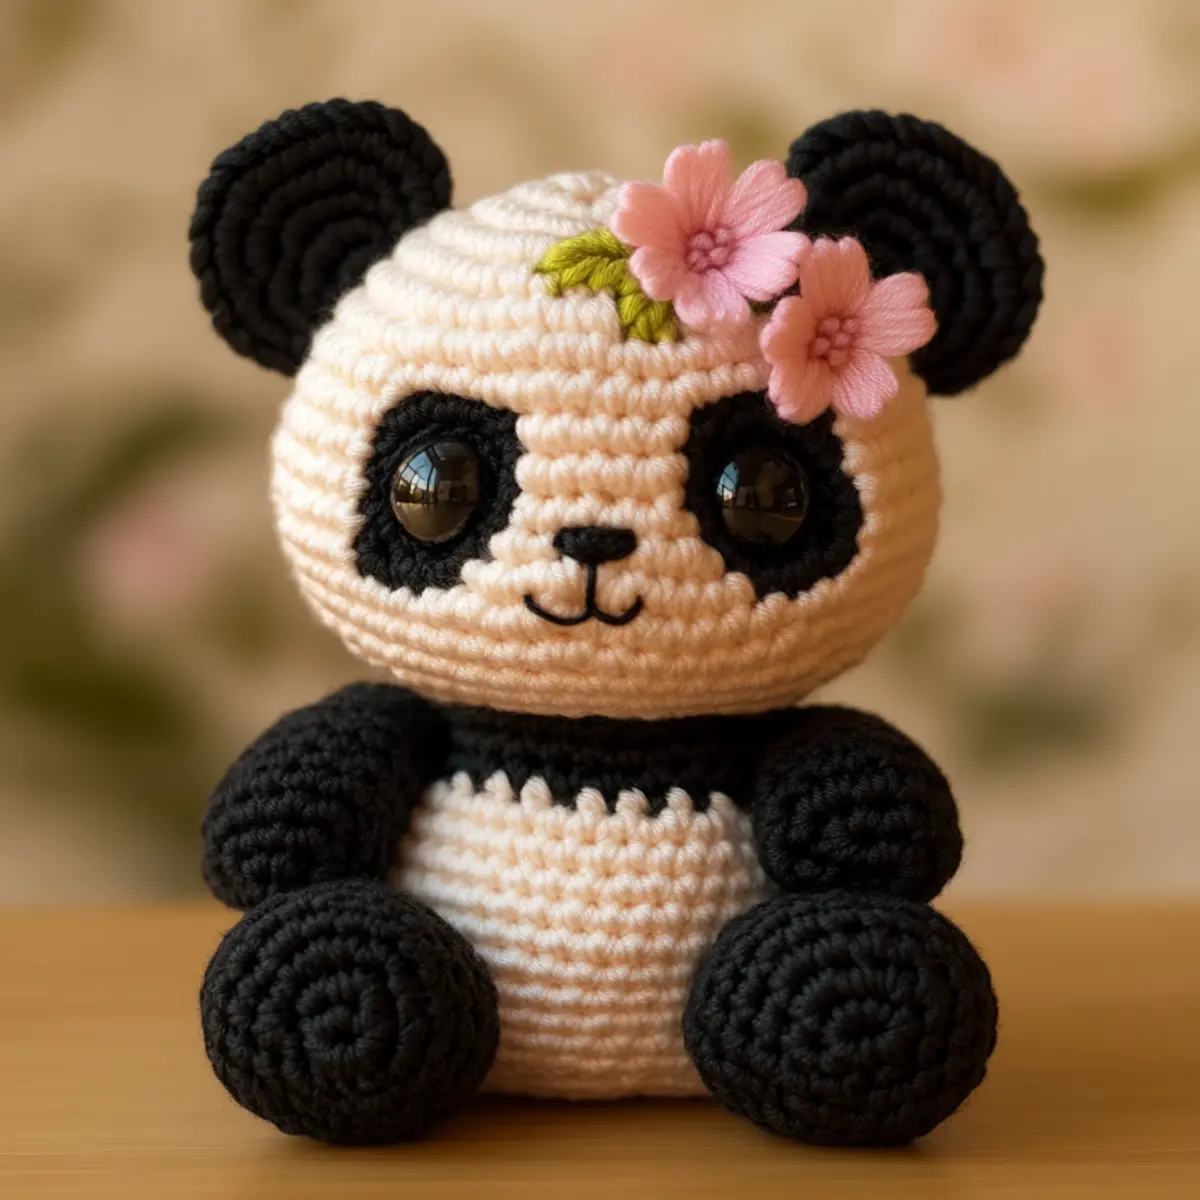
Crochet Panda Plush Materials & Tools
• Gather your supplies and let’s get started on creating this adorable Cherry Blossom Panda!
Yarn
- Plush or Chenille Yarn – Aim for a medium thickness with cream for the body, black for the ears and paws, and blush pink for the cherry blossoms.
- Yardage: Approximately 200-300 yards total should be perfect for your crochet panda plush project.
Tools & Notions
- 4.0 mm (G/6) Hook – A standard size to achieve the soft, huggable texture desired for this plush.
- 12 mm Safety Eyes – Essential for giving your panda its charming and expressive look.
- Polyester Stuffing – For a firm yet soft finish, making it snuggly and inviting to hold.
- Scissors – A must-have for cutting yarn ends neatly.
- Yarn Needle – Handy for assembly and weaving in those pesky ends!
With these materials at your fingertips, you’re all set to craft a delightful crochet panda plush that you or a loved one will cherish!
Why Is This Crochet Panda Plush Special?
Adorable Design: The Cherry Blossom Panda Plush Toy is not just a project; it’s a delightful experience, combining playful aesthetics with soft, cuddle-worthy charm.
Variety of Techniques: With intermediate-level techniques like working in the round and precise assembly, you’ll enhance your crochet skills while creating an enchanting piece.
Quick Completion: Thanks to the medium yarn weight and engaging pattern, you’ll see your adorable panda take shape swiftly, perfect for those last-minute gift needs.
Unique Customization: Colors, sizes, and personalized touches allow you to make each panda plush a one-of-a-kind masterpiece that reflects your unique style!
Perfect Gift Idea: This whimsical plush is not only great for personal enjoyment but also serves as a perfect gift! Ideal for baby showers, birthdays, or just because—who wouldn’t smile at this cute panda?
Gauge & Sizing Notes
Don’t skip the gauge swatch! For the crochet panda plush project, checking your tension is vital to ensure your finished toy turns out just the right size. The standard gauge to aim for is 4×4 inches (10×10 cm), which should measure 14 double crochets by 8 rows. If you would like to make your adorable Cherry Blossom PandaPlush larger or smaller, adjust your starting chain in multiples of 4 before beginning the body sections. If your tension swatch is too small, try going up a hook size, and conversely, if it’s too large, a smaller hook will help tighten your stitches. Happy crafting!
Step‑by‑Step Pattern for crochet panda plush
Row 1: Start the Head
Begin by creating a magic ring (MR) and crochet 6 single crochets (sc) into the ring. Pull the tail to tighten the ring. Your work should form a small circle. This will set the foundation for the crochet panda plush’s head. Remember to keep your tension consistent to ensure a smooth finish (6 sts).
Row 2: Increase for Shape
In this row, you’ll work 2 single crochets (sc) into each stitch around. This will create a slightly larger circle for the base of the panda’s head. Keep your tension even, as this will help maintain the shape of the plush. You should now have a total of 12 stitches (12 sts).
Row 3: Continue Increasing
For the next round, crochet 1 sc in the first stitch, then 2 sc in the next stitch; repeat this pattern around. This incremental increase will help form the rounded shape of the panda’s head. At the end of this round, you should see your work growing, totaling 18 stitches (18 sts).
Row 4: More Shape Definition
In this round, you will crochet 1 sc in each of the first 2 stitches, followed by 2 sc in the next stitch. Repeat this sequence to expand the size of the head further. Your plush panda should be taking shape as the stitches build up. Count to confirm you have 24 stitches at the end (24 sts).
Row 5: Build the Body
Now, we’ll transition to the body. Work 1 sc in each stitch around, maintaining the last stitch count of 24 to keep a consistent shape. This solid round will create a firm base for the crochet panda plush. You should notice it starting to curl up from the base (24 sts).
Row 6: Increase for Plumpness
This round adds body shape, crochet 1 sc in each of the first 3 stitches, then 2 sc in the next. Repeat around. As you work, notice how the body portion is becoming wider and softer. The total at the end of this round should be 30 stitches (30 sts).
Row 7-9: Complete the Body
For the next three rounds, simply crochet 1 sc in each stitch around without increasing. This will help establish the body’s depth and consistency. Keep an eye on your stitch count, confirming you maintain 30 stitches for three rounds while watching your crochet panda plush grow (30 sts each round).
Row 10: Transition to the Arms
To create the arms, switch to a new round where you will work 1 sc in the first 6 stitches, then chain 5 to form the arm. Slip stitch into the first sc to create a loop. Repeat this process to have both arms ready. Your panda should now have a cute arm shape peeking out (6 sts for the arm).
Step 11: Create the Legs
Start similar to the arms by chaining 5 and slip stitching into the base but crochet 8 sc into the loop to form a leg. This will create a rounded, plush-like leg for your panda. Repeat for the second leg. Make sure both legs maintain similar sizes to keep the crochet panda plush balanced (8 sts each leg).
Step 12: Crafting the Ears
To form the ears, use a magic ring and crochet 6 sc into it. Then, increase in the next round by crocheting 2 sc in each stitch. This should give you an adorable small ear shape that will sit nicely on top of the panda’s head. At the end of this step, the count should reach 12 stitches (12 sts).
Step 13: Making Cherry Blossoms
For the cherry blossoms, crochet 4 chains, then create 3 double crochets (dc) into the first chain. Slip stitch back to the center to form a petal; repeat 4 times to form a flower. Assemble the petals with tiny beads in the center for embellishment. These blossoms will beautifully adorn your crochet panda plush (4 flowers).
Step 14: Assembly
Begin assembling the pieces by sewing the arms, legs, and ears onto the main body securely. Attach the safety eyes and position the cherry blossoms on the panda. This final assembly is crucial for creating a whimsical and finished look. Ensure all parts are secured in place for a charming, huggable plush.
Step 15: Finishing Touches
Finally, stuff the panda plush gently to give it a soft yet defined shape. Weave in any loose yarn ends and give it a light shaping if needed. At this point, feel free to check your crochet panda plush to see if everything aligns perfectly for its adorable final look!
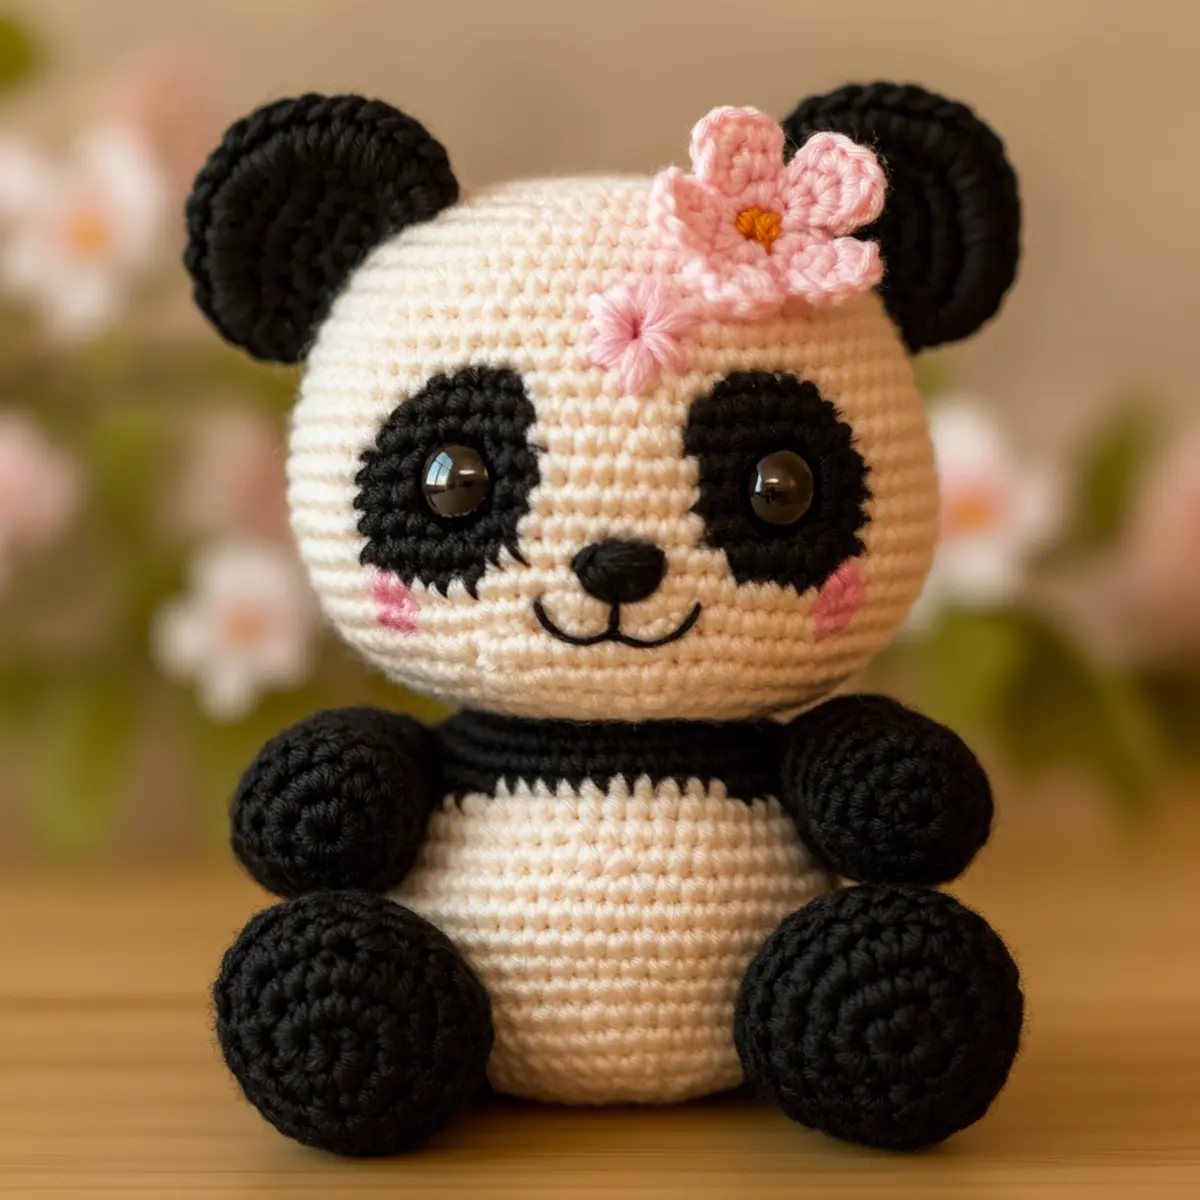
Care Instructions for Your Crochet Panda Plush
-
Machine Washing: If necessary, wash your crochet panda plush on a gentle cycle using cold water to avoid damaging the soft fibers. Always place it inside a mesh laundry bag for protection.
-
Hand Washing: For more delicate care, hand wash in cool water with a mild detergent, gently agitating to clean without causing felting or pilling on the plush texture.
-
Drying: Lay your panda flat on a clean, dry towel to absorb excess water, then reshape as needed. Avoid hanging, as this can distort the soft structure of your adorable creation.
-
Storage: Keep your crochet panda plush in a cool, dry place, away from direct sunlight to maintain its charm and color. Opt for a breathable bag if storing for an extended period to avoid dust accumulation.
Crochet Panda Plush: Fun Variations
Embrace your creativity and customize this adorable crochet pattern to suit your unique style!
-
Yarn Substitutions: Swap plush yarn for organic cotton for a softer finish that’s perfect for sensitive skin. Try different textures for your happy panda!
-
Color Play: Experiment with pastel hues or vibrant yellows and greens to give your panda a whimsical flair. Just picture a sunny panda ready to brighten anyone’s day!
-
Size Adjustments: Use a larger hook and thicker yarn to create a giant panda plush. Or, try a smaller hook for a cute, pocket-sized version that kids will adore.
-
Personalized Embroidery: Stitch initials or playful patterns on your panda’s belly. This thoughtful touch makes for a truly special gift for loved ones or a keepsake for yourself.
-
Texture Enhancements: Add pom-poms to the panda’s ears for extra cuteness, or sew on a fluffy tail for added whimsy. Texture can elevate the charm of your creation!
-
Cherry Blossom Variations: Use different yarn colors for the cherry blossoms, turning them into bright splashes of color or delicate, muted tones. It’s all about personal touches!
-
Add a Border: Create a simple border around the panda’s body using a contrasting color, which can give the plush a beautiful, finished look, making it stand out even more.
-
Switch to Safety Features: For a child-friendly version, consider using plastic safety eyes or embroider the eyes instead. Safety first while keeping the cuteness!
With these ideas, you can craft a delightful crochet panda plush that’s perfectly tailored to your style. Don’t forget to check out other delightful patterns and tips here: Expert crochet techniques for enhancing your skills, and explore color theory in crochet to find the perfect shades for your project!
Expert Tips for Your Crochet Panda Plush
-
Consistent Tension: Ensure all pieces are crocheted with the same yarn and hook size to maintain a cohesive and plush look throughout your crochet panda plush.
-
Accurate Counting: Keep a close eye on your stitch count, especially during assembly; even small miscounts can affect the alignment and overall aesthetic of your panda.
-
Gentle Shaping: Before stuffing, gently shape your components to help them keep their form, creating a more polished and cuddly finish.
-
Secure Assembly: Use a sturdy yarn needle for assembly to ensure all parts are sewn together securely, which is essential for a charming and durable plush toy.
-
Smooth Edges: For a clean final appearance, weave in all loose ends using your yarn needle, making sure every detail of your adorable panda is neat and tidy.
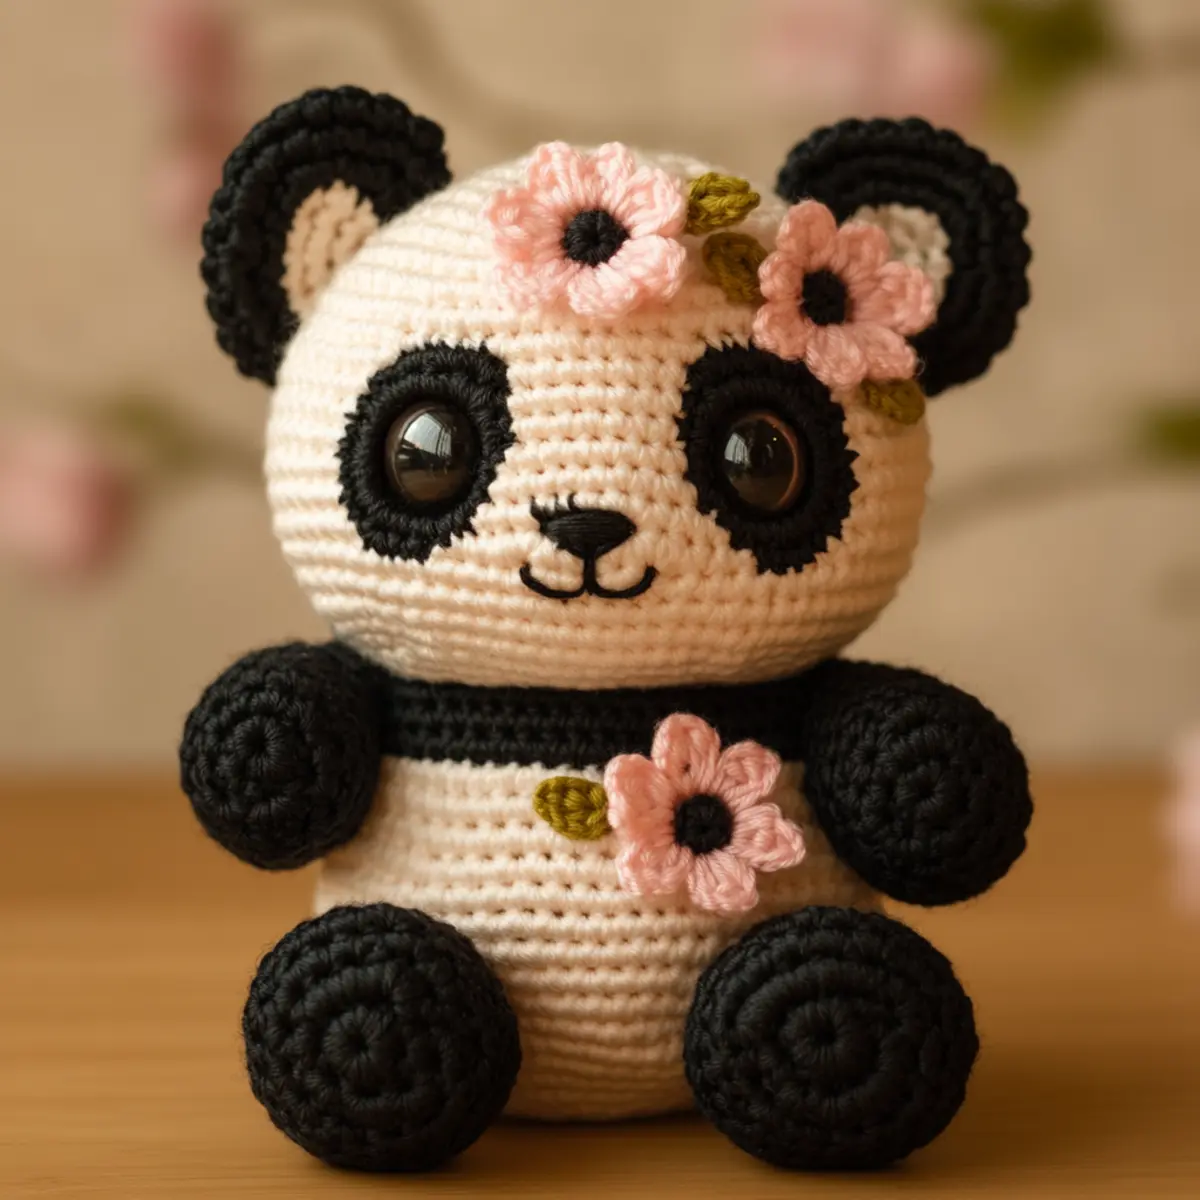
Cherry Blossom Panda Plush Toy FAQs
Can I use a different yarn for the crochet panda plush?
Absolutely! While the pattern recommends plush or chenille yarn for that soft and cuddly effect, you can substitute it with acrylic or cotton yarn. Just keep in mind that the finished texture may change slightly. If you’re using a different yarn, check the weight and adjust your hook size accordingly for the desired softness.
How do I adjust the size of my Cherry Blossom Panda?
Don’t panic! To make your plush bigger or smaller, you can adjust your yarn weight and hook size. For a larger panda, use a heavier weight yarn and a larger hook. Conversely, a lighter weight yarn with a smaller hook will yield a petite version. If altering the size, keep in mind to bookmark your stitch count for each section, and use multiples of your chosen count to maintain proportions!
Why is my work curling, and how can I fix it?
If your panda plush is curling at the edges, it could be due to tight tension or not enough stitches to counterbalance the curves. An easy fix is to check your tension while crocheting and make sure your stitches are not too tight. You can also block your pieces lightly after you’ve finished; this can help shape them before stuffing to give them a more uniform appearance.
What hook size should I use for this pattern?
The recommended hook size for this crochet panda plush is a 4.0 mm (G/6). However, feel free to adjust based on your yarn choice and tension. It’s always a great idea to crochet a small swatch first to test your gauge!
How do I fix dropped stitches on my plush?
Don’t worry; it’s an easy fix! If you notice a dropped stitch, simply use your yarn needle to carefully weave the yarn back through the last few rounds, ensuring it follows the pattern. Alternatively, you can pick up the stitch with your hook and continue onward, making sure to pull the yarn snugly to maintain consistency with the rest of your work.
Can I use safety eyes from my stash instead of the recommended size?
Certainly! If you have safety eyes in another size, just make sure they match the proportions of your plush. If you’re going larger, you might want to adjust how deep into the head you place them for a more balanced look. For smaller eyes, ensure you’re stuffing the head sufficiently to give that cute ‘panda’ expression.
Leave a Reply