
As my fingers glide over the soft cotton yarn, I feel a delightful spark of creativity take hold. Today, I’m excited to share the charming crochet flower bracelet, an enchanting accessory that effortlessly elevates any outfit. This project strikes the perfect balance between elegance and practicality, making it ideal for both beginners and seasoned crocheters alike. Not only does it work up quickly, but the ability to customize colors and embellishments means that each bracelet can truly reflect your unique style. Whether you’re crafting for yourself or whipping up last-minute gifts for friends, this whimsical floral piece is sure to bring joy and satisfaction. Ready to let your imagination bloom with stitches? Let’s dive in!
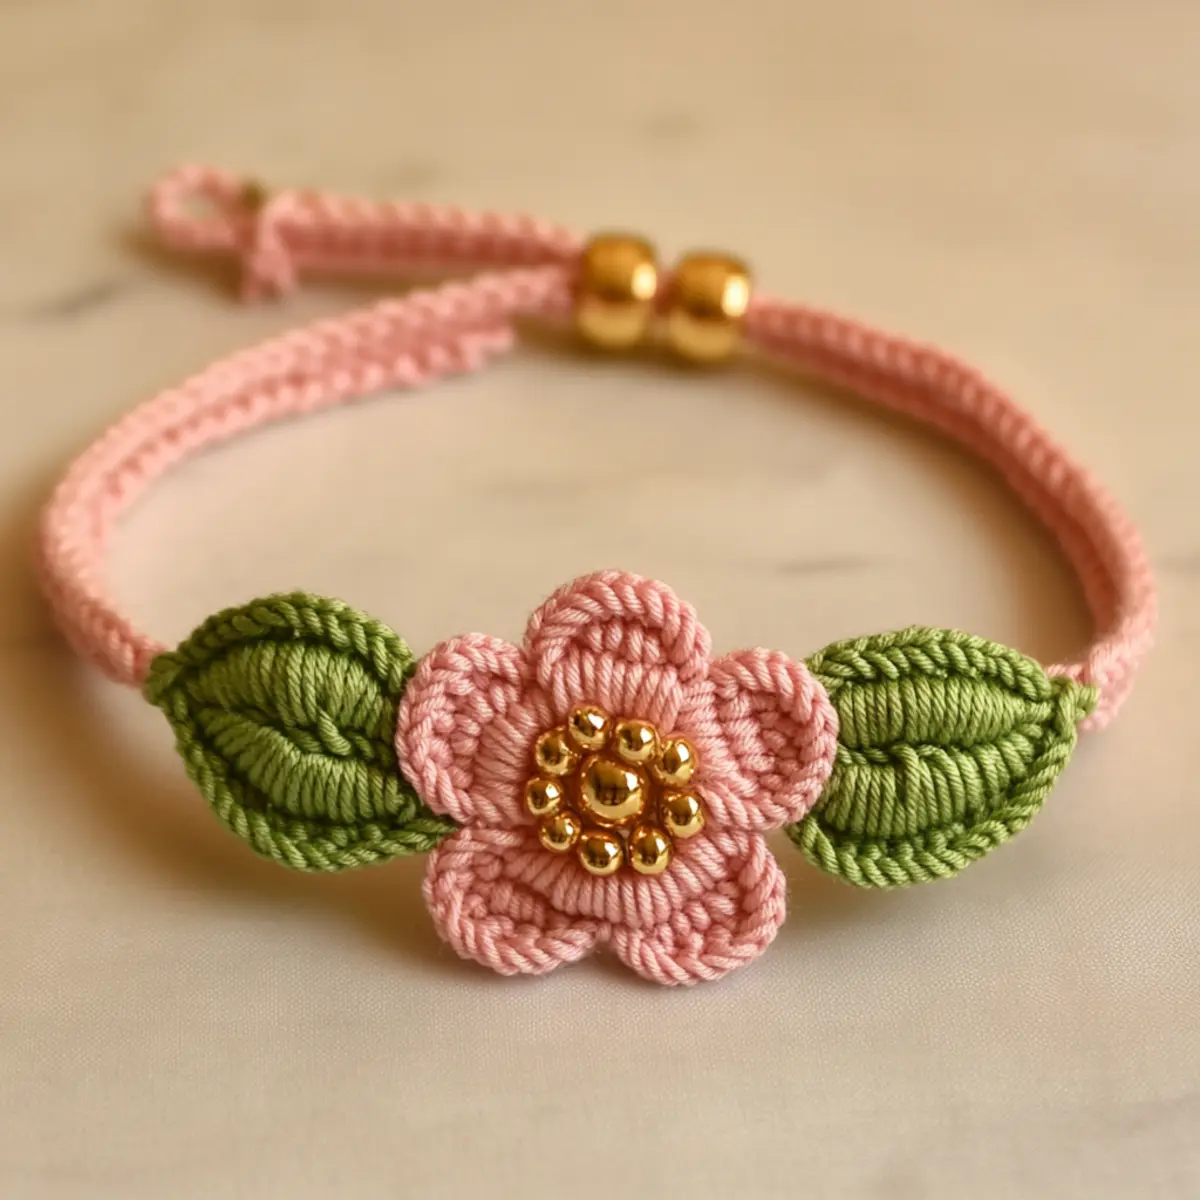
Flower Bracelet Materials & Tools
Note: Get ready to create your charming crochet flower bracelet with these essential supplies!
Yarn
• Medium-Weight Cotton Yarn – Approximately 50-100 yards in both pink and green to bring your flower and leaves to life.
Tools & Notions
• 2-3 mm (C-D) Crochet Hook – The perfect size for achieving delicate stitches, typical for medium-weight yarn.
• Yarn Needle – Great for weaving in ends and securing those charming gold beads at the finish.
• Small Gold Beads – Use these to add a touch of elegance and style to your floral design.
• Adjustable Cord – Ensures a comfortable and personalized fit for various wrist sizes.
• Scissors – Essential for trimming yarn ends neatly as you complete your bracelet.
Let your creativity flourish as you gather these materials to craft your delightful floral accessory!
Why Is This Flower Bracelet Special?
Delightful Design: The charming flower bracelet combines elegance with playful whimsy, making it a versatile accessory for any outfit.
Beginner-Friendly: With straightforward stitch patterns, it’s perfect for crafters at all skill levels, ensuring a fun and stress-free experience.
Customizable Colors: Express your style by choosing your favorite yarn shades—imagine vibrant reds or soft pastels for your flowers!
Quick Gifting: This bracelet is ideal for last-minute presents or craft party projects, working up swiftly while leaving plenty of time for personalization.
Lightweight Comfort: Made with soft cotton yarn, the bracelet drapes beautifully on the wrist, perfect for all-day wear without discomfort.
If you’re in search of more quick and easy projects, check out our guide on crochet accessories to add even more flair to your collection!
Gauge & Sizing Notes
Don’t skip the gauge swatch! Ensuring your tension is accurate is crucial for the perfect fit of your flower bracelet. For this project, the standard gauge is a 4×4 inch (10×10 cm) square that equals 15 single crochets by 16 rows. If your swatch is smaller, it may lead to a tight fit, while a larger swatch can yield a looser bracelet. To increase the size of your bracelet, adjust your starting chain in multiples of 6 to create more petals and leaves, or simply increase the number of rounds. If you’re crocheting tightly, don’t hesitate to switch to a larger hook size for better drape and comfort. Happy crafting!
Step‑by‑Step Pattern for flower bracelet
Row 1: Create the Flower Center
Start with a magic ring, ch 3 (counts as 1 dc), and in the ring, work 11 dc. Pull the magic ring tight to close. Join with a sl st to the top of the ch 3. Your flower center should have a round shape with a total of 12 stitches.
Row 2: Form the Petals
Ch 1, then work 2 sc into the base of each dc from the previous round to create petals. This should give you a total of 24 sc. Join with a sl st to the first sc, and you’ll see your petals forming, creating a lovely flower look.
Round 3: Petal Trim
Ch 3, dc in the first sc, then ch 2 and sl st back into the same sc (petal made). Repeat this for each sc around for a total of 12 petals. You’ll end with a charming flower that looks dimensional and ready to brighten the bracelet.
Step 4: Crochet the Leaves
Start by ch 6. In the 2nd ch from the hook, work 1 sl st, then hdc in the next ch, followed by 1 dc in the next chain. For the last two chs, work hdc and sl st. This creates one leaf shape. Repeat for a second leaf, enhancing your flower bracelet’s design.
Step 5: Make the Bracelet Cord
Ch 50 for the bracelet cord. To finish, work a sl st into the last ch to create a loop. This will provide a sturdy base for your flower and leaves, ensuring they sit beautifully along the bracelet as it adjusts to different wrist sizes.
Step 6: Assemble the Flower Bracelet
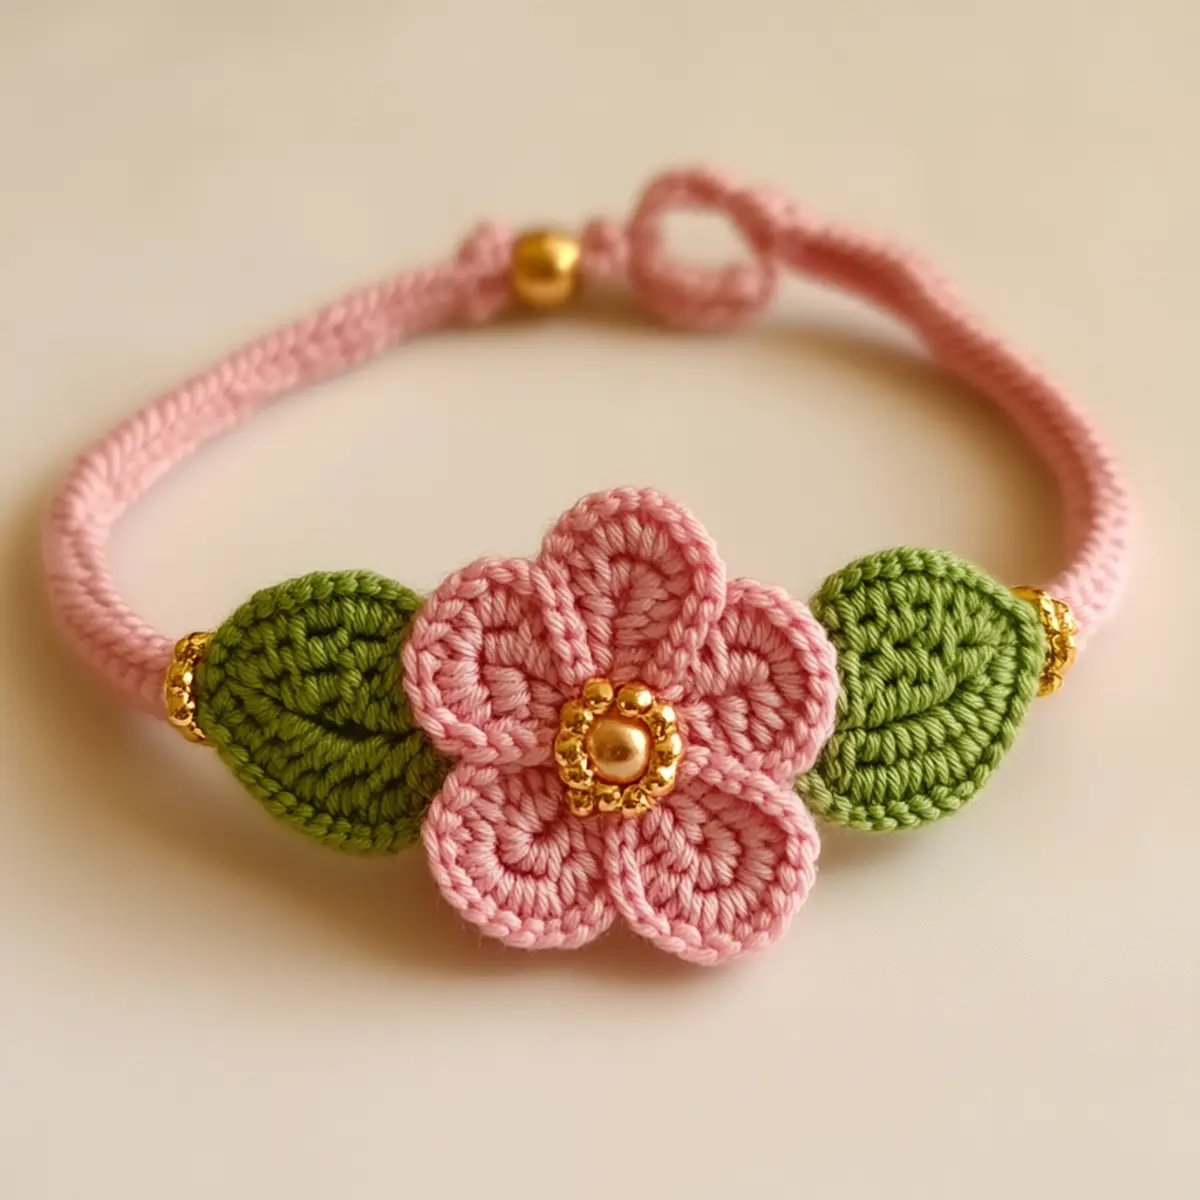
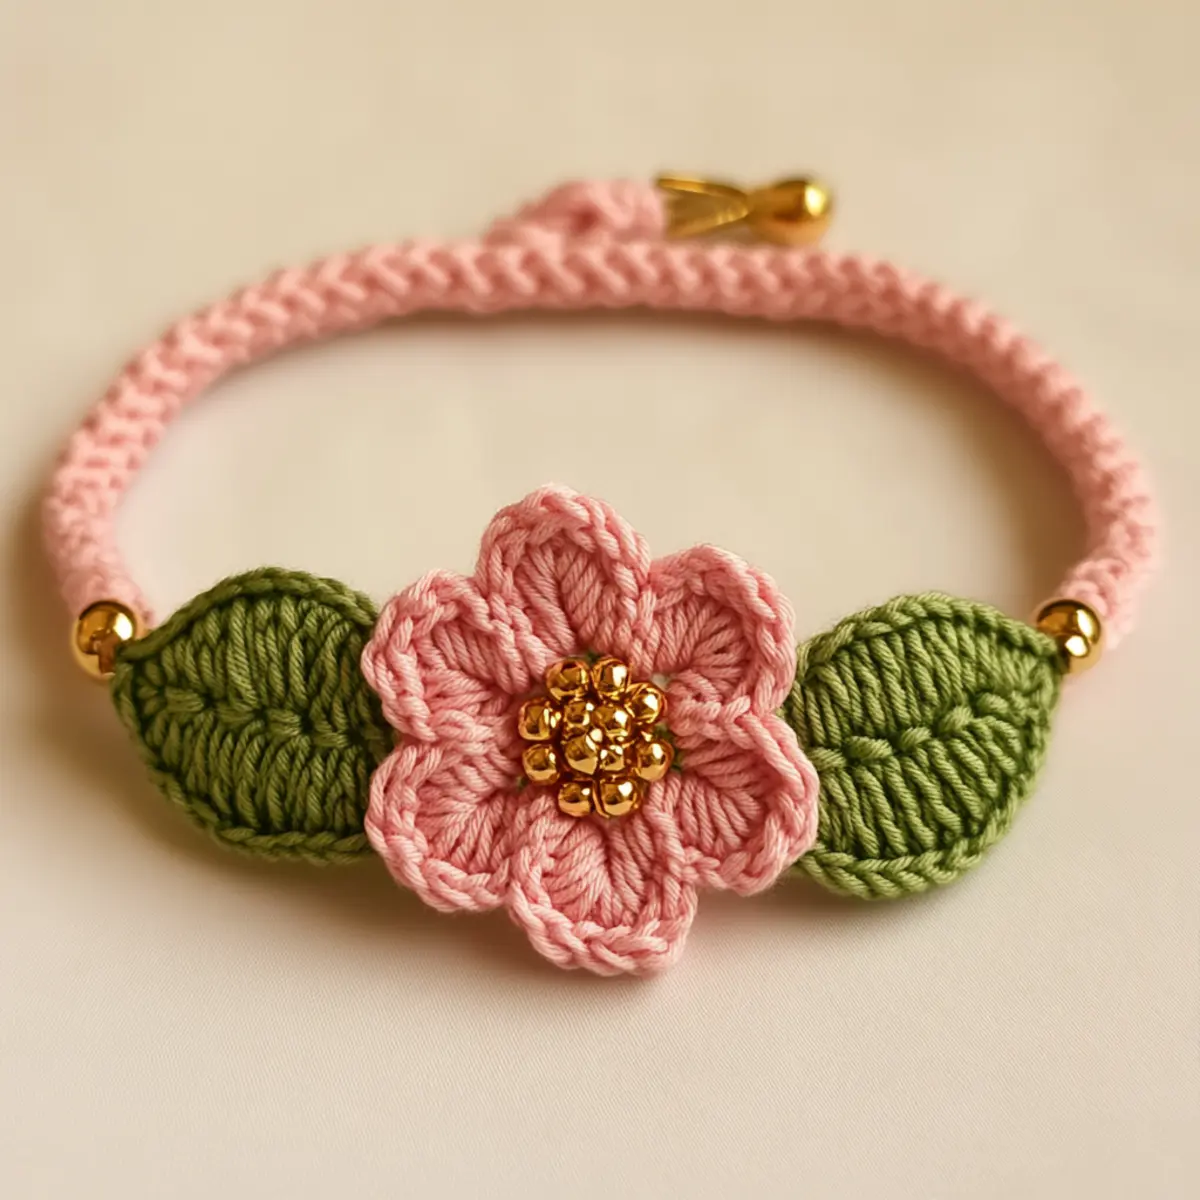
Sew the flower at the center of the bracelet cord and attach the two leaves to each side. Secure with additional yarn, ensuring they’re snug. Add the small gold beads between the flower and leaves for an eye-catching detail, bringing the entire flower bracelet together flawlessly.
Step 7: Final Touches
To finish, create an adjustable sliding knot on both ends of the cord. Trim any excess yarn and weave in the ends with the yarn needle. Your flower bracelet should now have a lovely fit and be adorned with beautiful floral elements, perfect for showcasing your crochet skills.
How to Wash and Care for Your Flower Bracelet
- Gentle Hand Washing: Use cold water and a mild detergent to gently hand wash your flower bracelet, avoiding agitation to preserve its shape and prevent any pilling.
- Drying: Lay the bracelet flat to dry in a cool, shaded area. Avoid hanging it up, as this might distort the shape of the flower and leaves.
- Storage: Store your flower bracelet in a cool, dry place, ideally in a soft pouch or on a flat surface to prevent any friction that could lead to damage.
- Blocking: If needed, lightly block the flower petals and leaves by dampening them and shaping them to your desired form; this adds a polished look to your finished piece.
Expert Tips for the Flower Bracelet
- Watch Your Tension: Ensure consistent tension throughout your stitches. This will keep the flower bracelet looking even and polished.
- Count Stitches: Keep track of your stitch count after each round. A quick check helps prevent any errors that can sneak up on you!
- Mind the Closure: When stitching the sliding knot closure, ensure it’s adjustable but remains strong enough to hold your bracelet securely on your wrist.
- Block Lightly: Consider lightly blocking the finished pieces to enhance their shape, giving your flower bracelet a polished finish.
- Use Quality Ends: Finish off yarn ends securely to prevent unraveling. This extra care goes a long way in making your bracelet durable!
Flower Bracelet Variations & Substitutions
Feel free to explore these creative options to personalize your charming flower bracelet!
- Yarn Weight Swaps: Try a lighter weight yarn for a more delicate look. Consider using a sport or lace weight for a lacy aesthetic.
- Fiber Alternatives: Switch to acrylic or bamboo yarn for a different texture. Acrylic is durable and easy to care for, while bamboo offers a lovely sheen.
- Color-Blocking Ideas: Create a unique style by color-blocking different yarn shades in the petals and leaves, mixing up floral hues for a dazzling effect.
- Petal Count Adjustments: Change the number of petals to customize the size of your flower. Fewer petals create a minimalist look, while more offer an abundance of flair.
- Adding Texture: Enhance your bracelet by incorporating crochet techniques like bobbles or puffs in your flowers, adding depth and visual interest.
- Charms & Beads: Elevate your bracelet by attaching different charms or using various bead styles. They can help bring out the beautiful floral motif while adding personal touches.
- Fringe Finish: To add a playful flair, consider adding a lightweight fringe along the edges of the bracelet, which will sway gently with movement.
- Adjustable Length: For a truly custom fit, increase or decrease the number of chain stitches in your bracelet cord, making it perfect for different wrist sizes.
Experimenting with these variations can ignite your creativity and lead to a bracelet that embodies your unique style. If you’re looking to expand your crochet repertoire, take a look at our project on crochet accessories for more inspiring ideas!
Charming Crochet Flower Bracelet FAQs
Can I substitute yarn for this flower bracelet?
Absolutely! While a medium-weight cotton yarn is recommended for this project, you can swap it for acrylic yarn in a similar weight. Just keep in mind that the final drape and feel may differ slightly, but it’ll still be a lovely accessory.
How can I resize the flower bracelet?
Don’t panic! To make your flower bracelet larger or smaller, simply adjust the number of petals and leaves you crochet. If you prefer a snugger fit, you can create fewer chains for the bracelet cord. Just remember to maintain the same style for consistency!
What should I do if my work is curling?
If your flower bracelet is curling, it could be due to tight tension. Check that you’re not pulling your yarn too tightly as you crochet. If your work is still curling after completing the petals, consider lightly blocking it; this can help reshape the piece beautifully.
What size hook should I use for this project?
I recommend using a 2-3 mm crochet hook for this flower bracelet, as it works well with medium-weight cotton yarn. However, if you find your stitches are too tight or loose, you can always adjust your hook size for a better fit to your tension.
How do I fix a dropped stitch in my flower bracelet?
It’s an easy fix! Simply locate the dropped stitch, then carefully pull up the yarn to reintroduce it into your work. You can use your crochet hook to pull the yarn through the stitch. If you’re feeling uncertain, take a deep breath—small imperfections often add character to your handmade items!
What should I do to securely finish my bracelet?
Make sure to securely weave in all your yarn ends with a yarn needle after completing the bracelet. This is crucial for the longevity of your flower bracelet! A neat finish not only looks great but also prevents any unraveling during wear.
Leave a Reply