
As I sat surrounded by my yarn stash one cozy afternoon, I felt that familiar tug to create something enchanting. That’s when the idea of crocheting a Hello Kitty doll swept over me—this adorable character has captured hearts for generations! In this blog post, I’m thrilled to share my Hello Kitty crochet pattern, perfect for intermediate crocheters seeking a rewarding yet delightful challenge. This project not only sharpens your skills with engaging techniques but also results in a charming, plush doll that is sure to bring joy to anyone who receives it. With just 150 yards of light worsted cotton and a few simple supplies, you can create a soft and cuddly companion. Are you ready to dive into the world of amigurumi and let your creativity flow? Let’s get stitching!
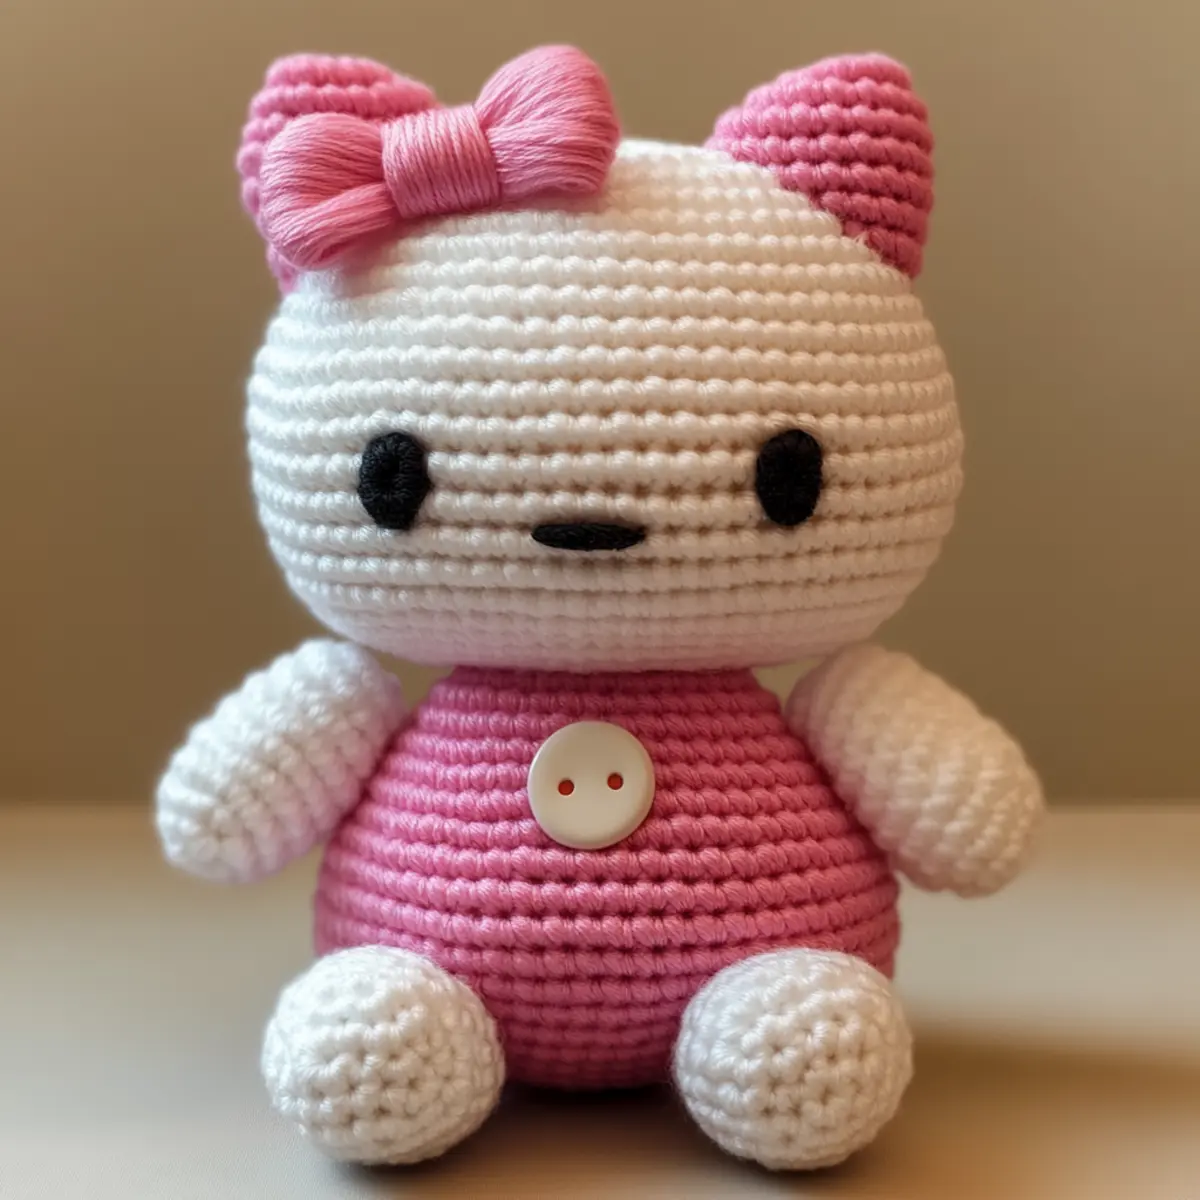
Hello Kitty Crochet Materials & Tools
Get ready to gather your supplies for this charming project!
Yarn
• Light Worsted Cotton Yarn – You’ll need around 150 yards total to create your adorable doll.
Tools & Notions
• 2.5mm (C/2) Hook – This size is perfect for achieving the right tension for your Hello Kitty crochet doll.
• Stuffing – Choose a soft stuffing to give your doll a huggable quality while maintaining its shape.
• Tapestry Needle – Essential for weaving in ends and sewing pieces together securely.
• Stitch Markers – Use these to keep track of your rounds and color changes.
• Safety Eyes – These details bring your Hello Kitty to life with her signature look!
Feel free to customize with color variations and accessories to make your Hello Kitty crochet doll uniquely yours!
Why Choose This Hello Kitty Pattern?
Endearing Character: This Hello Kitty crochet project allows you to recreate a beloved icon that resonates with fans of all ages, making it a meaningful gift.
A Fun Challenge: As an intermediate-level pattern, it will sharpen your skills through shaping and color changes while keeping the project engaging.
Plush & Adorable: The combination of single and double crochet stitches creates a soft, cuddly texture that’s perfect for hugging or decorating.
Artistic Possibilities: With options to customize colors and add accessories like a scarf or bag, you can turn your doll into a truly unique piece that matches any style.
Quick to Complete: Using just 150 yards of light worsted cotton, you’ll find this project to be time-efficient yet rewarding, perfect for those looking for a cozy afternoon craft.
Ready to embark on this delightful amigurumi adventure? Check out other exciting projects, like the charming amigurumi patterns, to expand your crochet skills!
Gauge & Sizing Notes
Don’t skip the gauge swatch! Ensuring your tension is correct is essential for the success of your Hello Kitty crochet doll, as it directly impacts the size and shape of your finished project. For this doll, the standard gauge is 4×4 inches (10×10 cm) = 14 single crochets by 16 rows. If you want your Hello Kitty to be larger or smaller, simply adjust your starting chain: increase or decrease in multiples of 14 to scale up or down accordingly. If your swatch is smaller than expected, try going up a hook size to achieve a looser tension, or switch to a heavier yarn for a firmer structure. Happy crocheting!
Step‑by‑Step Pattern for Hello Kitty Crochet
Row 1: Head Start
Begin by making a magic ring, then work 6 sc into the ring (6 sts). Pull the ring tight to close. This will be the foundation of Hello Kitty’s head. As you crochet, your work should start to take on a rounded shape, forming the base for her adorable features.
Row 2: Building Up
In the next round, increase your stitches by working 2 sc in each st around (12 sts). This will give shape to her head. You should notice the work curling up nicely, creating a bowl-like shape that will help form the charming contours of Hello Kitty’s face.
Row 3: Continuing to Shape
For this round, sc in the first st, then inc in the next (18 sts). Repeat this pattern around, and you’ll begin achieving a fuller shape for the head. Your project should look more like a sphere now, ready for further shaping and detailing of her adorable facial features.
Row 4: Finalizing the Shape
In this round, sc in the first 2 sts, then inc in the next st (24 sts). Work this round to maintain and enhance the rounded look of Hello Kitty’s head, ensuring that it’s smooth and even. Keep checking your stitches for consistency, as this will help maintain her charming appearance.
Row 5: Add Whiskers
Now, sc in each st for one round (24 sts). Consider adding decorative whisker stitches using a contrasting color to bring her personality to life. This round should keep your work steady and uniform, forming a lovely base for the adorable details on her face.
Row 6: Creating the Body
For the body, chain 2 (this does not count as a stitch), then dc in the same st, work 2 dc in each st around (48 sts). This will give the body a nice width, while the double crochet adds a plush dimension. Your work should begin to elongate, shaping the beloved doll’s form.
Row 7: Color Changes for the Body
Continue in rows, alternating colors as desired. For this round, work 1 dc in each st (48 sts). Alternating colors will add personality to her outfit. Your project should present an inviting texture, reflecting the colorful charm of Hello Kitty herself.
Step 8: Forming Arms
Make 2 arms by starting with a magic ring and working 6 sc into the ring (6 sts). Work in rows of sc until you reach a length of about 6 cm. Stuff the arms partially before attaching them to the body to ensure they hold their shape while remaining snug and cuddly.
Step 9: Making Legs
Create the legs by again starting with a magic ring, working 6 sc (6 sts). Follow a similar pattern as the arms, working to a length of about 8 cm. Stuff the legs slightly to match the rest of Hello Kitty’s proportions so they sit comfortably and maintain an adorable stance.
Step 10: Assembly
With all your pieces ready, sew the head onto the body using a tapestry needle, ensuring it is centered. Attach the arms and legs at evenly spaced intervals (total of 4). Your Hello Kitty crochet should now start to resemble the beloved character, creating a delightful and huggable doll.
Step 11: Finishing Touches
Make sure to secure all yarn tails tightly to prevent unraveling during play. Additionally, apply safety eyes securely and add any final accessories like a bow or small bag to enhance Hello Kitty’s charming style. Your completed Hello Kitty crochet doll should now radiate warmth and cuteness.
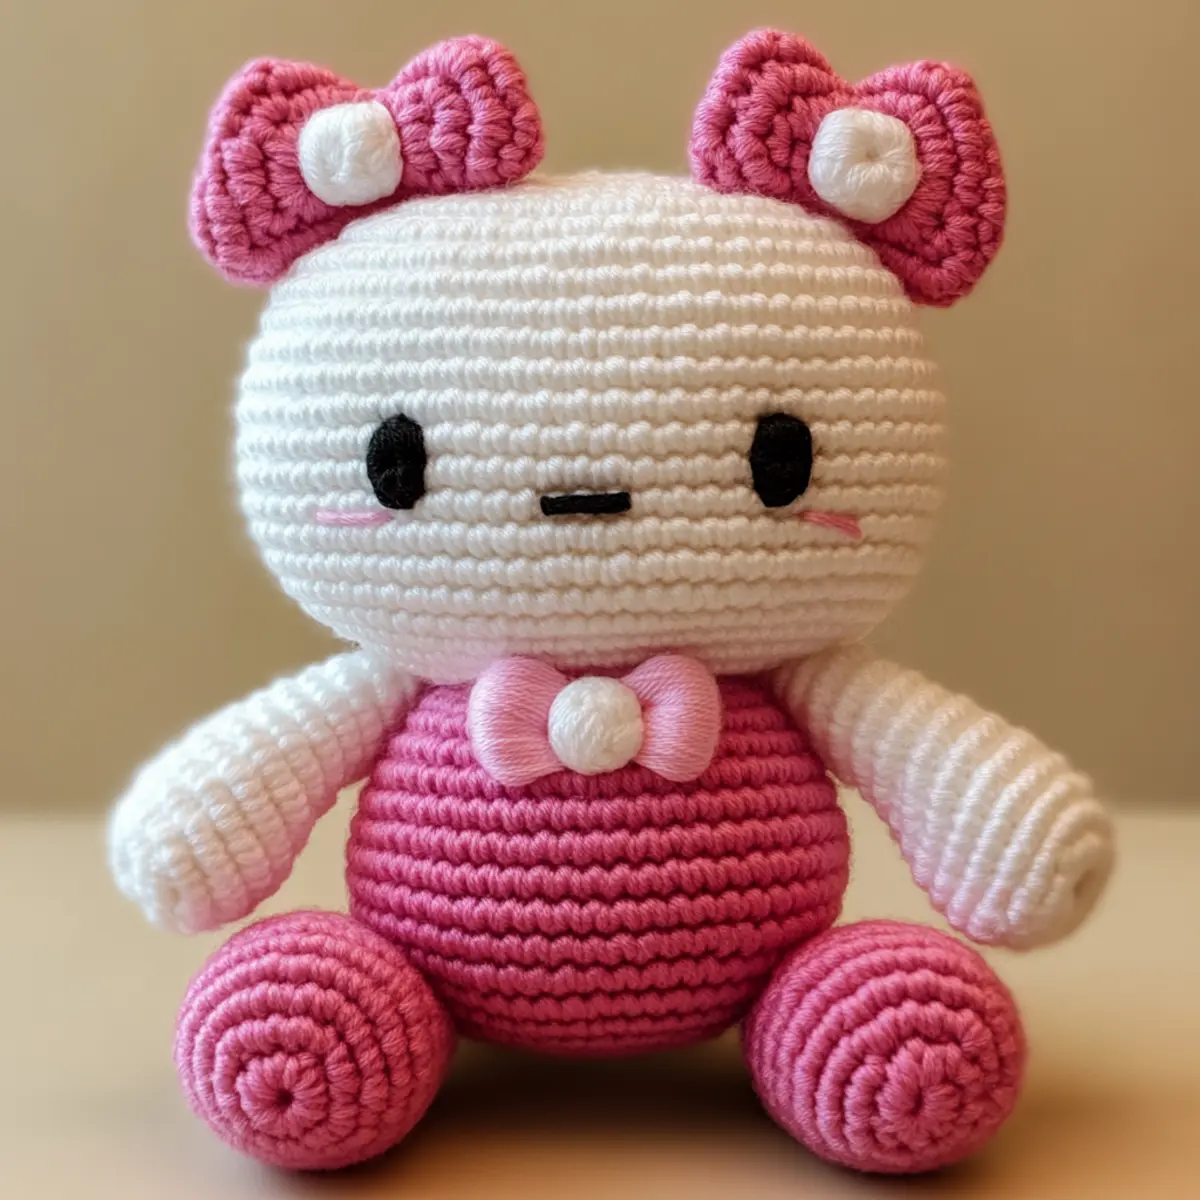
Hello Kitty Crochet Variations & Substitutions
Feel free to unleash your creativity and make this Hello Kitty crochet doll uniquely yours!
-
Yarn Weight Swaps: Opt for a heavier yarn for a chunkier version or a lighter one for a dainty charm. Just remember to adjust your hook size accordingly!
-
Fiber Alternatives: Switch to a soft acrylic for a budget-friendly option or a bamboo blend for enhanced softness. Both can provide a delightful touch!
-
Color-Blocking Ideas: Try alternating colors on the body segments for a vibrant, eye-catching look. It’s a fun way to match your decor or a child’s room!
-
Sizing Adjustments: Want a larger Hello Kitty? Use a bigger hook for a more huggable size, or a smaller hook for a mini collectible. The possibilities are endless!
-
Texture Modifications: Add a fluffy pom-pom on the bow or fringe along the edges for an intriguing texture. These simple touches can really make your doll pop!
-
Personalized Accessories: Include a tiny crochet bag or a custom-designed scarf to reflect individual style. Personalization adds a heartwarming touch to your creation!
-
Different Eye Styles: Play with safety eyes in varied colors or switch to embroidered eyes for a softer, handmade feel. This little detail can change her expression entirely!
-
Crochet Faces: Experiment with other facial expressions or adding blush with embroidery; it’s an adorable way to give life to your doll!
Looking for more inspiration? Don’t miss out on exploring amigurumi patterns or get tips on color theory in crochet to enhance your project’s aesthetic charm!
How to Wash and Care for Your Hello Kitty Crochet
Machine Washing: Use a gentle cycle with cold water to prevent any felting or pilling of your Hello Kitty crochet doll, ensuring it remains soft and adorable for years to come.
Hand Washing: If you prefer, hand wash using cold water and a mild detergent to protect the stitches. Gently squeeze out excess water without wringing it.
Drying/Blocking: Lay your doll flat on a clean towel to dry completely. Avoid hanging, as this can distort its shape.
Storage: When not in use, store your Hello Kitty crochet doll in a cool, dry place away from direct sunlight to preserve its colors and prevent fading.
Expert Tips for the Hello Kitty Crochet Doll
• Gauge Check: Regularly check your gauge to ensure your stitches are consistent. This helps maintain the proper shape and size of your Hello Kitty doll.
• Stitch Markers: Use stitch markers liberally to keep track of your rounds, particularly when changing colors or working on sections like arms and legs.
• Secure Tails: Always weave in your yarn tails securely. This prevents unraveling and keeps your doll looking neat and tidy even during playtime.
• Avoiding Irregular Shapes: Maintain even tension throughout your crocheting. If you notice uneven stitches, take a moment to adjust your tension as you go along.
• Count Carefully: Count your stitches at the end of each round to avoid losing track. It’s easy to accidentally miss a stitch when you’re engrossed in creating your doll!
• Personal Touches: Don’t hesitate to add personal accessories or variations—like a unique bow color—that reflect the recipient’s style and elevate the charm of your Hello Kitty crochet masterpiece!
Hello Kitty Crochet Doll Pattern FAQs
Can I substitute yarn for the Hello Kitty crochet project?
Absolutely! While I recommend using light worsted cotton for its softness and durability, you can substitute with acrylic yarn. Just be mindful that the texture and drape might vary slightly.
How do I adjust the size of my Hello Kitty doll?
It’s simple! If you want a bigger doll, use a larger hook—like a 3.5 mm—and you can also increase your yarn weight. For a smaller version, simply use a smaller hook, but remember to maintain your gauge to keep the proportions nice and even.
Why is my work curling?
Don’t panic! If your crocheted doll is curling up like a bowl, it usually indicates that your tension is too tight. I recommend loosening your grip a bit and checking your stitches as you go, especially on rows with double crochet. This should help flatten it out.
What size hook should I use for this pattern?
For the Hello Kitty doll, you’ll want to use a 2.5 mm (C/2) hook. This size is perfect for achieving that plush, stuffed look while maintaining enough firmness in the doll. Always check your gauge to ensure the best fit!
How do I fix a dropped stitch?
It’s an easy fix! If you’ve dropped a stitch, just carefully pull the yarn back to uncover the stitch and use your hook to re-insert it back into the fabric. If it feels tricky, take a moment to watch videos online for visual guidance!
How can I ensure even tension in my crocheting?
Maintaining consistent tension can be a challenge. I recommend taking breaks every so often to stretch your hands and shake out any stiffness. Also, consider counting your stitches mid-way through your work to keep everything balanced. Happy crocheting!
Leave a Reply