
As I settled into my favorite cozy nook, the soft squish of plush yarn glided through my fingers, whispering promises of imaginative delight. Today, I’m excited to share the enchanting sleepy dragon crochet pattern, a whimsical project perfect for beginners and seasoned crafters alike. With its silky textures and adorable design, this charming amigurumi toy not only brings joy to your crafting experience but also offers an opportunity to master essential crochet techniques in a playful way. Whether you’re crafting a heartfelt gift or adding a unique piece of decor to your home, this cozy dragon is sure to spark smiles. Get ready to weave magic into every stitch as we embark on this delightful adventure together!
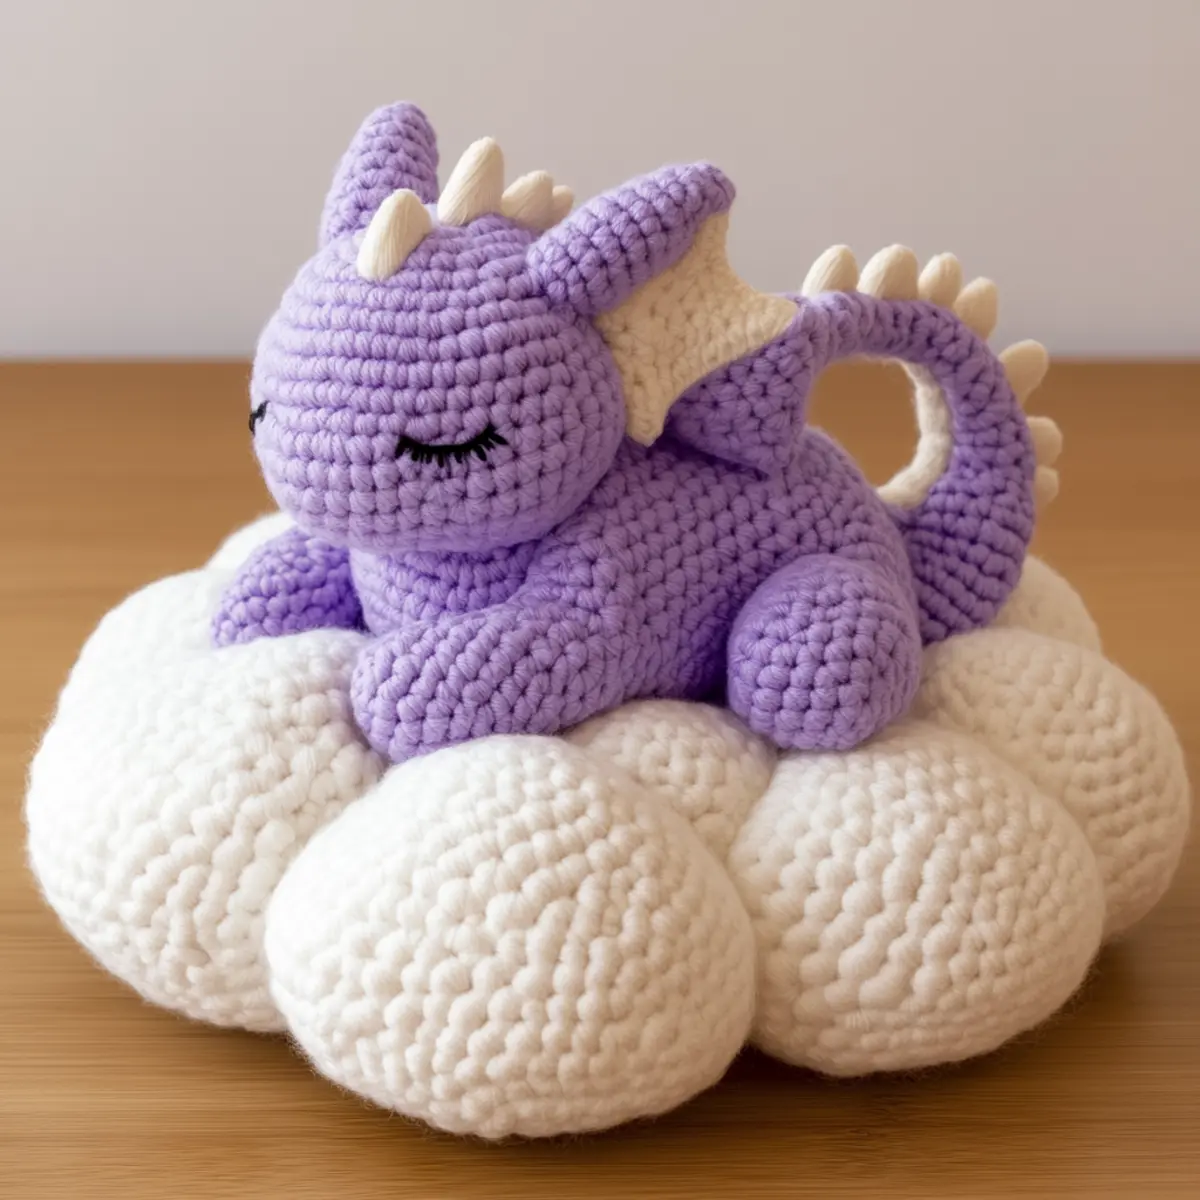
Sleepy Dragon Crochet Materials & Tools
Note: Gather your materials to bring this charming sleepy dragon to life!
Yarn
• Plush or Chenille Yarn (Weight 4) – Aim for about 200-300 yards for a cozy and soft finish.
• Acrylic or Polyester Blend – This is ideal for ensuring both softness and durability in your dragon.
Tools & Notions
• 5.0 mm (H/8) Crochet Hook – This is perfect for achieving the plush texture needed for your adorable creation.
• Safety Eyes (8 mm) – These add character to your sleepy dragon while ensuring safety for little ones.
• Polyester Stuffing – Essential for giving your dragon that huggable, plushiness.
• Scissors – Handy for trimming any yarn ends as you go along.
Get ready to create your magical sleepy dragon crochet companion and enjoy every stitch!
Why Will You Love This Sleepy Dragon?
Charmingly Whimsical: This adorable sleepy dragon crochet pattern brings a delightful touch of whimsy to your crafting, making it an instant favorite for gifts or home decor.
Therapeutic Crafting: The soft textures and engaging shapes offer a soothing experience as you crochet each piece, turning stress into creativity.
Skill-Building Opportunity: Perfect for beginners and intermediates, this project allows you to refine essential crochet techniques while enjoying the fun of amigurumi-making.
Customizable Fun: Feel free to experiment with various colors and yarn types; whether you opt for sparkly threads or playful hues, the possibilities are endless!
Perfect Cuddle Size: At about 10-12 inches tall, it strikes the ideal balance between display and cuddling, creating a soft companion for all ages.
Start crafting your sleepy dragon crochet companion today and unleash your creativity!
Gauge & Sizing Notes
Don’t skip the gauge swatch! It’s essential for ensuring your sleepy dragon crochet project turns out just as you envision. The standard gauge for this charming amigurumi is 4×4 inches (10×10 cm), which should include 14 double crochets by 8 rows. If you find your pieces are smaller or larger than expected, adjusting is simple—just alter your starting chain in multiples of 6 + 2 for the body and limbs. If your tension doesn’t match, and your swatch is too small, consider going up a hook size to achieve that delightful plush texture. Happy crocheting!
Step‑by‑Step Pattern for sleepy dragon crochet
Round 1: Create the Head
Begin your sleepy dragon crochet by making a magic ring. Into the ring, crochet 6 sc to form the base of the head. Pull the tail to close the ring tightly. Join with a sl st to the first sc. Your work should form a small circle, starting your delightful dragon journey. (6 sts)
Round 2: Increase the Head
In this round, work 2 sc in each stitch around to increase the size of the head. This will give your sleepy dragon a lovely, rounded shape. Join with a sl st to the first sc, making sure your circle stays neat. You should see 12 stitches forming beautifully! (12 sts)
Round 3: Continue to Expand
Now, we’ll create a slightly larger head. Work 1 sc in the next stitch, 2 sc in the following stitch, and repeat this pattern around. This will start forming the structure of your dragon’s head, making it plump and cute. Join with a sl st; you should have 18 stitches now. (18 sts)
Round 4: Final Head Shaping
Continue shaping the face by working 1 sc in the next 2 stitches, 2 sc in the following stitch. Repeat this sequence around. As you crochet, your sleepy dragon’s head will take on a friendly, whimsical shape. Join with a sl st, bringing your stitch count to 24. (24 sts)
Round 5: Head Details
To start adding some details, work 1 sc in the next 3 stitches, 2 sc in the following stitch around. This will enhance the rounded appearance of your dragon’s face. Join with a sl st to finish this round. Your sleepy dragon’s head should be coming along nicely, with 30 stitches in total. (30 sts)
Round 6: Top of the Head
To shape the top of the head, continue with 1 sc in the next 4 stitches, 2 sc in the following stitch around now. This round will ensure your dragon has a cozy, rounded look. Join with a sl st; your stitch count should now be 36. (36 sts)
Round 7: Start the Body
Transition into the body by chaining 1 and working 1 sc in each stitch around. This will give a lovely cylindrical form to the body of your sleepy dragon and connect nicely to the head. Make sure to keep the tension even for seamless curves. (36 sts)
Rounds 8-11: Shape the Body
For the next four rounds, continue to work 1 sc in each stitch around without adding stitches. This consistent pattern will help to elongate the body, giving your dragon a charming plush form. After completing these rounds, you should have a nice, sturdy base full of potential! (36 sts)
Round 12: Begin Decreasing
To create a tapered body, begin decreasing with the sequence sc in the next 4 stitches, dec for the round. This will slim down the bottom of your sleepy dragon, adding shape as you go. Join with a sl st; your stitch count will reduce nicely to 30. (30 sts)
Round 13: Continue Decreasing
Continue decreasing the body by crocheting sc in the next 3 stitches, dec around. This will bring your dragon closer to its cuddly finish as the bottom narrows. Join with a sl st for a smooth transition into the next round. (24 sts)
Round 14: Body Completion
Now, work the final decrease round using sc in the next 2 stitches, dec. This will taper the body to be cuddly and soft. Join with a sl st. You should have 18 stitches remaining, feeling the plush shape of your sleepy dragon. (18 sts)
Round 15: Fasten Off and Stuff
Fasten off your yarn, leaving a long tail for sewing, and gently stuff the body with polyester stuffing for a cozy feel. Make sure it’s not overstuffed as we want it cuddly. This part ensures your sleepy dragon is adorable and huggable!
Step 1: Create the Legs
For each leg, start with a magic ring and crochet 6 sc into the ring. This is the foundation that will create cute, stout legs for your sleepy dragon. Pull the ring to close tightly and join with a sl st. Each leg will be a comforting addition to your whimsical creation! (6 sts)
Step 2: Shape the Legs
In the next round, work 2 sc in each stitch around to create a solid base for your legs. Join with a sl st to secure the round. As you crochet, you should see a nice, round shape forming for the leg, ready for some cute details. (12 sts)
Step 3: Finish the Legs
Continue with 1 sc in each stitch for the next several rounds (totaling 4 rounds) to elongate the leg. Your sleepy dragon will start to take on its full, adorable shape! Ensure to maintain consistent stitching for a polished finish. (12 sts)
Step 4: Fasten Off and Stuff the Legs
After completing the rounds, fasten off and leave a long tail for attachment. Lightly stuff each leg with polyester stuffing, ensuring they keep their shape without being overly stuffed. You’re building a huggable companion for your sleepy dragon!
Step 5: Create the Wings
For the wings, start with a magic ring and work 3 sc into the ring. This will lay the foundation for your dragon’s impressive wings. Pull the ring tight and join with a sl st, ready to create a whimsical structure. (3 sts)
Step 6: Expand the Wings
Next, work 2 sc in each stitch around for the second round. This gives your wings a plump, delightful form. Join with a sl st and watch as those dragon wings begin to take shape beautifully! (6 sts)
Step 7: Add Wing Details
To give your wings a unique shape, work 1 sc in the next stitch, then 2 sc in the following stitch. Continue this pattern around. Your wings should now have an enchanting flair, ready to flutter! Join with a sl st. (9 sts)
Step 8: Shape the Wings Further
For the final detail, work 1 sc in the next 4 stitches, then dec. This will taper the wing tips for added charm and character to your sleepy dragon. Join with a sl st and prepare to complete these magical additions. (8 sts)
Step 9: Create the Horns
Start the horns with a magic ring and work 4 sc into the ring. This begins the tapered shape of your dragon’s horns, sure to add a whimsical touch. Pull the ring tight and join with a sl st. (4 sts)
Step 10: Shape the Horns
In the next round, crochet 2 sc in each stitch around. This will help your horns develop a sturdy shape, adding character to your dragon’s adorable face. Join with a sl st for this round of enchantment! (8 sts)
Step 11: Final Horn Details
Now, for the last shaping, crochet 1 sc in the next stitch, dec. Repeat around to give your horns a delightful taper. Join with a sl st to finish off and leave a long tail for attachment; you’re adding even more charm to this sleepy dragon! (6 sts)
Step 12: Assembly
Carefully align the legs, wings, and horns to the body of your sleepy dragon using the long tails you left from each piece. Thread your needle and stitch securely, ensuring each part is well attached. As you piece it together, watch your cozy dragon come to life!
Step 13: Add the Eyes
Attach the safety eyes securely on the head to bring your sleepy dragon to life. Position them to highlight your dragon’s whimsical charm, ensuring they are spaced evenly for a sweet expression.
Step 14: Final Touches
Once everything is securely attached, take a moment to make any final adjustments. Feel free to add embellishments, like a tiny scarf or glittering threads, to enhance your sleepy dragon’s personality. You’re nearing the delightful finish of this crochet project!
Step 15: Enjoy Your Creation
Admire your cozy sleepy dragon crochet creation! Take a moment to appreciate all the stitches and love you poured into crafting this whimsical companion. Whether gifted or kept, your creation is sure to spark joy!
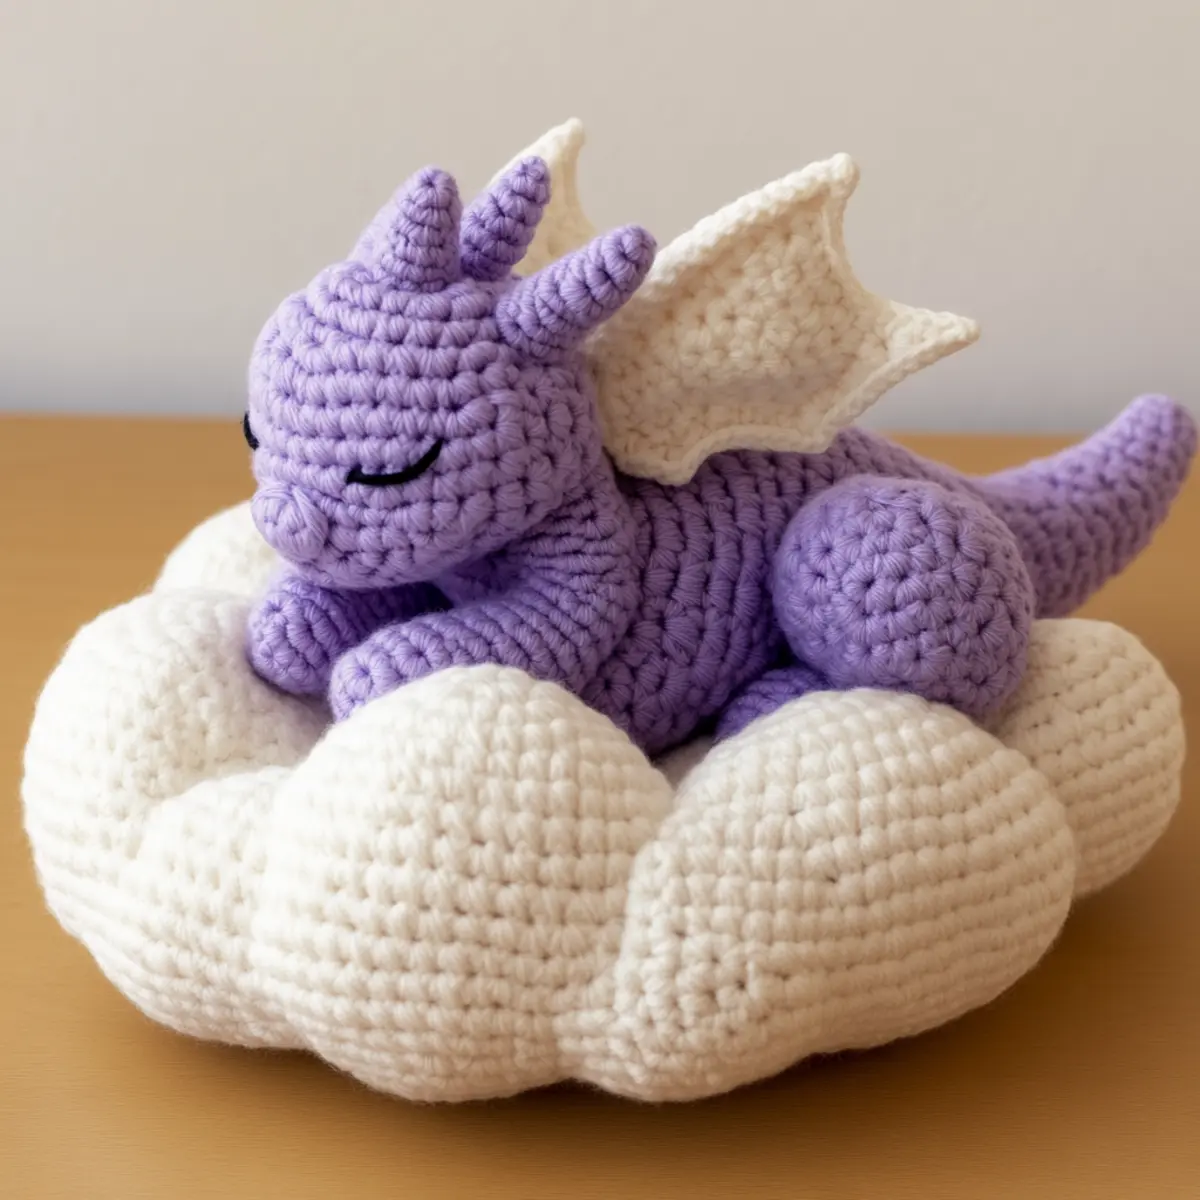
Sleepy Dragon Crochet Variations
Embrace your creativity by customizing your adorable sleepy dragon pattern with these delightful variations!
-
Yarn Weight Swap: Upgrade to a bulkier weight for a cuddly, larger dragon. This will create a more substantial toy for hugs and display.
-
Fiber Alternatives: Try cotton yarn for a smoother finish or a blend of acrylic and polyester for added softness. Each choice makes your dragon uniquely yours.
-
Color-Bocking Magic: Create a mesmerizing gradient by using multiple colors for the body. Imagine a sunset-swirled dragon to ignite your imagination!
-
Texture Twist: Add playful details like pom-poms on the tips of the wings or horns for extra whimsy. Textured touches make your creation stand out!
-
Tiny Accessories: Dress your sleepy dragon with a tiny scarf or a cute little hat to express its personality. These small additions will make your project even more special.
-
Embellished Features: Stitch in sparkly metallic threads or incorporate glitter yarn for a magical effect. This added sparkle will create a dragon worthy of fairy tales!
-
Size Adjustments: Alter the height by adjusting the hook size or using a different yarn weight, so your dragon fits your vision perfectly.
-
Personalized Details: Enhance your sleepy dragon with unique facial features like embroidered eyelashes or a cheeky smile that reflects your style. It’s the little details that bring your dragon to life!
Expert Tips for Your Sleepy Dragon
-
Even Tension: Maintain consistent tension throughout your project. This helps achieve an even fabric and ensures your sleepy dragon crochet toy has a beautiful, cohesive look.
-
Frequent Stitch Counting: Count your stitches regularly to avoid losing your place. This is especially important during increases and decreases, which can easily throw off your pattern.
-
Magic Ring Success: Master the magic ring technique as it’s pivotal for starting your sleepy dragon. Keep it tight enough to avoid gaps but not so tight that it’s hard to work into.
-
Final Touches: Consider blocking your finished pieces to enhance their drape and shape. This small step can greatly improve the overall appearance of your dragon.
-
Secure Assembly: When stitching your dragon’s parts together, leave long yarn tails for a sturdier attachment. This ensures everything stays securely in place during play or display.
How to Wash and Care for Your Sleepy Dragon
-
Machine Washing: Use cold water on a gentle cycle to safely clean your sleepy dragon crochet toy. Avoid high agitation to prevent felting or pilling.
-
Hand Washing: If you prefer, hand wash in cool water with a mild detergent. Gently press on the toy to remove dirt without twisting or stretching the fabric.
-
Drying/Blocking: Lay the dragon flat on a clean towel to dry. Reshape as needed to maintain its adorable form while avoiding direct sunlight or heat sources that can cause damage.
-
Storage: When not in use, store your sleepy dragon crochet in a cool, dry place. Consider a breathable bag to protect it from dust while allowing airflow to maintain softness.
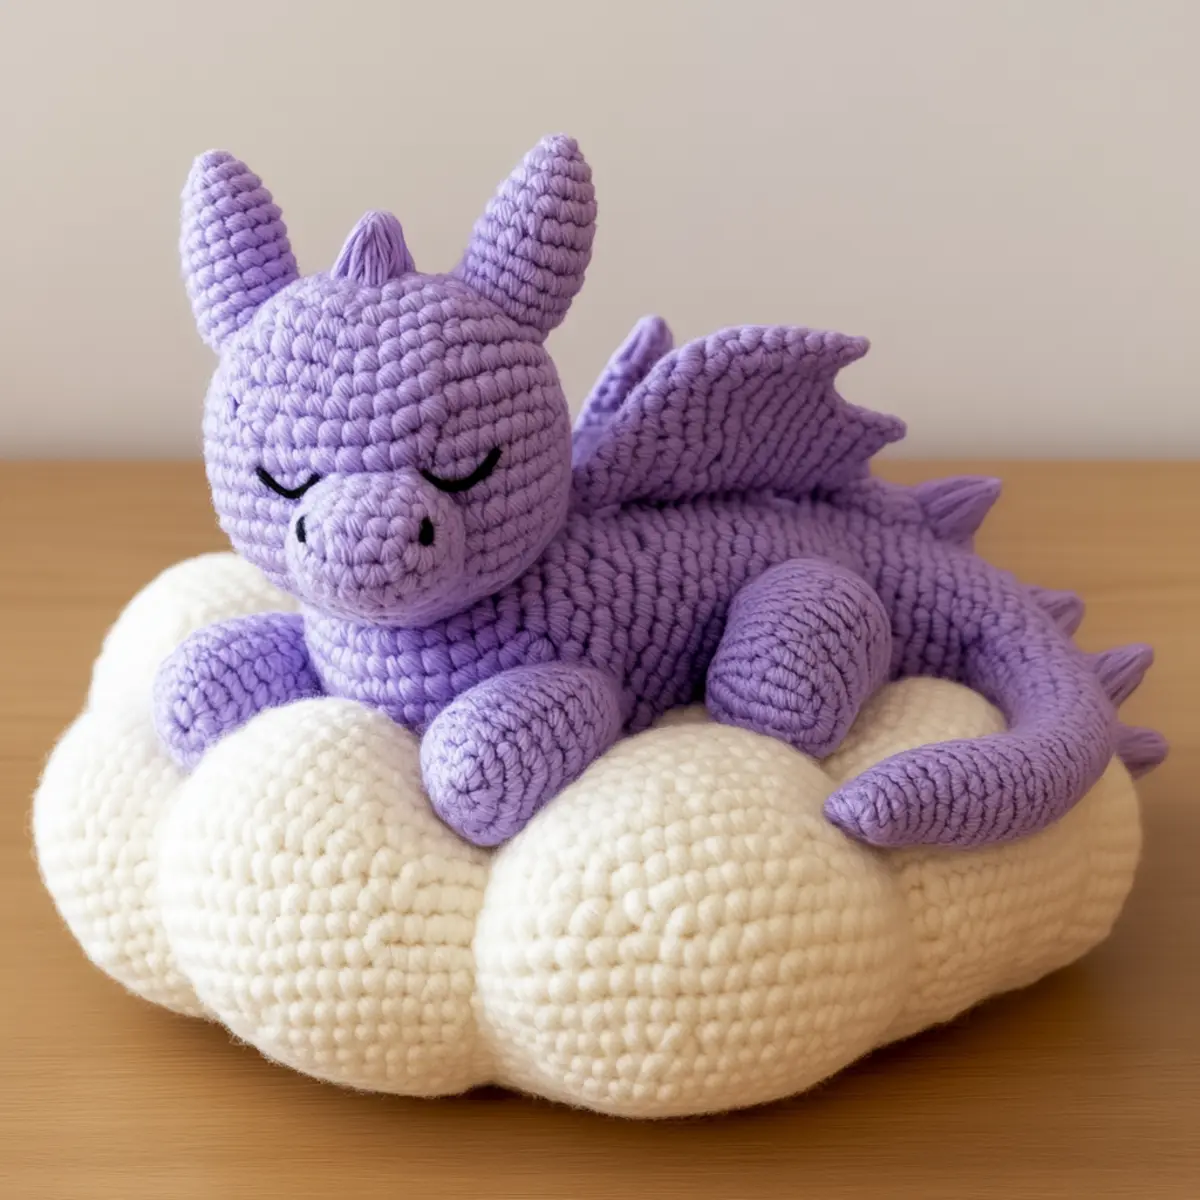
Sleepy Dragon Crochet FAQs
Can I substitute yarn for this sleepy dragon crochet pattern?
Absolutely! While the pattern calls for plush or chenille yarn, you can use any soft yarn you have on hand. Just be mindful that changing the yarn type might affect the size and texture of your dragon. If substituting a weight, ensure it maintains similar softness to make cuddly creations.
How can I adjust the size of my sleepy dragon?
Don’t worry! You can easily make your dragon larger by using a bulkier yarn and a corresponding larger hook, like a 6.0 mm (J) crochet hook. Alternatively, make more rounds in the body and limbs to achieve a size that feels just right for you. Remember to keep your stitch count logic consistent for uniformity!
Why is my dragon’s body curling up?
Oh no, don’t panic! Curling often occurs due to tight tension or an incorrect stitch count. Check your tension, and if you find it tight, simply try to relax your grip. Count your stitches as you go, especially during increases to ensure everything is on track!
What hook size should I use for my sleepy dragon?
For this pattern, a 5.0 mm (H/8) crochet hook is recommended to achieve the soft, plush texture needed for your dragon. If you prefer a tighter fabric, you can size down to a 4.5 mm (G) hook, but be careful not to go too tight, as it may make it challenging to stuff later!
How do I fix dropped stitches in my crochet?
Fixing dropped stitches is an easy fix! Gently pull the yarn back so that it aligns with the current row. If you’ve created a gap, you can use a yarn needle to weave the dropped stitch back into your work. Just stay calm and take your time—perfection comes with practice!
Leave a Reply