
As the leaves begin to turn and the air feels a bit more enchanted, I find myself reaching for my crochet hooks to whip up some delightful Spooky-Cute Amigurumi Ghosts. These charming little specters aren’t just adorable Halloween decor; their playful designs bring warmth and whimsy to your home all year round. The best part? This beginner-friendly project works up quickly, making it perfect for a last-minute gift or a treasured addition to your seasonal decorations. Plus, with customizable sizes and accessories like witch hats and bows, you can let your creativity shine while crafting these plush pals. Get ready to embrace the magic of amigurumi—it’s time to bring your own spooky cuties to life!
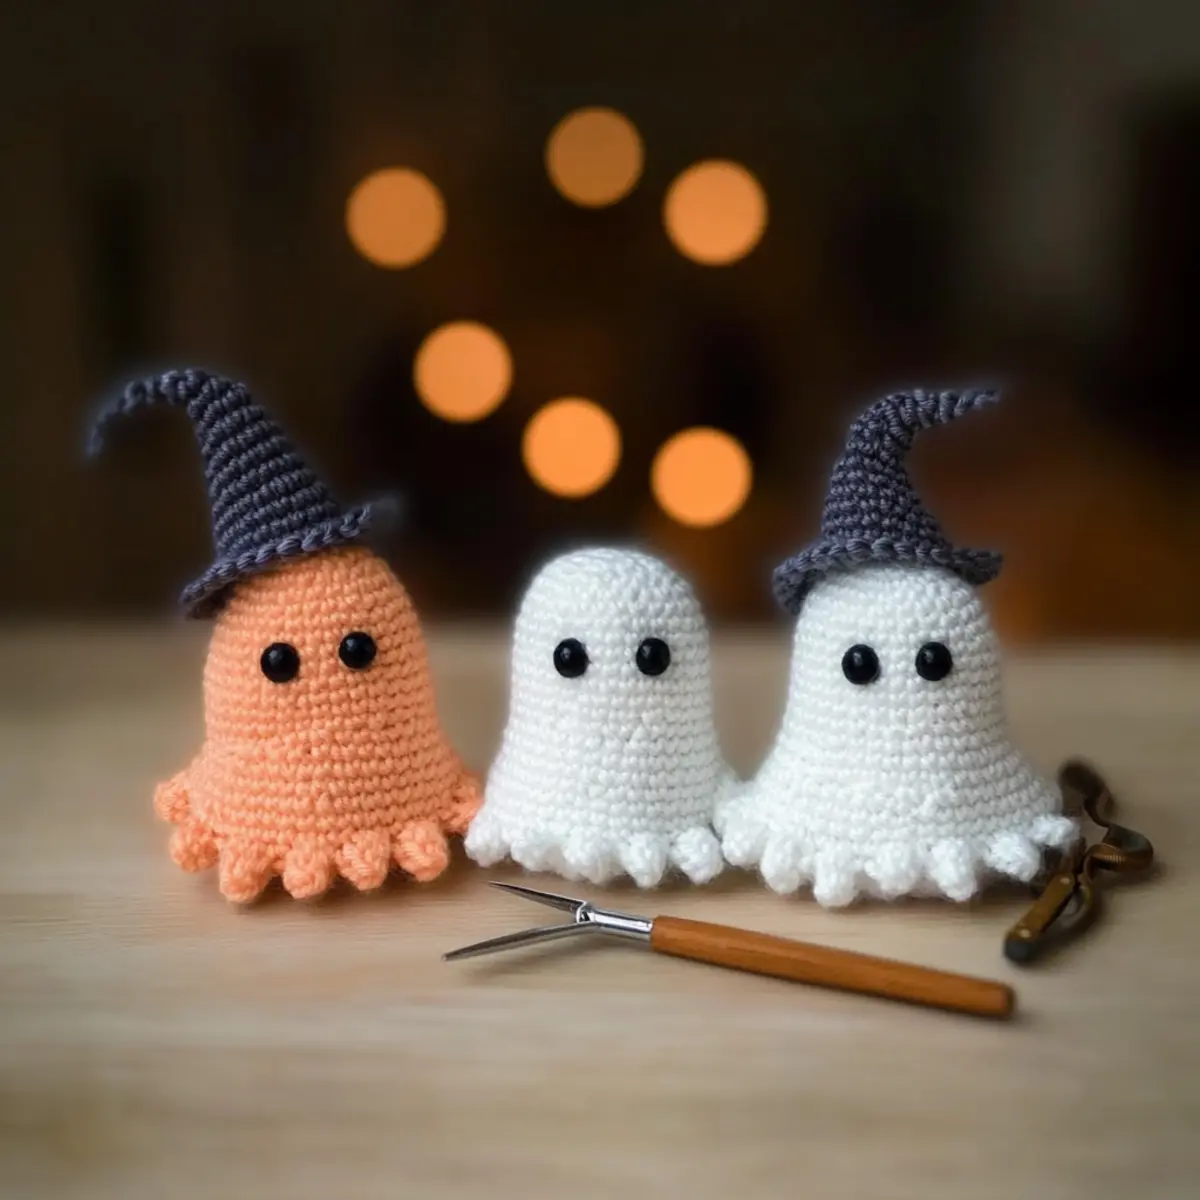
Spooky-Cute Ghosts Materials & Tools
Note: Let’s gather our supplies to bring these adorable amigurumi ghosts to life!
Yarn
• Worsted Weight Yarn – Choose acrylic, cotton, or a blend for lovely plush ghosts, needing approximately 50-100 yards depending on your ghost size.
Hook & Pointers
• 3.5 mm (US E/4) Hook – This size is ideal for achieving tight stitches to conceal stuffing.
Notions
• Stitch Marker – A must-have for tracking your rounds as you crochet.
• Tapestry Needle – Perfect for sewing pieces together and weaving in those pesky ends.
• Safety Eyes or Black Yarn/Embroidery Floss – Use for the ghost’s eyes to add charm and character.
• Optional Stability Enhancers – Small pebbles or washable fabric scraps can be added for extra support in larger ghosts.
Why Are These Ghosts So Adorable?
Beginner-Friendly: This pattern is perfect for newcomers, featuring easy stitches and straightforward instructions to help you create your cute ghosts in no time!
Customizable Sizes: With options to adjust yarn weight, you can easily create petite phantoms or large, cuddly companions that fit your decor style.
Quick Project: Ideal for a cozy evening craft, you’ll have these spooky cuties ready before the shadows of Halloween creep in.
Charming Accessories: Add a whimsical touch with witch hats or bows to personalize your ghosts and elevate their playful charm.
Year-Round Appeal: While perfect for Halloween, these ghostly friends can brighten up your home decor throughout the seasons, making them versatile treasures.
Gauge & Sizing Notes
Don’t skip the gauge swatch! Ensuring proper tension is essential when crafting your Spooky-Cute Amigurumi Ghosts, as it ensures your adorable creations will turn out just the right size. A standard gauge measurement for this project is a 4×4 inch (10×10 cm) square = 12 single crochets by 10 rows. If you want to make your ghosts larger or smaller, you can adjust your starting chain or rounds by increments of 6 stitches for each size change. If your tension swatch is smaller than stated, you may need to go up a hook size to achieve the desired fit. Remember, finding the right crochet gauge is key to making those perfectly spooky cuties!
Step‑by‑Step Pattern for Spooky-Cute Amigurumi Ghosts
Round 1: Magic Ring, Begin the Ghost Body
Start by making a Magic Ring. Work 6 single crochets (sc) into the ring. Pull the ring tight to close the center. Your work should look like a small circle with 6 stitches. This is the foundation for creating the body of your spooky-cute amigurumi ghost (6 sts).
Round 2: Increase All the Way
In this round, you will increase in each stitch. Make 2 single crochets (sc) in each of the 6 stitches from the previous round, resulting in a total of 12 stitches. Your round should feel fuller, and you will now have a nice circular shape forming for your ghost (12 sts).
Round 3: Single Crochet and Increase
In this round, work the first single crochet (sc) in the first stitch, then make an increase (2 sc) in the next stitch. Repeat this pattern around (1 sc, inc) x 6 times. Your round should feel more substantial and begin to curve into the ghostly shape, totaling 18 stitches (18 sts).
Round 4: Continue Increasing for Size
For Round 4, you will continue the pattern, this time working (2 sc, inc) x 6 times. This means you will single crochet 2 times before increasing in the next stitch. This adds more volume to your spooky-cute ghost, leading to a total of 24 stitches by the end of the round (24 sts).
Rounds 5-6: Sc Around
In Round 5, simply make 24 single crochets (sc) around, without increasing. This will add height to your ghost. Continue this for Round 6 as well, maintaining the stitch count of 24. Your ghost should be taking shape nicely and feel plushy to the touch (24 sts each round).
Rounds 7-12: Build the Body Height
For Rounds 7 through 12, repeat the same instruction: work 24 single crochets (sc) around. This establishes the body height of your spooky-cute amigurumi ghost, making it look more like a fun, round specter. By the end of Round 12, you should still have 24 stitches (24 sts each round).
Round 13: Finishing Touches
For Round 13, make 24 single crochets (sc) around, and then finish with a slip stitch (sl st) to close the round securely. Fasten off your yarn and weave in ends, giving your ghost a polished finish. The body should feel complete, and you’ll have the perfect spooky shape (24 sts).
Attach Eyes: Embellish Your Ghost
Position safety eyes or stitch eyes between Rounds 4 and 5, 2-3 stitches apart for the ideal cute factor. Ensure they are secured tightly—your spooky-cute amigurumi ghost will be extra adorable with these added details!
Optional: Adding Accessories
If you’d like to make accessories like a witch hat or bow, use the magic ring technique to start. Follow the crochet pattern specific to the accessory you choose, allowing for personal touches to finish your unique spooky-cute amigurumi ghosts.
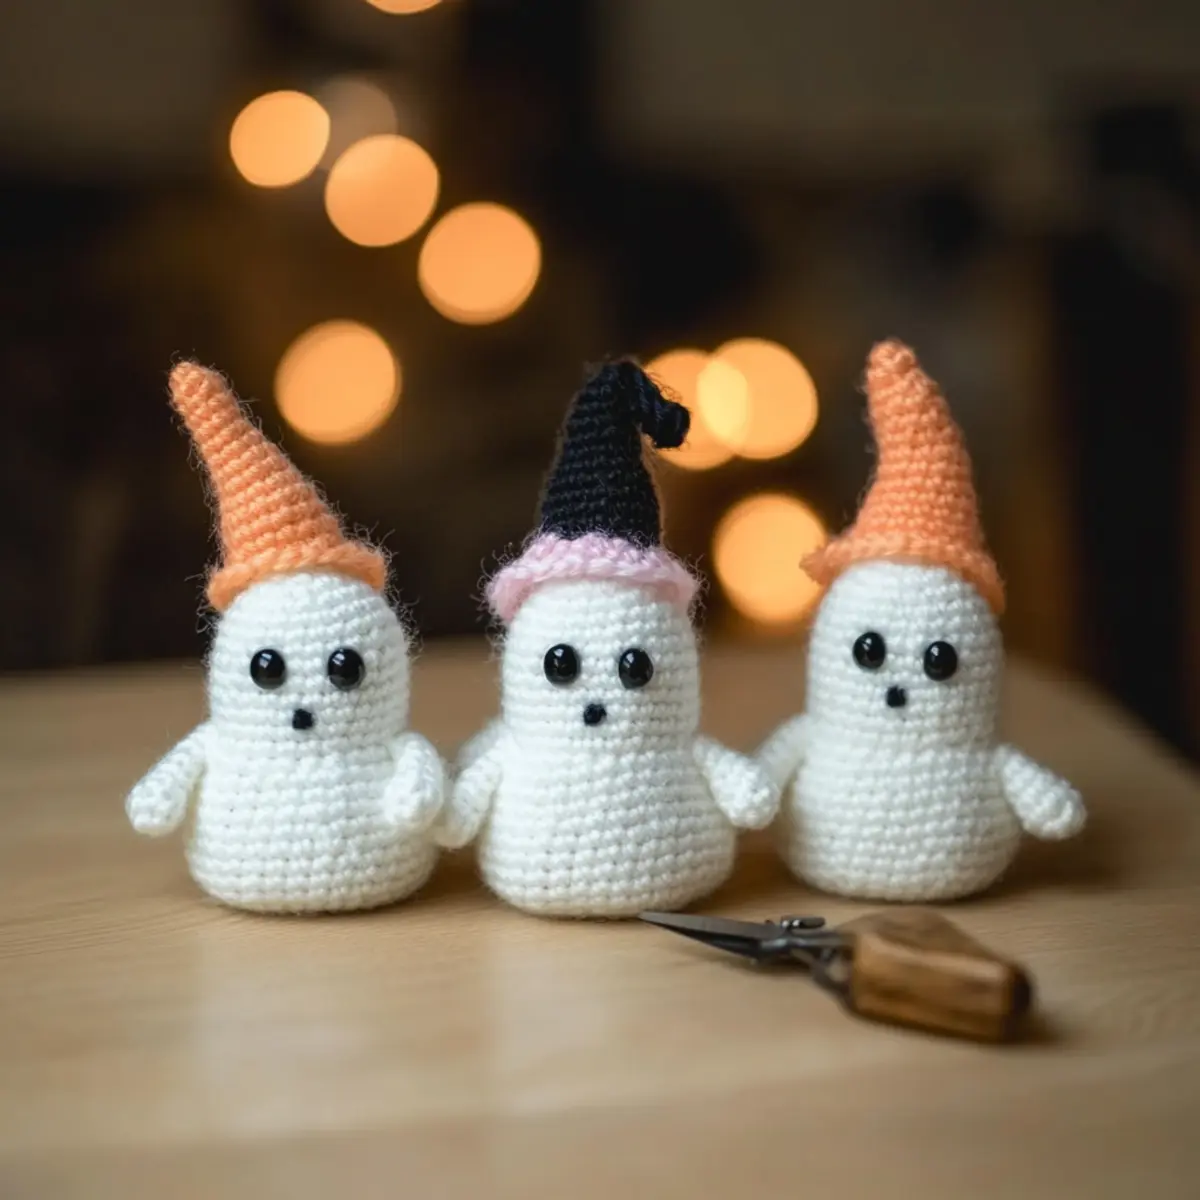
Expert Tips for Amigurumi Ghosts
- Tight Stitches: Ensure your stitches are tight enough to prevent stuffing from showing. Use a smaller hook size if necessary for a polished finish.
- Count Carefully: Always keep track of your stitch count, especially during increases. Using a stitch marker can help maintain accuracy throughout your rounds.
- Pinch & Shape: Pinch the fabric during increase rounds to create the ideal ghost shape. This technique will enhance the adorable droop of your ghosts.
- Secure Finishing: When fastening off, weave in your ends securely to prevent unraveling. This will keep your amigurumi ghosts looking neat and tidy for decorations.
- Adjusting Size: For a truly customizable project, experiment with different yarn weights. This allows you to create both petite and larger ghosts to suit your decor preferences.
How to Wash and Care for Your Amigurumi Ghosts
- Hand Washing: Use cold water and a gentle detergent to hand wash your amigurumi ghosts. Avoid agitation to maintain their soft shape and prevent felting.
- Drying/Blocking: After washing, gently reshape your ghosts and lay them flat on a clean towel to dry. This method helps them retain their adorable form.
- Storage: Store your finished ghosts in a cool, dry place. To keep them looking their best, avoid exposing them to direct sunlight, which can fade colors.
- Spot Cleaning: For small stains, dampen a cloth with cold water and gently dab the affected area without soaking to preserve the integrity of your amigurumi ghosts.
Spooky-Cute Crochet Variations
Feel the creative spark as you explore these delightful options to personalize your amigurumi ghosts!
- Yarn Weight Change: Switch to DK yarn for smaller ghosts or bulky yarn for a cuddly giant. This quick alteration can dramatically transform your project.
- Colorful Creations: Use playful colors like pastels or neons to create a vibrant ghostly palette, perfect for playful decor beyond Halloween.
- Fiber Choices: Try cotton yarn for a more eco-friendly option, offering a different texture and feel, giving your ghosts a unique personality.
- Accessory Additions: Include fun embellishments such as tiny bows or sparkly spider webs. These little extras can add a touch of whimsy to your spooky cuties!
- Size Customization: Alter the height by adjusting the number of rounds. Shorter ghosts make great keychains, while taller ones can grace your shelves beautifully.
- Adding Fringes: Snip some yarn pieces and attach them to the base for a fun fringe detail, which can evoke a playful, ghostly charm.
- Decorative Borders: Simple embellishments like a contrasting border at the base can elevate the overall aesthetic of your ghosts.
- Seasonal Variations: Create themed ghosts by swapping colors and accessories for different occasions, like festive hats for winter or cute bows for birthdays.
Remember that each alteration invites your creativity to shine. Don’t hesitate to embrace new ideas, and for more inspirations, check out how to make Amigurumi Basics or explore different Yarn Types for Amigurumi. Happy crocheting!
Spooky-Cute Amigurumi Ghosts FAQs
Can I substitute different yarn types for this pattern?
Absolutely! While worsted weight (Aran) yarn is recommended for a plush look, you can substitute acrylic or cotton blends based on your preference. Just be mindful of the weight to ensure your finished ghosts maintain their adorable shape!
How can I adjust the size of my amigurumi ghosts?
To create larger ghosts, consider using bulky yarn. Conversely, you can opt for DK or sport weight yarn for smaller versions. Just remember to adjust your stitch count accordingly if you change yarn weight to keep the proportions right!
Why is my work curling instead of holding its ghost shape?
Don’t panic! If your ghosts are curling, it might be due to loose stitches. Ensure your gauge is tight enough by using a smaller hook. Pinching the fabric during the increase rounds can also help create that perfect ghostly droop!
What size hook should I use for these amigurumi ghosts?
I recommend using a 3.5 mm (US E/4) hook for this project. It creates tighter stitches that help keep your stuffing hidden and maintain the adorable form of your ghosts!
How do I fix dropped stitches?
It’s an easy fix! Simply use a tapestry needle to pull the yarn through the dropped stitch and secure it in place. Be sure to check your stitch count as you go, so you don’t lose any more stitches in the process!
Can I add eyes with something other than safety eyes?
Yes, indeed! If safety eyes aren’t available, you can easily hand-embroider the eyes using black yarn or embroidery floss—just make sure to attach them securely for a cute yet safe finish!
Leave a Reply