
As I settled into my favorite nook with a comfy blanket draped over my lap, I felt the soft touch of yarn slipping through my fingers, ready for a delightful project. Enter the Charming Amigurumi Lion, a crochet lion pattern that marries whimsy with craftsmanship. While this project is best suited for intermediate crocheters, its captivating design and rich textures promise a rewarding experience. Not only does it work up beautifully, but it also serves as a wonderful stash-buster, transforming leftover yarn into a cuddly companion for little ones. Plus, with its adorable features, this lion is the perfect décor for any child’s space. I can’t wait to see the unique personalities that will emerge from each stitch! Let’s dive in and create something magical together.
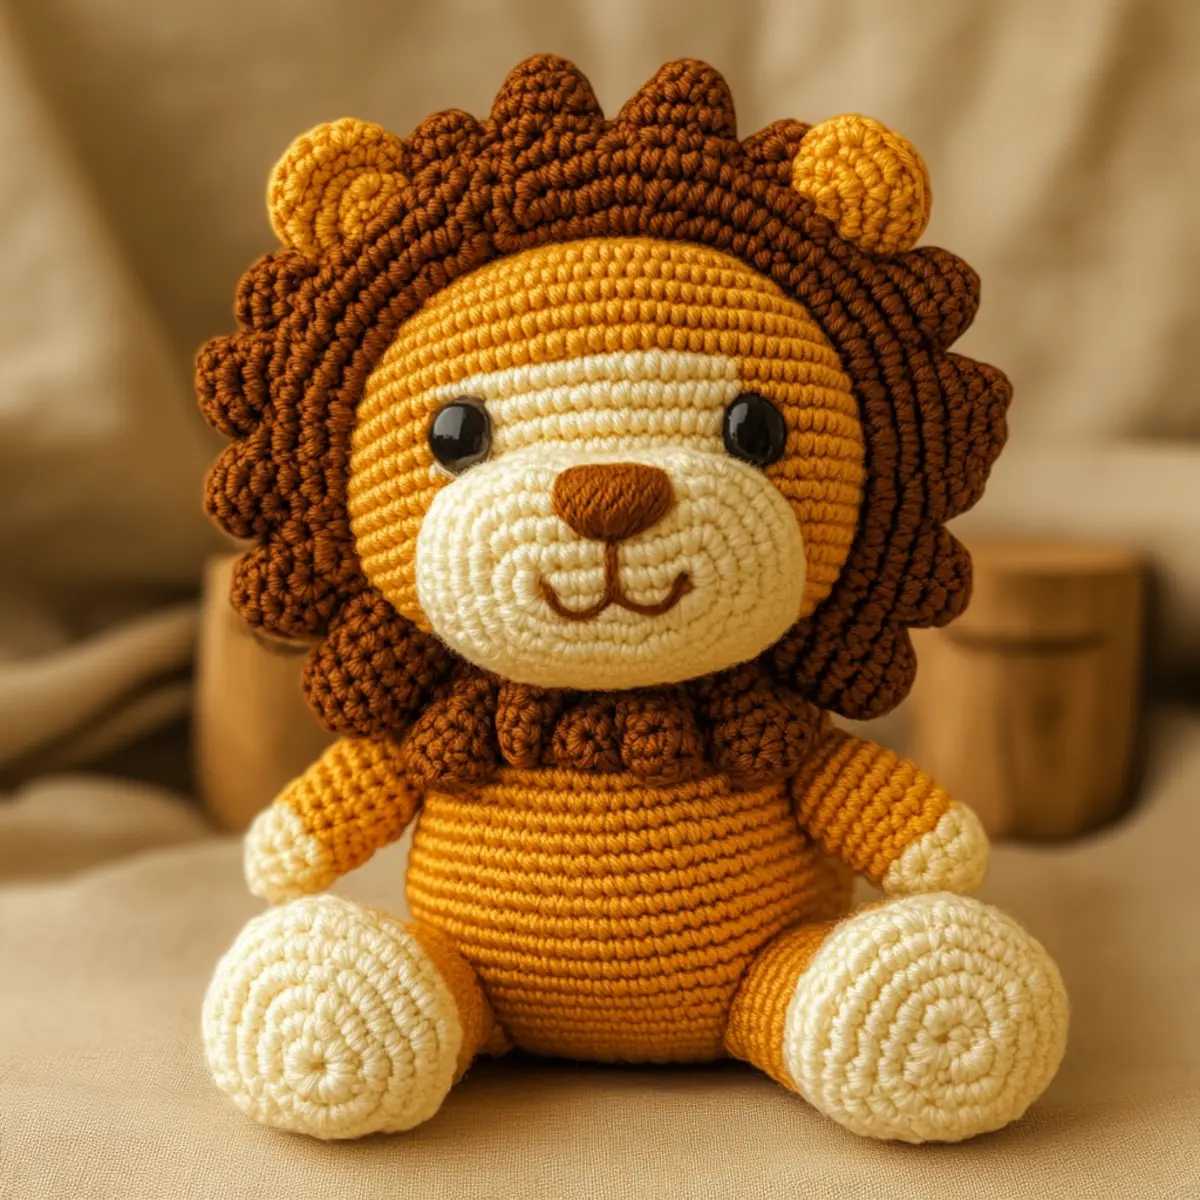
Crochet Lion Pattern Materials & Tools
Yarn
• Worsted Weight Yarn – Around 300-350 yards in mustard yellow for the body, cream for the face and paws, and rust brown for the mane.
Tools & Notions
• 2.5mm (US B) Hook – This size will help you achieve the intricate stitiching needed for your crochet lion pattern.
• 8mm Safety Eyes – Ideal for adding charm and character to your lion’s face.
• Polyester Fiberfill – For stuffing your lion, providing a plush feel and durability.
• Tapestry Needle – Essential for weaving in ends and sewing pieces together for a tidy finish.
These materials will set the stage for your heartwarming crochet adventure!
Why You’ll Adore This Crochet Lion Pattern
Whimsical Design: This pattern boasts an enchanting amigurumi lion that will capture hearts, making it perfect as a gift or decor for any child’s space.
Rich Textures: The combination of different stitches adds a delightful tactile quality, enhancing the visual appeal of the finished product.
Skill Development: Working on this project will help boost your crochet skills, from mastering the magic ring to perfecting assembly techniques.
Customizable Touch: Use an array of colors or add unique features like a crown to personalize your lion, ensuring that each creation is one-of-a-kind!
Perfect for Play: With its sturdy construction, this lion is both a soft cuddly friend and a durable toy for little ones to enjoy, making it a truly versatile project.
You’ll also find inspiration in our Spooky Cute Amigurumi to expand your crafting journey! Whether you’re an avid crocheter or new to the hobby, this crochet lion pattern promises to be a rewarding experience.
Gauge & Sizing Notes
Don’t skip the gauge swatch! Ensuring your tension is accurate is crucial for achieving the right size with the crochet lion pattern; it can make all the difference between a cuddly companion and a lion that’s too big or small. To check your gauge, work a 4×4 inch (10×10 cm) square in single crochet, which should measure 14 stitches by 16 rows for the perfect fit. If you want to adjust the size of your lion, simply modify your starting chain in multiples of 6 plus 2 to make it wider, or decrease that starting chain for a smaller lion. If your swatch is too small, try using a larger hook size to achieve the desired tension.
Step‑by‑Step Pattern for Charming Amigurumi Lion
Row 1: Base of the Head
Begin by making a magic ring (MR) and ch 1. Work 6 sc into the MR to create the head’s base. Pull the tail of the yarn to tighten the ring. Your work should form a small circle. This establishes the foundation for the head, creating a pleasing rounded shape from the start. (6 sts)
Round 2: Increasing the Diameter
Continue by placing 2 sc in each stitch around to increase the size of the head. This round builds up the volume for a plump, adorable lion face. As you progress, be sure to mark the beginning of your rounds for easy counting. Your circle should start to bulge outward, helping define the lion’s head. (12 sts)
Round 3: Shaping the Head Further
For this round, work 1 sc in the first stitch, followed by an inc in the next. Repeat this pattern around, allowing the head to grow while maintaining a rounded form. The stitches should visibly lean outwards as your lion begins to take shape. This round will give more definition to the lion’s head. (18 sts)
Round 4: Creating More Structure
Now, work 1 sc in the next 2 stitches, followed by an inc in the next. This step continues to enlarge the head while ensuring it retains a nice curve for the face. As you crochet, you should see your lion’s head becoming more defined, with a pleasing roundness. (24 sts)
Rounds 5-6: Building the Head Height
In rounds 5 and 6, simply sc in each stitch around. This solidifies the head’s structure while keeping your lion’s proportions balanced. By now, your work will feel plush and sturdy, giving the lion a charmingly rounded appearance. Continue checking your stitch count to ensure accuracy. (24 sts)
Round 7: Adding the Face
Start adding the facial features by working 1 sc in the next 3 stitches, followed by a dec in the next. This will create space for the safety eyes and form a slight indent. Your lion’s face should start to show, giving it an endearing character. (18 sts)
Round 8: Finishing the Head
Work 1 sc in the next 2 stitches, followed by a dec in the next. Repeat this until the round is complete. This round will reduce the stitch count and tighten the head further. You may also want to insert the safety eyes at this point to secure them in place. (12 sts)
Stuffing the Head
Once the head is complete, use polyester fiberfill to stuff the head, ensuring it is firm but not overstuffed. The stuffed head creates a nice, inviting shape for your lion. Take care to shape the head evenly, providing a cozy and soft feel to your amigurumi lion.
Row 9: Starting the Mane
Attach rust brown yarn where you wish to create the mane. For the first mane piece, ch 30 and turn. Work 1 sc in the second ch from hook, followed by 2 hdc in the next, and 1 dc in the next 2. This variety creates a textured flair for your lion’s mane. (1 piece)
Row 10: Completing the Mane
Continue to create the remaining mane pieces by repeating Row 9. You’ll need several of these strands to ensure a full and whimsical mane. Secure each strand onto the head by sewing or slip stitching them snugly around the top of the lion’s head, arranging them to add fullness.
Round 11: Starting the Body
Returning to your main color (mustard yellow), create a magic ring. Ch 1 and sc 6 into the ring. This set of stitches forms the base of the lion’s body. Your work should feel compact and provide a hearty start for the cozy body of your amigurumi lion. (6 sts)
Round 12: Body Depth
Work 2 sc in each stitch around, ensuring the body begins to grow. This full round creates the round shape needed for the body structure. As with previous sections, remember to mark the start for easy stitch counting. You will notice the work forming a boxier shape as you crochet. (12 sts)
Round 13: Smoothing the Body
In this round, sc in each of the first 2 stitches, followed by an inc. Repeat this pattern throughout the round. This method should expand the body while maintaining the soft curves of your lion. It’s important for the final shape to match the lovely rounded look. (18 sts)
Rounds 14-15: Establishing Body Height
For rounds 14 and 15, work sc in each stitch around. This will create the height of the body, making it plush yet firm. Ensure your stitches are evenly placed and your tension remains consistent. The body should begin to take a nice, proportionate shape when viewed from above. (18 sts)
Round 16: Shaping Legs
Create the lion’s legs by joining in cream yarn. Ch 1, then make 6 sc into the magic ring. This sets the foundation for each paw. Keep your tension even to maintain the integrity of each leg. You’ll notice the transition from the body to the legs becoming clearer and more distinctive. (6 sts)
Rounds 17-18: Leg Splendor
For rounds 17 and 18, sc in each stitch around for each leg. This maintains consistency while building up the paw’s structure. Take your time to ensure the stitches are evenly balanced, promoting a firm yet soft feeling as the paws come together. (6 sts)
Row 19: Assembly of the Legs
Fasten off the legs, leaving a long tail for attachment. Use your tapestry needle to weave in and secure any loose ends. Attach the legs to the body, evenly spaced on each side. Make sure to position them securely so they support your lion when it stands. This will add a joyous charm to your lion!
Row 20: Crafting the Tail
Start the tail by chaining 30 with the mustard yarn. Work 1 sc in the second chain from the hook, then continue with sc in each chain. This tail should add character and whimsy to your amigurumi lion and can be shaped as you prefer. (29 sts)
Assembly: Finishing Touches
Once all components are crocheted, sew the head and body securely. Attach the tail to the back, ensuring it stands out playfully. Finally, add any embroidered features like the nose and whiskers to bring your lion’s personality to life. The Charming Amigurumi Lion should now be ready to embark on delightful adventures with its new friend!
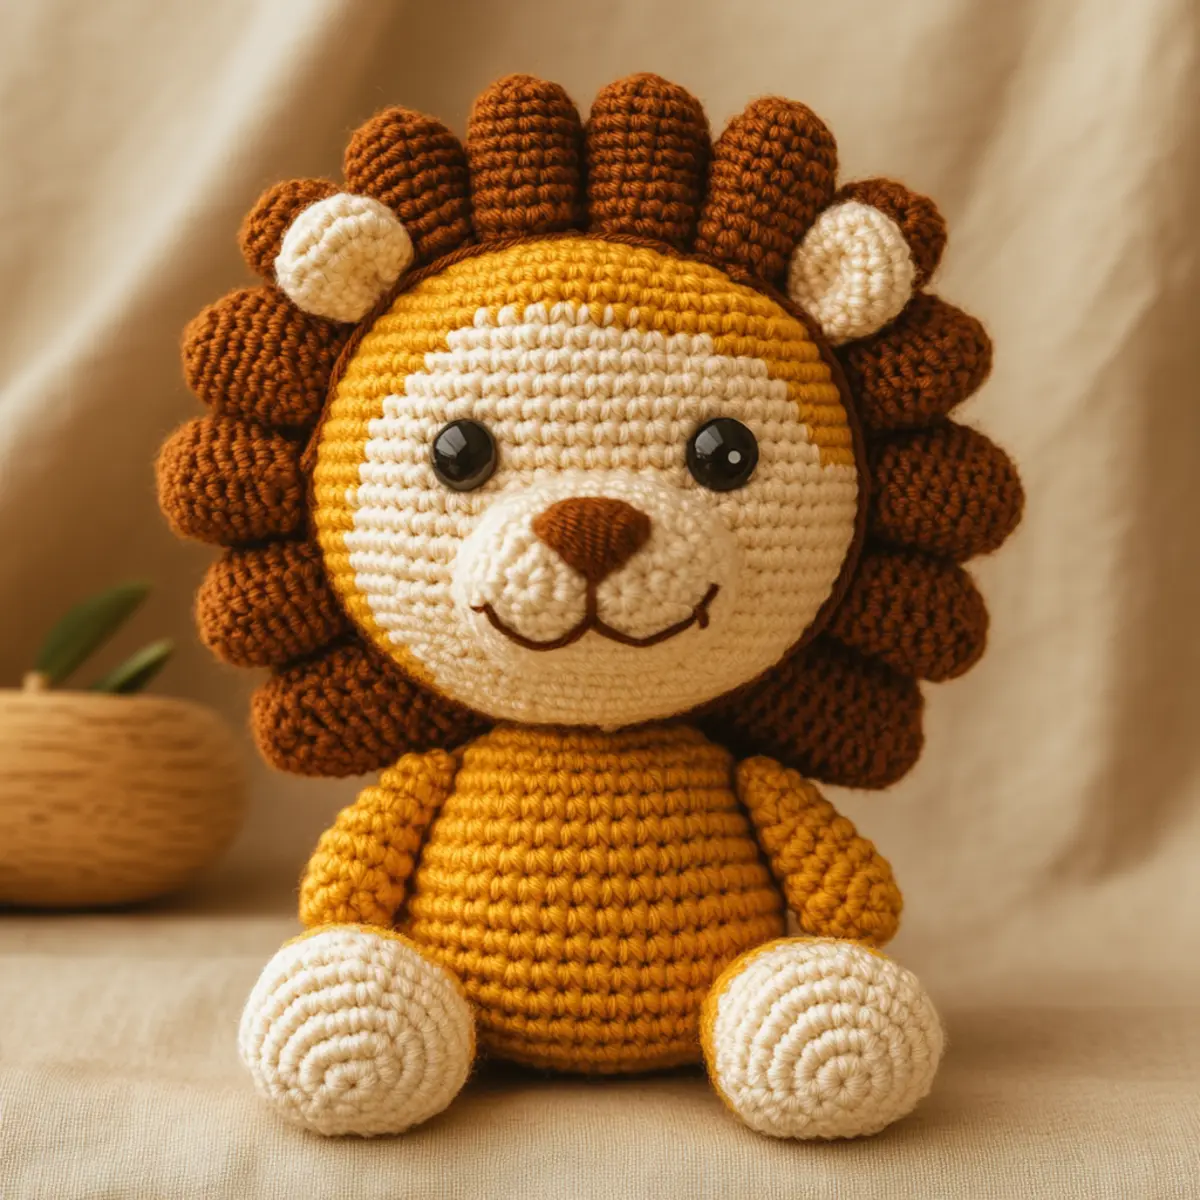
Crochet Lion Pattern Variations
Embrace your creativity and make this enchanting lion pattern truly yours with these fun twists!
-
Yarn Substitutions: Swap out worsted weight for bulky yarn to create a larger, squishier lion. This chunky twist gives it an extra cozy feel, perfect for cuddling!
-
Color Combinations: Experiment with vibrant colors like teal and orange for a tropical lion. With each change, a new personality is born, making the crafting experience even more exciting.
-
Size Adjustments: Use a larger hook to make a 14-inch lion. Bigger plush toys can be just as delightful, giving little ones something extra to hug in their playtime adventures.
-
Alternative Fibers: Try using cotton yarn instead of acrylic for a breathable finish. Cotton offers a softer texture, making your finished lion perfect for warm-weather play.
-
Texture Additions: Enhance the mane by using a loop stitch or adding a fringed border. This will provide a captivating new texture that kids will love exploring with their fingers.
-
Face Variations: Use embroidery to create different facial expressions. Whether it’s a cheeky grin or a gentle smile, each lion can tell its own story through its adorable face.
-
Accessorize with Cheer: Add a mini scarf or bowtie for a playful touch. Accessories can really elevate the charm of your crochet lion and make it even more unique!
-
Seasonal Themes: Change color schemes to match holidays or seasons, like pastel hues for spring or warm earth tones for autumn. Personalizing according to the time of year makes your lion feel festive!
These variations can help inspire your own unique creations, similar to those featured in our enchanting Spooky Cute Amigurumi. Dive into the world of crochet unicorns and let your imagination take flight!
How to Wash and Care for Your Crochet Lion
Machine Washing: Use a gentle cycle with cold water to protect the delicate stitches of your crochet lion. This helps prevent any felting or pilling that can occur with agitation.
Hand Washing: If you prefer a more gentle approach, soak your crochet lion in cold water with a mild detergent. Gently press out the water without wringing to maintain its shape.
Drying/Blocking: Lay your finished crochet lion flat on a clean towel to dry. Reshape it as needed, ensuring that it retains its adorable form. Avoid hanging to prevent stretching.
Storage: To keep your crochet lion looking its best, store it in a cool, dry place. Avoid exposing it to direct sunlight for prolonged periods, which can fade vibrant colors over time.
Expert Tips for the Crochet Lion Pattern
Maintain Tension: Consistent tension is key to achieving even stitches. Hold your yarn comfortably; practice will help you find that sweet spot!
Count Carefully: Keep a row counter or notepad handy to avoid losing track of your stitches, especially during intricate mane assembly.
Secure Attachments: When joining limbs, ensure they’re firmly stitched to avoid drooping. Check their placement for symmetry for a polished look.
Block Before Assembly: Blocking your finished pieces can enhance their appearance, providing a clean finish and perfect shape for your adorable lion.
Embrace Creativity: Don’t be afraid to experiment with color combinations and embellishments to create a unique crochet lion pattern that reflects your style!
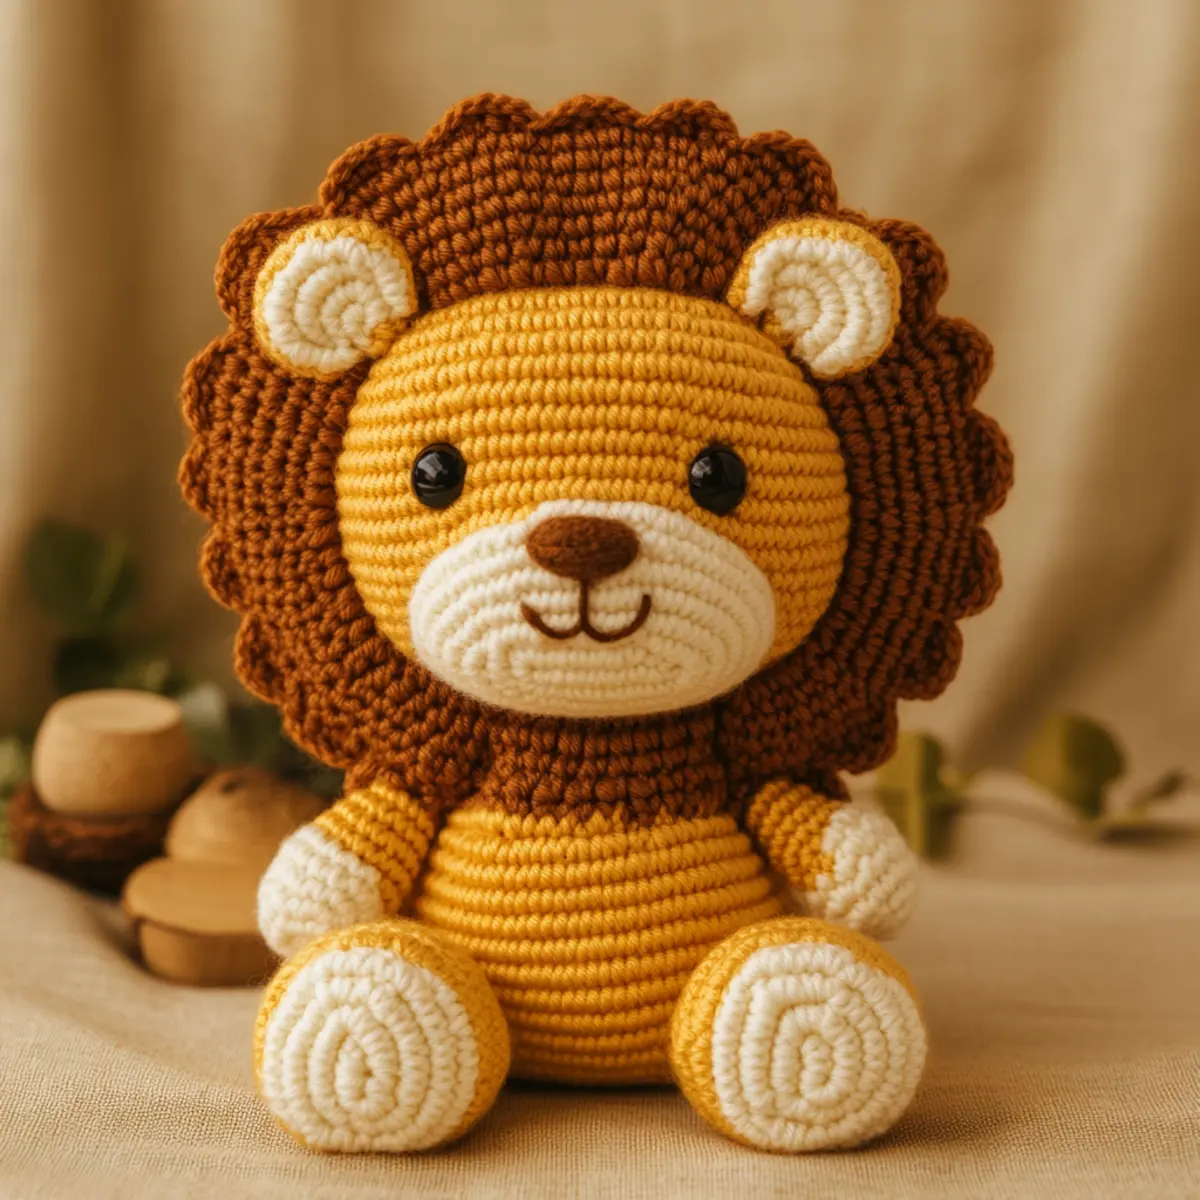
Charming Amigurumi Lion FAQs
Can I use a different yarn weight for the crochet lion pattern?
Absolutely! While worsted (medium 4) yarn is recommended for this pattern, you can certainly experiment with a different weight. Just keep in mind that if you opt for a heavier yarn, your finished lion will be larger, and if you use a lighter weight, it may turn out smaller. Adjust your hook size accordingly to maintain the pattern’s integrity.
How can I adjust the size of my amigurumi lion?
To make your Charming Amigurumi Lion bigger, try using a larger crochet hook and a thicker yarn. Conversely, if you’d like a smaller version, use a smaller hook with a lighter yarn. Just remember to check your gauge first—it’s crucial for a proportionate finished piece!
What should I do if my project is curling up at the edges?
Don’t panic! If your edges are curling like a bowl, it’s often a sign of too few stitches or tight tension. Make sure you’re following the stitch count correctly, and loosen your grip on the yarn as you work. Blocking your finished pieces can also help flatten any warped areas.
Why are my stitches getting loose in certain areas?
This usually occurs when your tension changes throughout your project. To combat this, take a moment to relax your hands and focus on maintaining a consistent grip on your yarn. If possible, practice switching colors or stitches between projects to build muscle memory for even tension.
What hook size should I use for the Charming Amigurumi Lion?
The pattern recommends a 2.5 mm crochet hook (US B) for precise stitching. However, if you find that your stitches are too tight, feel free to try a slightly larger hook. It’s all about finding what works best for your comfort and desired fabric density!
How do I fix dropped stitches on my lion?
It’s an easy fix! If you notice a dropped stitch, simply use your tapestry needle to pull the yarn back through the loop gently. You can also use a crochet hook to pick it up and secure it back in place. Just make sure to double-check your row count, so it doesn’t happen again!
Leave a Reply